
DIY Hydroponic Nutrients From Compost (What Works)
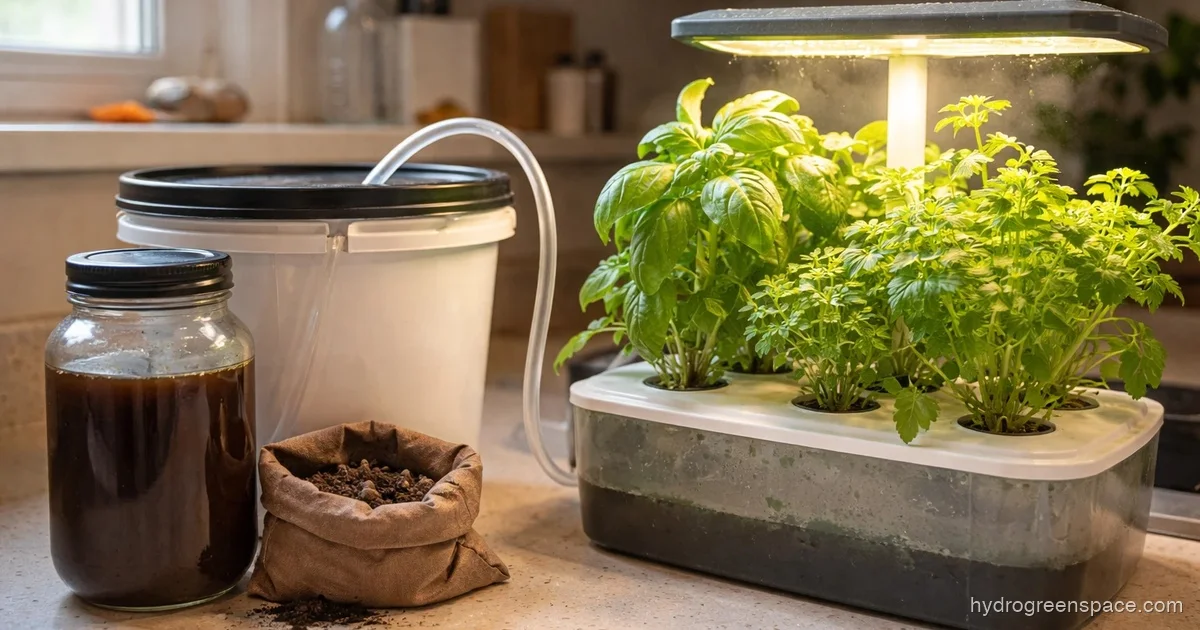
Most growers who ask about making hydroponic nutrients from compost have the same backstory: they have a thriving backyard compost pile, they hate paying for synthetic nutrients, and they figure there has to be a way to connect the two. There is, but it requires understanding why compost and hydroponics don’t naturally speak the same language, and what you need to do to bridge that gap.
This isn’t a “compost tea is magic” article. It’s the honest version: when it works, when it fails, and how to make it work reliably enough that your plants actually benefit.
What’s Actually in Compost (and What Hydro Plants Need Instead)
Compost is rich in organic matter, humic acids, and a complex web of microorganisms. It does contain nitrogen, phosphorus, and potassium (the core NPK ratio your plants need), but in forms that aren’t immediately plant-available.
In soil, this isn’t a problem. Bacteria and fungi in the soil break down organic compounds over weeks and months, releasing nutrients in forms plants can absorb. In a hydroponic system, you don’t have that soil ecosystem doing slow conversion work. Your roots are sitting in water, and they need nutrients already dissolved in ionic form: nitrate (NO₃⁻), phosphate (H₂PO₄⁻), and potassium ions (K⁺).
This is the core limitation of using compost in hydroponics. The nitrogen in your compost pile is mostly organic nitrogen, locked up in proteins, amino acids, and humus. Plants can’t use it directly. Some conversion happens in the reservoir through microbial activity, but it’s slow, inconsistent, and impossible to measure without lab equipment.
That said, compost-derived solutions still have real value in hydroponics, especially for:
- Short-cycle crops like lettuce, herbs, and microgreens (4–6 week cycles)
- Seedling and early vegetative stages
- Supplementing a synthetic base with beneficial microorganisms
- Low-tech systems like Kratky jars where you’re not recirculating water
For fruiting crops on a 12-week cycle? Stick with a balanced synthetic or bottled organic nutrient formula, and use compost tea as a microbial supplement only.
How to Make Compost Tea for Hydroponics (Step by Step)
This is the most practical way to extract usable nutrients from compost for a hydro system. The word “tea” is apt: you’re steeping compost in water to dissolve soluble nutrients and microbial content, then straining out the solids.
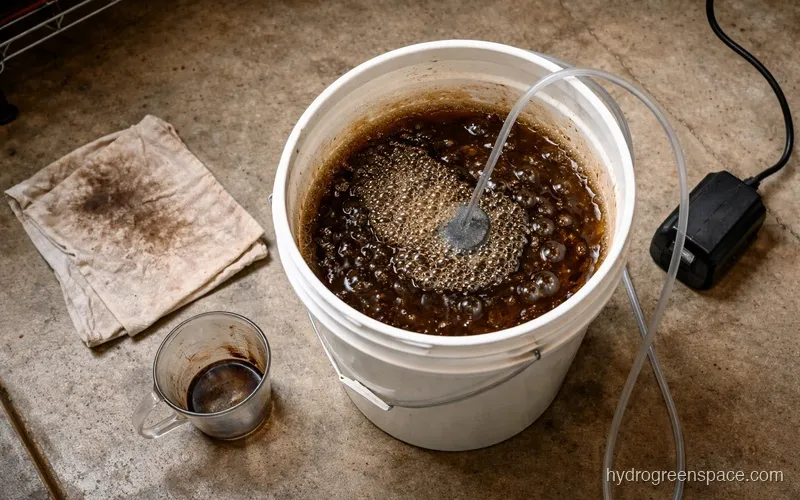
One critical detail that’s easy to miss: aeration is not optional. Without an air pump running throughout the brew, oxygen levels in your bucket drop below 5.5 ppm within hours. At that point, anaerobic bacteria take over. Your tea will smell like a swamp, and those bacteria can damage plant roots rather than supporting them.
Here’s the process I use:
What you need:
- 5-gallon bucket
- Aquarium air pump with airstone and tubing
- Mature, finished compost (not fresh or hot compost)
- Water (let tap water sit 24 hours to off-gas chlorine, or use rainwater)
- Fine-mesh straining bag or multiple layers of cheesecloth
- Optional: unsulfured molasses (1 tsp per gallon to feed the microbes)
The process:
- Fill your bucket with 4–5 gallons of dechlorinated water.
- Add 1 cup of finished compost per gallon of water. For a 5-gallon bucket, that’s about 5 cups.
- Drop in the airstone and run your air pump continuously. You want the water visibly bubbling, not gently, but actively churning.
- Add molasses if using. Skip it if your compost already smells rich and earthy; it’s for feeding microbial populations during the brew.
- Brew for 24–36 hours. Longer isn’t better. Past 48 hours, dissolved oxygen drops and microbial populations shift toward less beneficial species.
- Strain thoroughly. Use a fine-mesh straining bag inside a cheesecloth layer. Any solid particles that make it through will clog drip emitters and net pots.
- Use immediately. Brewed tea degrades fast. Within 4–6 hours of turning off the air pump, aerobic conditions decline.
Dilution ratio: Start with 1 part tea to 10 parts water for your reservoir. This is conservative, but with a homemade solution you can’t know exactly what’s in it.
Warning: Never add compost tea directly to your reservoir at full concentration. The pH will likely be between 6.5 and 8.0, alkaline enough to lock out phosphorus and cause rapid nutrient deficiencies. Always test and adjust pH before adding to your system.
Worm Castings Tea: The More Reliable Path
If you want to DIY your hydroponic nutrients from compost-based materials, worm castings are the upgrade you should make as soon as possible. Vermicompost (the technical term) is more stable than raw compost for several reasons:
- Lower pathogen risk than fresh or partially finished compost
- More consistent nutrient release
- Naturally balanced pH (typically 6.0–7.0, closer to hydro range)
- Higher concentration of beneficial microorganisms per gram
The process is almost identical to compost tea, with two differences:
- Ratio: Use 1 cup of worm castings per 2 gallons of water, which is more concentrated than compost tea because castings are more nutrient-dense.
- Steep time: 24 hours is sufficient. Because castings are already well-processed, you don’t need the longer brew time.
After straining, your typical EC reading on worm casting tea will be 0.5–1.0 mS/cm at a 1:10 dilution. For context, most lettuce and herb grows target 1.5–2.5 mS/cm total. You’re supplementing, not replacing, unless you’re running a very low-demand Kratky setup.
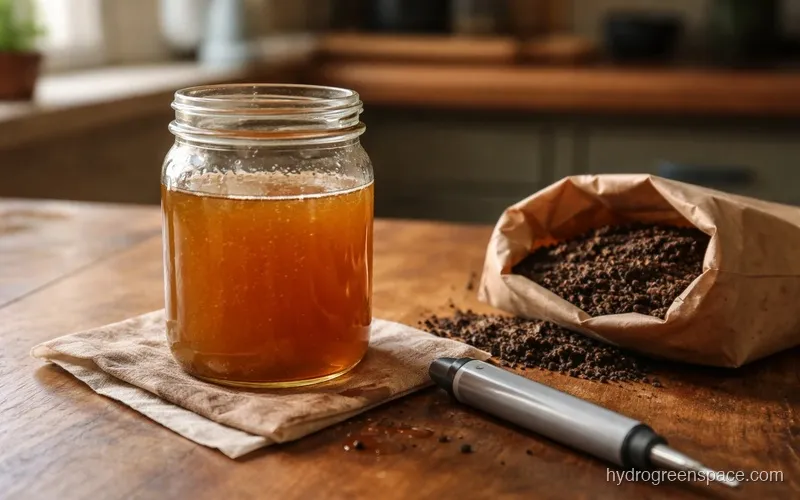
Can worm castings replace synthetic hydroponic nutrients entirely? For a short-cycle, easy-cropping grow (baby greens, basil, cilantro in a Kratky jar), yes, in practice. The plants won’t reach their genetic ceiling for growth rate, but they’ll grow and taste better than you’d expect. For tomatoes, peppers, or anything fruiting? No. The nitrogen availability problem will catch up with you by week 5.
Companion Ingredients That Actually Help
Once you have your base tea, three additions are worth knowing about:
Seaweed extract (liquid kelp) adds micronutrients your compost may be short on: iron, zinc, manganese, and naturally occurring plant growth hormones. A few milliliters per gallon of reservoir water goes a long way. Kelp also brings the solution pH down slightly, which works in your favor.
Epsom salt (magnesium sulfate) supplies magnesium and sulfur directly in ionic form, two elements that plants can absorb immediately with no microbial conversion needed. Add 1 tsp per 5 gallons if you’re seeing interveinal yellowing on older leaves, which is a classic magnesium deficiency pattern.
Molasses is best used during the brew, not in the reservoir. In the bucket, it feeds your beneficial microbes. In your reservoir, it feeds unwanted bacteria and algae. Don’t add it post-strain.
If you’re combining these with worm casting tea, you’re starting to build a functional homemade hydroponic nutrient solution. Not complete, but meaningful. For a fuller picture of building a complete DIY solution from scratch, the general DIY nutrient solution guide covers how to calculate what your specific crops actually need across the full growth cycle.
Getting Your pH and EC Right Before You Add Anything
This is the step most people skip and the reason most “compost tea killed my crop” stories exist online.
Before any compost-based solution goes into your reservoir, test two things:
pH: Target 5.5–6.5. Most compost tea brews at 6.5–8.0. To bring it down, use pH Down (phosphoric acid) solution. Add it drop by drop to the tea concentrate before dilution, stirring constantly. Test after each addition; it’s more reactive than you expect. If you overshoot, a few drops of pH Up (potassium hydroxide) will bring it back.
What I’d do: I always adjust pH on the tea concentrate, not after I’ve added it to the full reservoir. It’s easier to overshoot on a large volume and harder to correct. Adjust concentrate, then do your 1:10 dilution, then test the reservoir one final time before plants go in.
EC (electrical conductivity): This tells you the total dissolved solids in your solution. Compost tea EC varies wildly depending on your compost quality and brew time. Measure before dilution, then calculate what your final reservoir EC will be after dilution. Keep total reservoir EC within your target range for your crop:
| Crop | Target EC (mS/cm) |
|---|---|
| Lettuce / Spinach | 1.2–2.0 |
| Herbs (basil, mint) | 1.0–1.6 |
| Tomatoes | 2.0–5.0 |
| Cucumbers | 1.7–2.5 |
If your reservoir EC is already at target from a previous synthetic nutrient addition, adding compost tea will push it over. Either partial-replace the reservoir water or skip the tea until you’re doing a full reservoir change.
Which Hydroponic Systems Handle Compost-Based Nutrients Best
Not every system tolerates organic inputs equally. Here’s the honest breakdown:
Kratky (passive DWC): Best match. Static reservoir, no pump to clog, and because you’re not recirculating, any sediment sinks to the bottom away from roots. Worm casting tea works well here for short cycles.
Deep water culture (DWC): Works if you’re running an air pump (which you should be anyway) and you strain meticulously. The recirculating oxygenation helps keep aerobic conditions that favor beneficial microbes. Monitor roots weekly. Any sliminess means conditions have turned.
NFT (nutrient film technique): More risk. The thin film of solution can carry particles into channels, and organic matter can build up in the troughs. Stick to heavily strained worm casting tea only, and flush channels between cycles.
Drip systems: High risk of clogged emitters unless your filtration is excellent. Fine mesh strainer bag plus double cheesecloth filtering is the minimum. Even then, inspect emitters after every reservoir change.
For a deeper dive into brewing technique and troubleshooting compost tea specifically for hydro, compost tea in hydroponics covers the microbial science in more detail.
The Failure Modes (and How to Avoid Them)
Root rot: The most-feared outcome. Compost introduces organic material and microorganisms into a closed water system. If aerobic conditions drop (low dissolved oxygen, reservoir temps above 72°F, no air pump), harmful bacteria and Pythium thrive. Prevention: keep water temps 65–70°F, run reservoir aeration, and don’t let reservoir water go stagnant. Beneficial microbes in a well-brewed tea actually compete against Pythium when oxygen levels are maintained.
Anaerobic smell: If your tea smells like sulfur or sewage rather than earth and mushrooms, it went anaerobic. Don’t use it. The brew started without enough aeration, or ran too long. Dump it, clean the bucket thoroughly, and start again with a working air pump.
Clogged pumps and emitters: Even with straining, fine particles make it through. Inspect pump intakes, drip emitters, and net pot holders after the first week of any organic supplement run. If you’re seeing buildup, add a filter sock to your reservoir intake.
pH crash: Adding uncomposted or fresh compost to water produces rapid microbial activity that can swing pH in unpredictable directions. Stick to mature, finished compost only. Fresh compost has no place in a hydro system.
How Long Can You Run Compost Tea in a Reservoir?
Short-cycle crops (4–6 weeks): You can run worm casting tea as your primary nutrient source for the full cycle, topping off and adding fresh diluted tea with each reservoir change.
Long-cycle crops (8+ weeks): Use compost tea as a supplement for the first 3–4 weeks, then transition to a complete synthetic or bottled organic nutrient formula for the flowering and fruiting stages. The organic nitrogen availability problem compounds over time, and deficiencies will appear by mid-cycle if you’re relying on tea alone.
Every 1–2 weeks in a recirculating system, drain and clean the reservoir. Organic matter accumulates, and the microbial ecosystem in the reservoir shifts over time. A clean reservoir reset keeps conditions predictable.
If you’re interested in the full breakdown of how compost tea nutrient ratios compare to synthetic solutions and when to blend them, the compost tea nutrient comparison guide gets into the specifics of NPK values and what you’re actually delivering to your plants.
The rewarding part of this approach isn’t just cost savings. When you brew a batch of worm casting tea and watch your lettuce respond within days, you start to understand the relationship between soil life and plant life that most synthetic-nutrient growers never see. Start with a Kratky jar, a bag of worm castings, and a basic aquarium pump. Get one successful grow under your belt before scaling up. That first successful harvest from a compost-based system tends to be the one that makes you want to go deeper. For a broader look at where compost-based nutrients sit alongside synthetic and hybrid approaches, the hydroponic nutrients guide covers the full range of options and how to choose between them.