
First 30 Days of Hydroponics: What to Expect
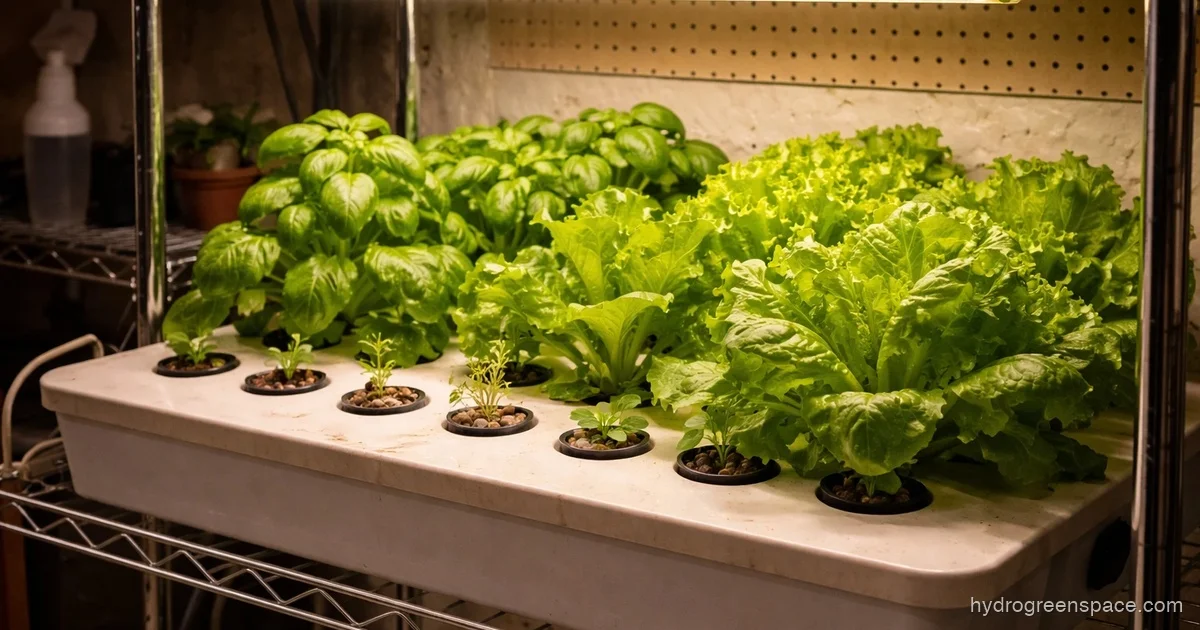
The first week of a hydroponic grow is mostly an exercise in restraint. You’ve set up your system, planted your seedlings, mixed your first nutrient solution, and now you’re staring at a tray of tiny plants wondering if anything is actually happening. It is. You just can’t see most of it yet.
This guide covers what you should expect, what to check, and what “normal” actually looks like across your first 30 days. It’s not a setup tutorial, but a companion for the part where most beginners start second-guessing themselves.
If you’re still choosing a system, start with how hydroponics actually works first. This guide assumes your system is already running.
Days 1–3: Your Job Is to Not Interfere
You filled the reservoir, dialed in your pH, and plugged in the pump. Now the hardest thing to do is nothing.
In the first 72 hours, seedlings transferred into a hydroponic system are adjusting to a completely new environment. Roots that grew in a wet plug or rockwool cube are now reaching toward nutrient water for the first time. Expect some drooping, some leaf curl, and very little visible growth. This is not failure. It’s transplant stress.
What to check in days 1–3:
- pH: Aim for 5.5–6.5 depending on your system. DWC does well around 5.8–6.0. Test every day for the first week.
- Water temperature: Keep the reservoir between 65–72°F. Warmer water holds less dissolved oxygen and invites root rot early.
- Air pump (if applicable): Check that the airstone is bubbling. A quiet reservoir in a DWC system is a problem.
- Light distance: Seedlings need light, but not the same intensity as established plants. If your grow light has a dimmer or schedule, run it at 16 hours on, 8 hours off.
Common mistake: Adjusting pH repeatedly in the first 48 hours trying to hit an exact number. pH will naturally drift slightly, especially early. Get it in range and leave it. Chasing 5.8 exactly will do more harm than good.
Days 7–10: First Signs of Real Growth
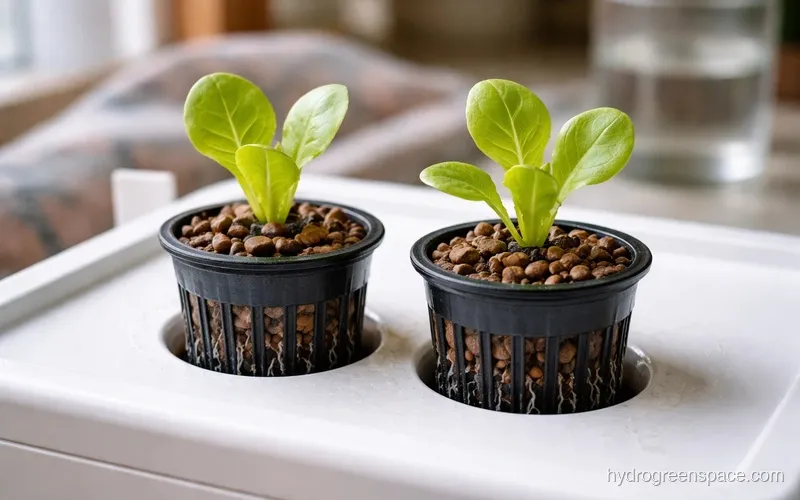
By the end of the first week, you should see something encouraging: a new leaf unfurling, visible root tips peeking through the bottom of a net pot, or noticeably more upright stems compared to days 1–3.
This is also when the most common beginner panic sets in: “My plants look the same as they did three days ago.” In hydroponics, the first week or two is heavily focused on root development below the surface. Lettuce, for example, can look nearly unchanged above the media while building a dense root structure underneath that will fuel explosive growth from week 2 onward.
What to check in days 7–10:
- Root color: Healthy roots are white or cream-colored. Any brown or slimy coating on roots this early is a warning sign, usually caused by light getting into the reservoir or water temperature creeping above 72°F.
- EC (electrical conductivity): If you’re monitoring nutrient strength, your EC should match the target for seedlings (usually 0.8–1.2 mS/cm for leafy greens). Don’t push nutrients hard this early; roots are still establishing.
- Reservoir level: Top off with pH-adjusted plain water (not fresh nutrient solution) if the level drops. The plants are drinking, which is a good sign.
- Cotyledons: If your seedlings still have their seed leaves (cotyledons), don’t panic if they start yellowing around day 7–10. They’ve done their job and will drop naturally.
The “is this working?” anxiety peaks around day 8–9 for most growers. The answer, almost always, is yes. It is working. Roots grow before leaves, and hydroponic plants front-load their energy underground.
Tip: If you’re running a Kratky system (passive, no pump), check that the air gap between the bottom of your net pot and the water surface is maintained. The roots need that gap to breathe. See how to make a Kratky hydroponic system if you want to understand the mechanics.
Days 14–20: When Hydroponics Starts to Feel Real
This is the stretch where hydroponics earns its reputation. If your first two weeks went reasonably well (decent pH, no root rot, adequate light), you’ll see visible growth every single day by week 2.
Lettuce leaves spread and layer. Basil nodes start stacking. The root mass below a DWC bucket becomes something you’ll want to photograph. Growth that would take 4–5 weeks in soil happens in 2–3 weeks in hydroponics, and this is the window where you feel it.
What to check in days 14–20:
- First partial water change: At the 14-day mark, do a partial reservoir change: drain 30–40% and refill with fresh nutrient solution at full seedling-to-vegetative strength. This replenishes nutrients that have been absorbed unevenly and prevents nutrient lockout from salt buildup. Your hydroponic nutrient calculator can help you dial in the right mix.
- EC and pH together: By now you should be checking both at each visit. pH drifting high (above 6.5) typically indicates the plant is uptaking certain nutrients faster than others. Drift low (below 5.5) can lock out calcium and magnesium.
- Leaf color: Uniform green with no yellowing margins or spots is what you want. Yellowing at the lower, older leaves is usually normal. Yellowing at new growth is a nutrient problem worth investigating early. If something looks off, start with your pH adjustment calculator before reaching for more nutrients.
- Spacing: Dense-growing varieties like butterhead lettuce may need thinning by day 15–18. Crowded plants compete for light and airflow.
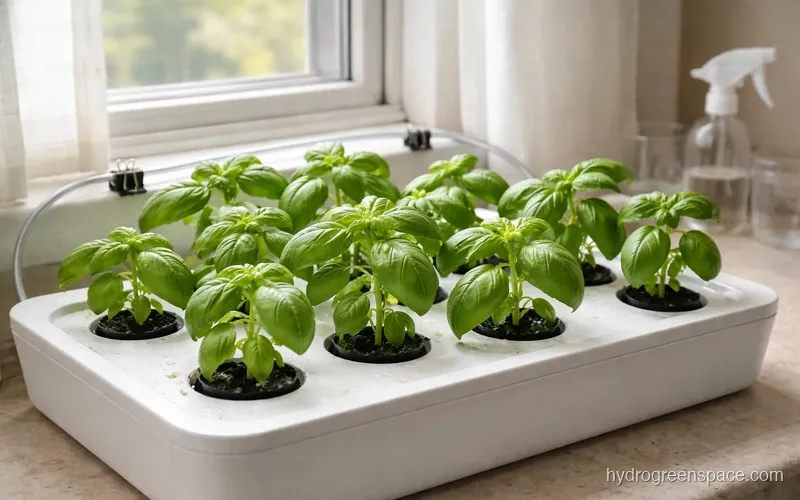
What I’d do: At day 14, take a photo of each plant from the same angle you used at day 1. The comparison will tell you more than any log sheet, and it’ll save your sanity if you’re still feeling uncertain.
When Plants Aren’t Growing After Two Weeks
If you’re at day 14 and growth is genuinely stalled (not just slower than you expected, but actually no visible new leaves in 5–7 days), run through this list:
- pH out of range? Nutrient lockout from off-pH is the most common invisible killer. Test before anything else.
- Light hours or intensity? Seedlings under insufficient light will limp along for weeks. Leafy greens need 14–16 hours of light. Check your grow light distance from plants if intensity might be the issue.
- Root rot early? Pull a net pot and look at the roots. Slime = problem. Clear water + white roots = not that.
- Overfeeding? High EC in the first two weeks stunts roots. If your EC is above 2.0 mS/cm for seedlings, dilute.
Days 25–30: The Home Stretch
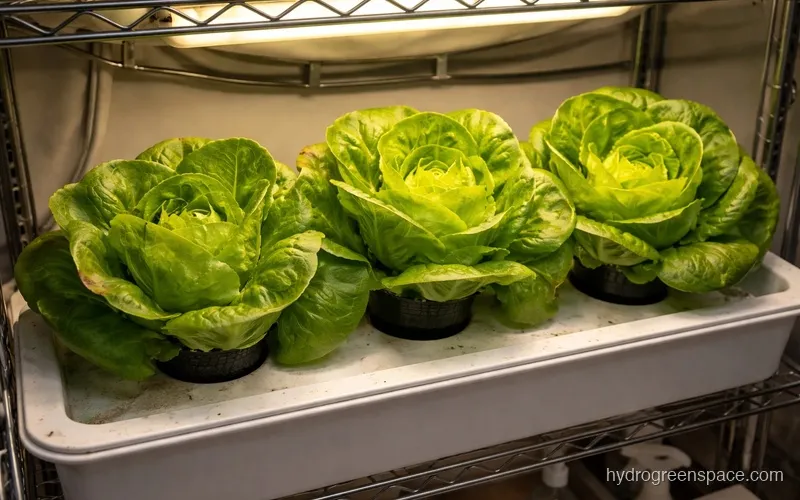
By day 25, a successful leafy green crop is obvious. Butterhead lettuce will have full heads forming. Looseleaf varieties will be a dense, harvestable mass. Basil will be bushy enough for multiple cuts. Do hydroponic plants actually grow faster? Yes, and days 25–30 are the proof.
What to look for:
- Lettuce: Outer leaves should be 4–6 inches long or longer. The whole plant will look dense and layered. If heads are forming, you’re on schedule for harvest around day 28–35 depending on variety.
- Basil: Nodes will be stacking, and you may already see early flower sets forming at the top. Pinch those flower buds now to extend the harvest by 2–3 weeks.
- Herbs generally: Most leafy herbs are at their peak flavor before they bolt. This is the window, so don’t wait.
What to check:
- Full reservoir change at day 21–25: This one matters. By now, nutrient ratios in the reservoir have drifted significantly from what you mixed. A full drain and refill ensures your plants finish strong.
- Root mass condition: Healthy roots at day 25 will be thick, dense, and lightly cream-colored. Don’t panic if they look slightly tan (that’s normal mineral staining). Slimy, dark brown roots with an odor are rot and need immediate action.
- Taste test: Pull a leaf from your lettuce. If it tastes clean, slightly sweet, and fresh, your nutrient balance has been right. Bitter or sharp lettuce usually means high nitrates from overfeeding or inconsistent pH.
What a Successful Day-30 Harvest Looks Like
Harvesting lettuce at day 30 from a DWC or pod system isn’t complicated, but knowing what you’re aiming for changes how you approach the whole grow.
The standard for leafy greens at 30 days: a full, dense head (or cut-and-come-again mass) where outer leaves are 5–8 inches, color is rich green (or red/purple depending on variety), and there’s no tip burn on the older leaves. Tip burn (brown, papery edges on inner leaves) is a calcium delivery issue often caused by low airflow or inconsistent water levels. It’s common in first grows and doesn’t mean the whole harvest is ruined. Cut around it.
The cut-and-come-again method works well for looseleaf varieties: harvest outer leaves from each plant and leave the center growing. A single DWC or NFT tray can produce multiple harvests over 60–90 days this way. Learning to harvest without pulling the whole plant is one of the skills that separates a grower who gets one yield from one who gets three.
Once you’ve made it through your first grow, the real question is what to do next. You’ve learned what your system does when it’s working, and probably learned a thing or two about what happens when it isn’t. That foundation matters more than any guide can give you. The next step is picking a system that matches the scale you want to grow at. Our guide to choosing your first hydroponic system walks you through that decision with the real tradeoffs, not just spec comparisons. Or if you haven’t started yet and want everything in one place, the beginner guide to hydroponics is the right starting point.