
Indoor Herb Garden Ideas: 10 Setups for Small Spaces
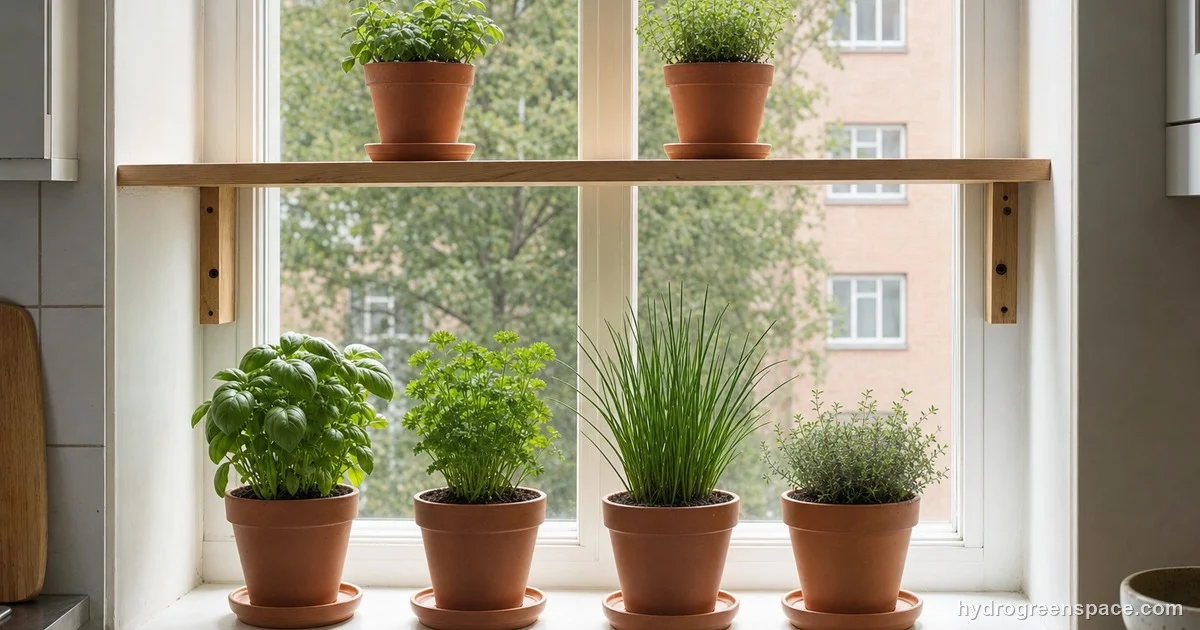
You want basil you can snip while the pasta boils, but your kitchen is small and the only sunny spot is a narrow windowsill. Good news: that’s enough to start, and if you don’t have a sunny window at all, a grow light does the job.
Below are ten indoor herb garden ideas for small kitchens and apartments, from a row of pots on the sill to a shelf of herbs with no window in sight. Each one comes with who it suits, what you need, and the one thing that makes it work or fail.
That one thing is nearly always light. I live in an apartment with no garden, so small-space growing is the problem I care about, and every extension guide on indoor herbs I went through puts light first. Get it right and herbs are forgiving about almost everything else.
Which idea fits your space?
| Idea | Space it needs | Light | Difficulty | Cost |
|---|---|---|---|---|
| 1. Windowsill pots | A deep sill | South window | Easy | $ |
| 2. Window shelves | A tall window | South, east or west window | Easy | $$ |
| 3. Hanging planters | Ceiling above a window | Bright window | Medium | $ |
| 4. Wall-mounted planter | Bare wall by a window | Window plus a light bar | Medium | $$ |
| 5. Counter under a grow light | One corner of counter | Grow light only | Easy | $$ |
| 6. Shelf with grow lights | A floor corner | Grow lights only | Medium | $$$ |
| 7. Rolling cart | A spot to park it | Whatever window is sunniest | Easy | $$ |
| 8. Mason jar herbs | A sill or shelf | Bright window or light | Medium | $ |
| 9. Countertop pod garden | Counter near an outlet | Built-in light | Easy | $$$ |
| 10. Cuttings in water | A sill | Bright window | Easy | $ |
1. A row of terracotta pots on a sunny windowsill
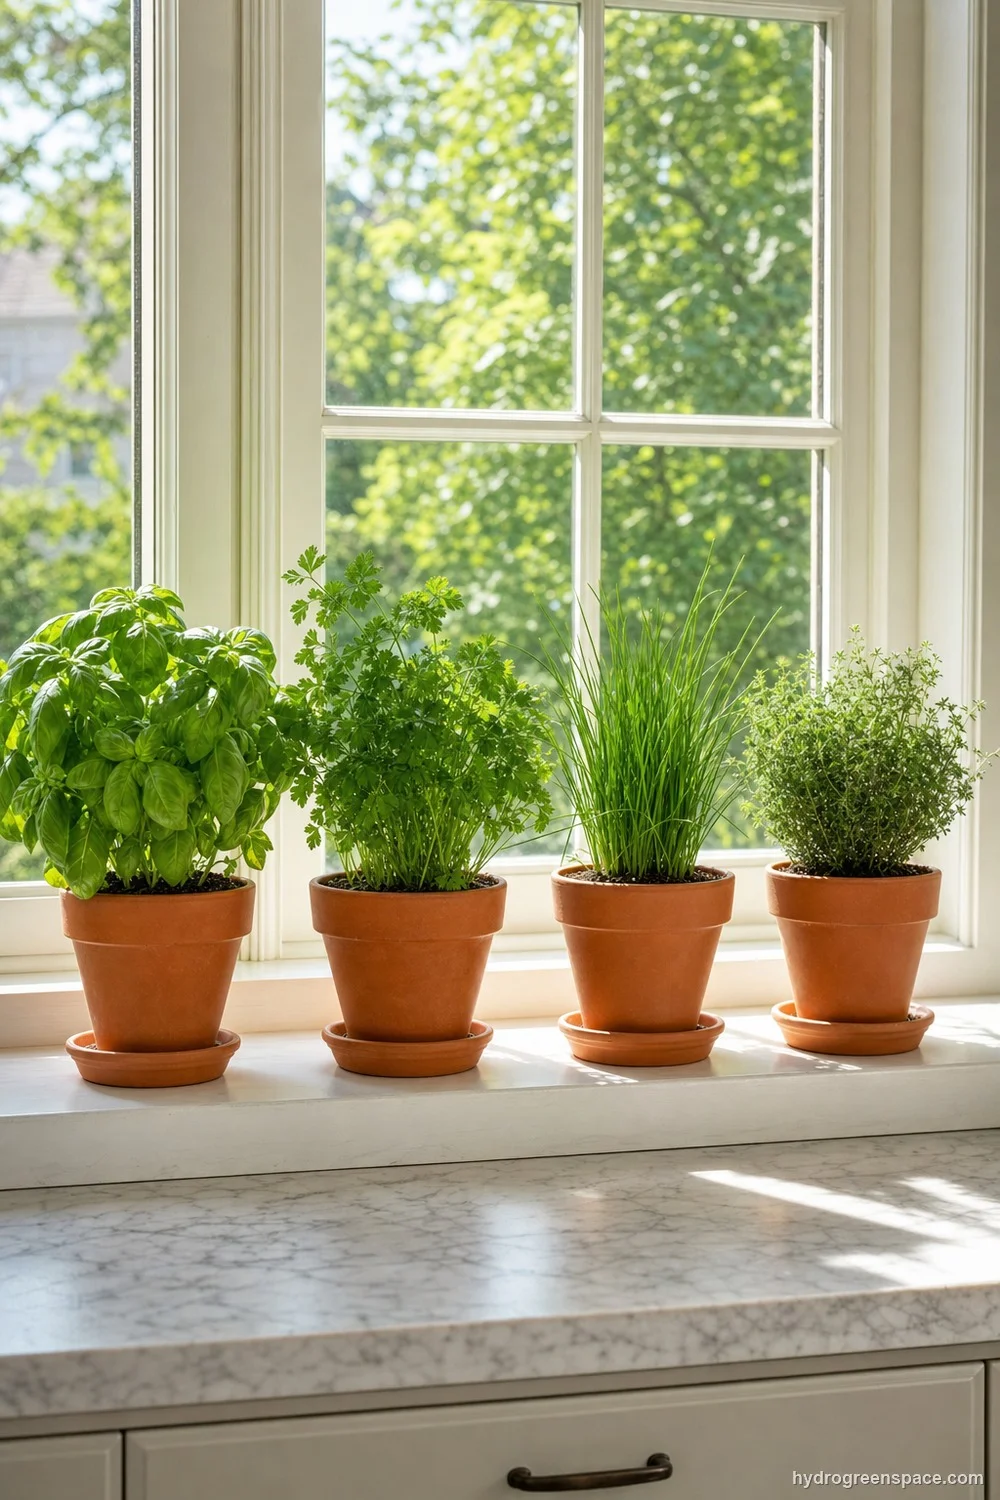
The classic, and still the best place to start if you have a south-facing window. It suits anyone with a sill deep enough for a 6-inch (15 cm) pot.
What you need: one pot per herb, at least 6 inches wide with a drainage hole, a saucer under each, and bagged potting mix. Illinois Extension gives that minimum pot size, and garden soil is out: Purdue’s horticulture specialist calls it too heavy for pots, and it can bring pests and disease in with it.
What makes it work: sun. Most herbs want about eight hours of direct light a day, and some will settle for six, according to Iowa State’s guide to growing herbs indoors. A south window is ideal; a bright east or west one can work. Turn each pot every few days so the plant doesn’t lean into the glass, a habit UVM Extension recommends for every windowsill herb.
Terracotta helps too. It’s porous, so the soil dries out faster than in plastic, and most herbs hate sitting wet.
Watch out: skip the layer of gravel in the bottom of the pot. It feels like it should help drainage, but it has “the opposite effect,” as a University of Missouri horticulturist puts it: water collects in the soil just above the gravel, right where the roots are.
2. Tiered shelves across a window
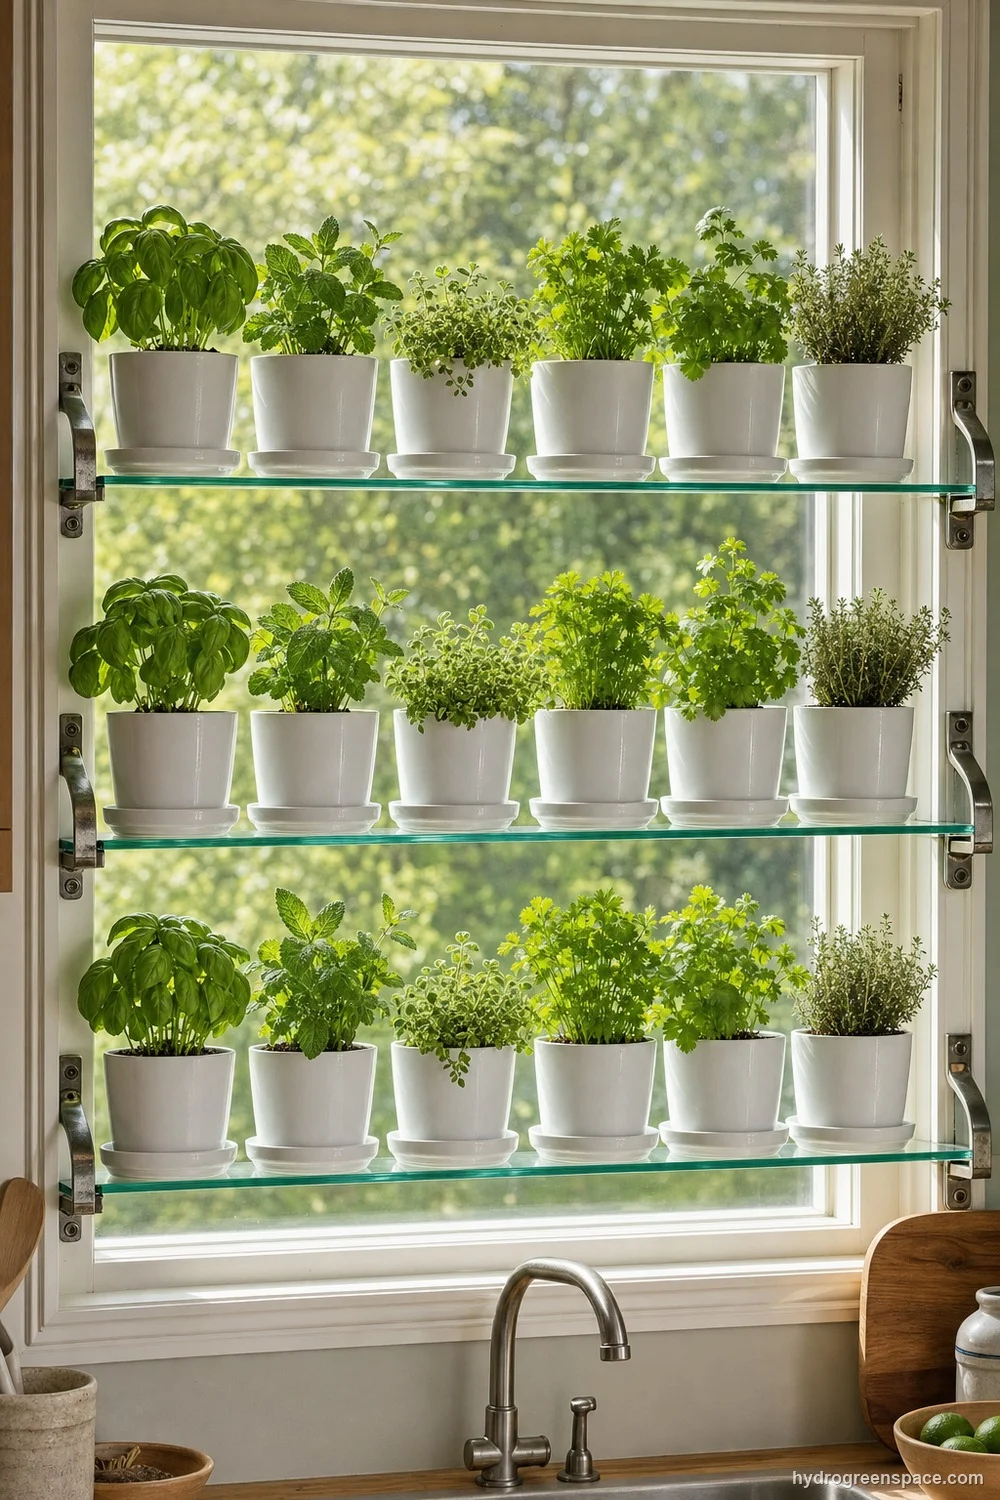
If your window is tall but your sill is skinny, go up. Two or three shelves on brackets across the window give you three rows of herbs in the same light. It suits renters with a tall window and a landlord who allows a few screw holes in the frame (tension-rod shelves exist if not).
What you need: glass or clear acrylic shelves (they let light through to the row below), sturdy brackets, and small pots with saucers so watering doesn’t drip onto the shelf underneath.
What makes it work: putting the right herb on the right shelf. The plants that need the most light go where the sun hits longest. The easiest herbs indoors are parsley, mint, chives, basil, oregano, cilantro and thyme; rosemary and sage are harder, because they need more light and are prone to spider mites, according to the same guide. Give those the best spot or leave them for later.
3. Hanging planters in the window
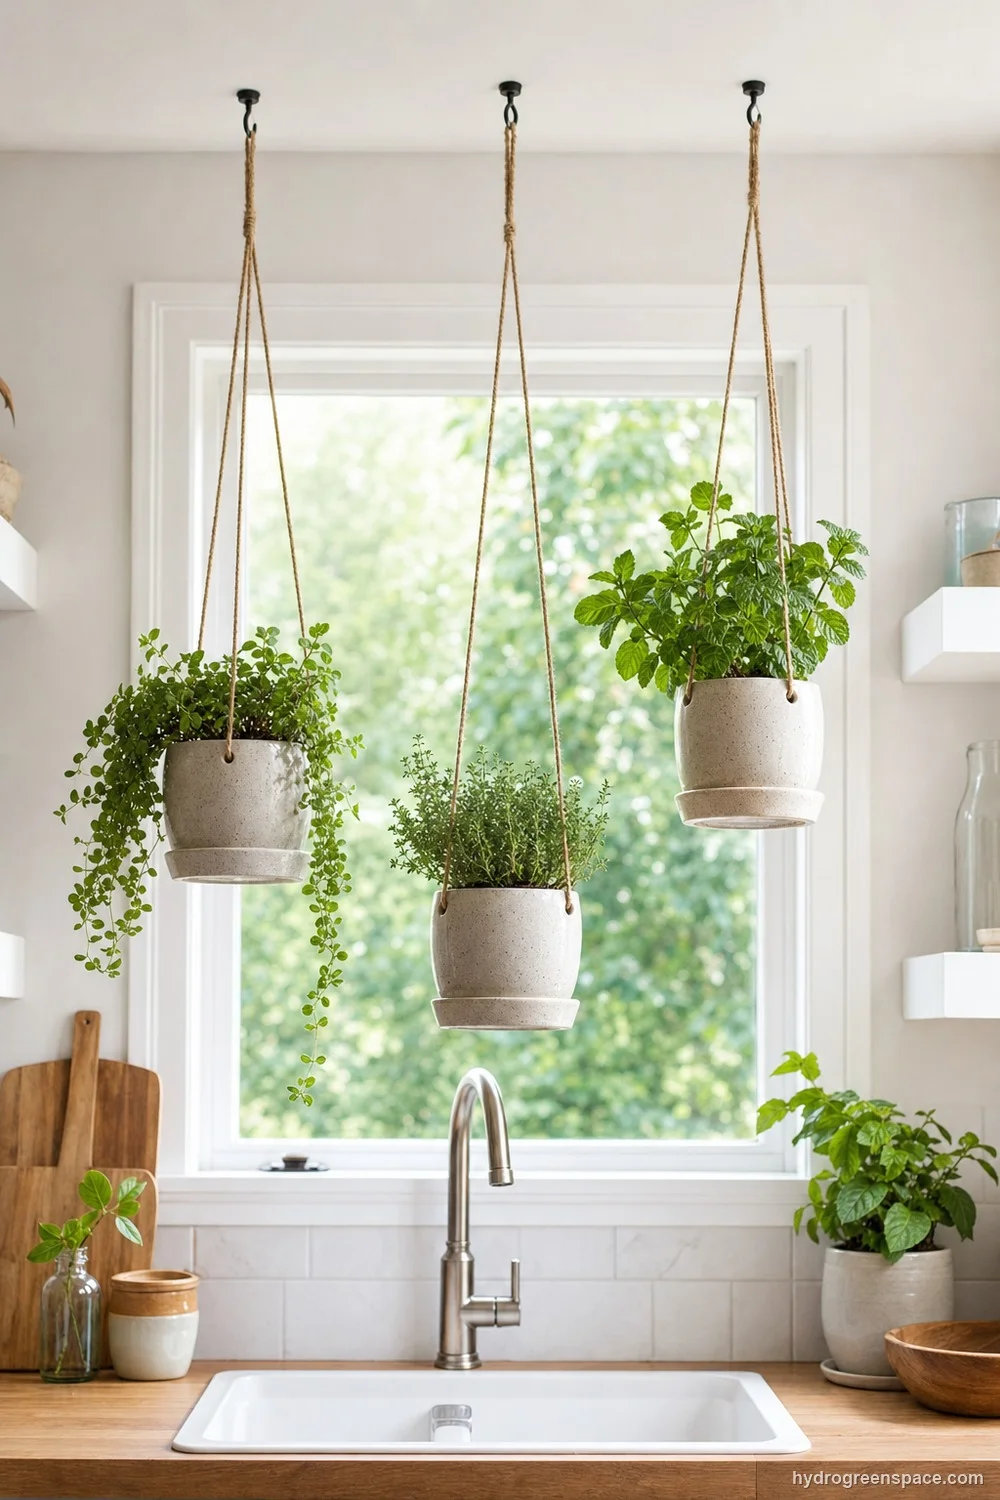
No sill, no counter space, but a bright window? Hang the herbs in it. It suits tiny kitchens where every flat surface is already taken.
What you need: small hanging pots with a built-in drip saucer (so watering doesn’t rain onto the counter), sturdy hooks screwed into a ceiling joist or a curtain rod rated for the weight, and herbs that look good spilling over the edge. Oregano, thyme and mint all trail.
What makes it work: watering. Small pots dry out fast, and hanging ones are easy to forget because they’re above eye level. Glazed ceramic holds water longer than terracotta, which helps here. Keep hanging pots away from a heating vent too: warm moving air dries plants out, and indoor herbs are no exception.
4. A wall-mounted herb planter (vertical herb garden)
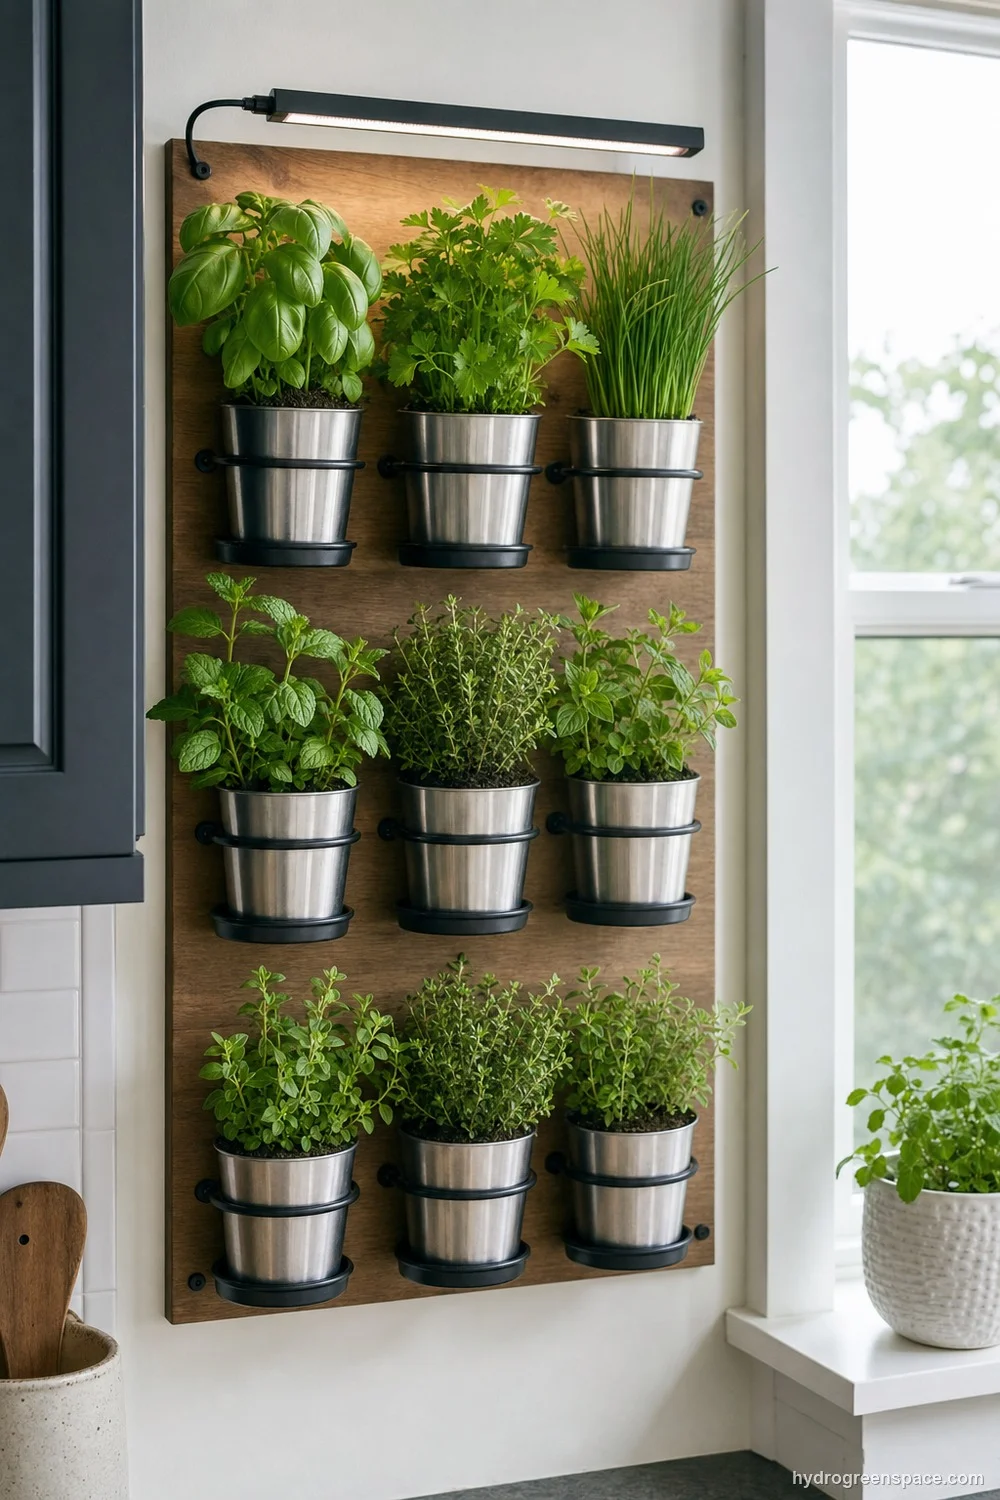
One of the most-saved herb garden ideas on Pinterest, and for good reason: it turns a bare wall into a garden and takes up no counter at all. It suits anyone with an empty stretch of wall near a window.
What you need: a wall board, rail or pocket planter screwed securely into the wall, small pots that sit in rings or on hooks, each with its own drip tray, and, almost always, a slim LED grow light bar mounted above.
What makes it work: the light bar. A wall beside a window gets far less light than the sill itself, because the sun comes in at an angle and mostly lands on the floor. A grow light fixes it: hang it 6 to 12 inches (15 to 30 cm) above the leaves and run it 12 to 16 hours a day on a timer. Plant one herb per pot, too: extension advice is to give each herb its own container, and mint in a shared planter will crowd out everything around it.
5. A counter garden under a grow light
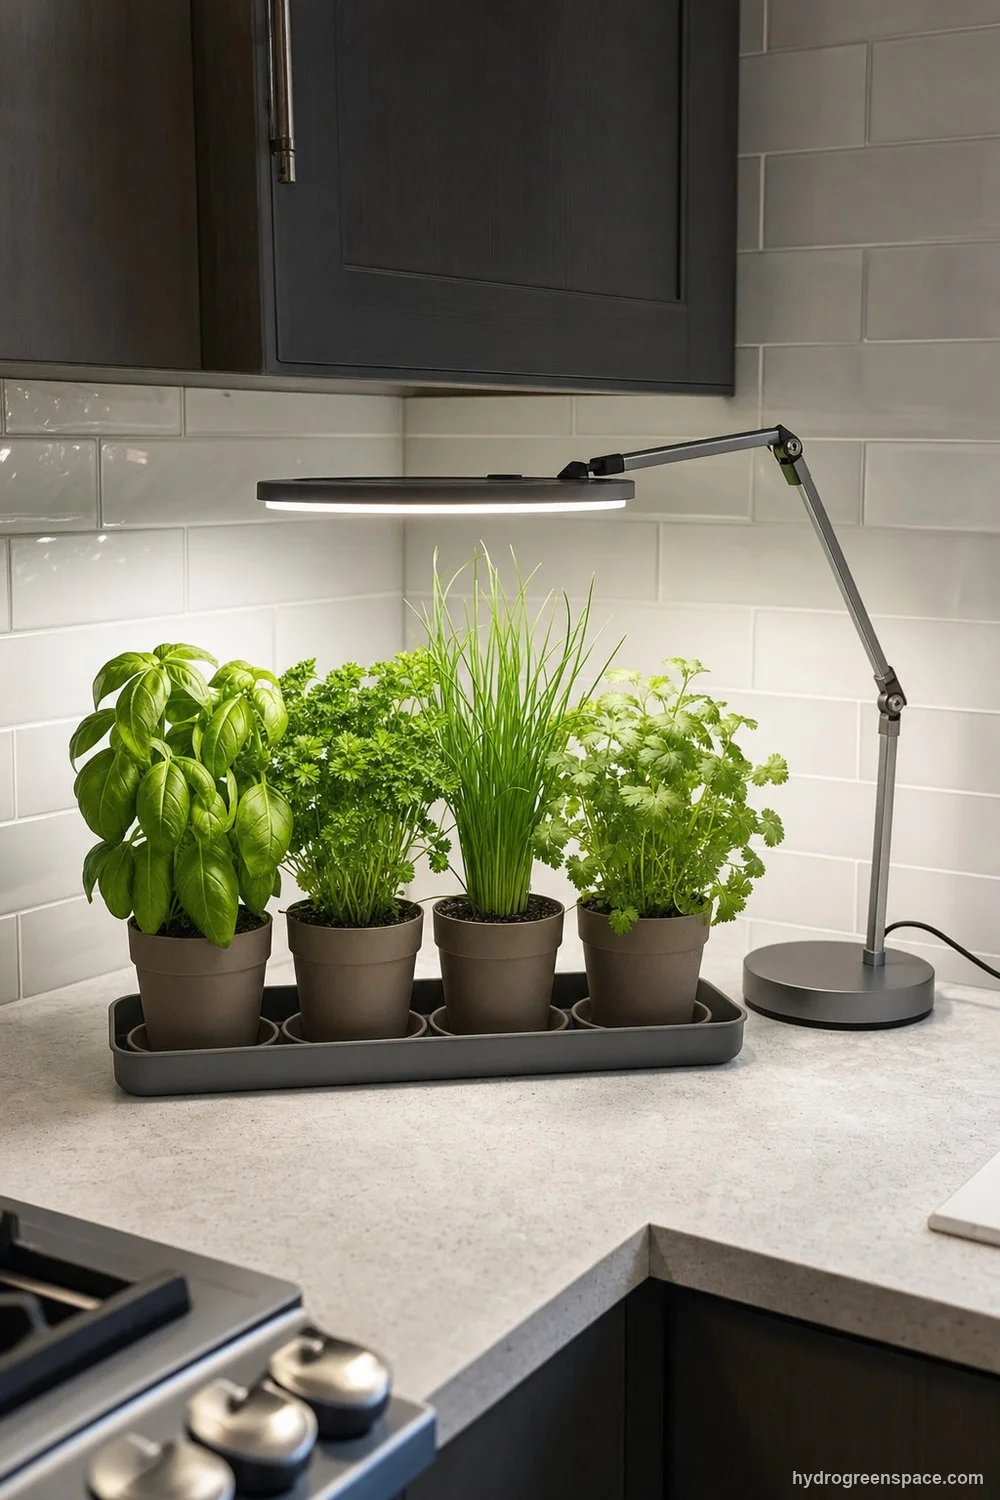
No sunny window at all? This is the easiest fix. An adjustable grow light on a stand turns any corner of the counter into a herb garden. It suits north-facing apartments, basement kitchens and anyone whose windows face a wall.
What you need: a desk-style LED grow light with an adjustable arm, a plug-in timer, a shallow tray to catch drips, and three or four pots.
What makes it work: keeping the light close and on long enough. A light hung high above the pots does very little; 6 to 12 inches above the leaves, for 12 to 16 hours a day, is the target. Raise the light as the plants grow. If you want to check whether a light is strong enough, the DLI calculator turns a light’s PPFD rating and hours into the daily light total the plants receive.
6. A shelf unit with grow lights for a windowless corner
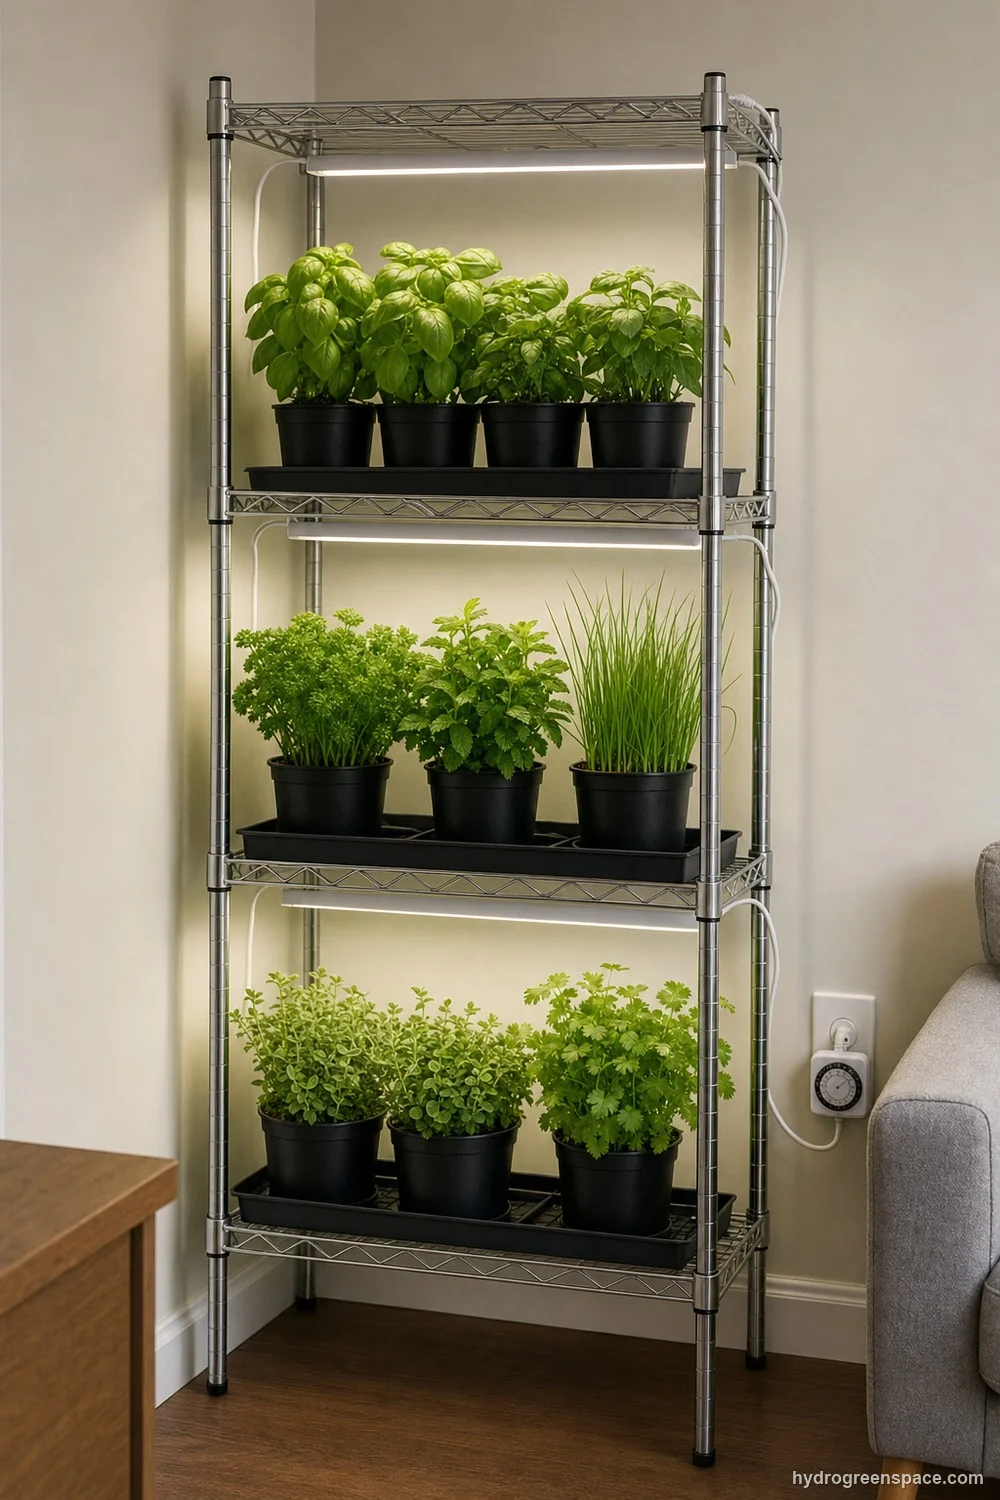
The bigger version of idea 5, for anyone who wants more than a few pots. A wire shelving unit with a light under each shelf can hold a dozen herbs or more in one floor corner. It suits apartments with no good window and a cook who uses herbs by the handful.
What you need: a narrow wire shelf unit, an LED grow light strip or bar for each shelf (fixed under the shelf above), trays for each shelf, a timer, and a power strip. A plug-in 4-foot LED shop light works too, and covers a whole shelf.
What makes it work: heat, air and the timer. The lights sit only a few inches above the plants, so use LEDs, which run far cooler than old-style bulbs. A small fan in the room keeps air moving and helps stop disease spreading between crowded pots, a tip from the same Illinois article. Set the timer once and leave it, so the lights never depend on you remembering.
7. A rolling cart that follows the sun
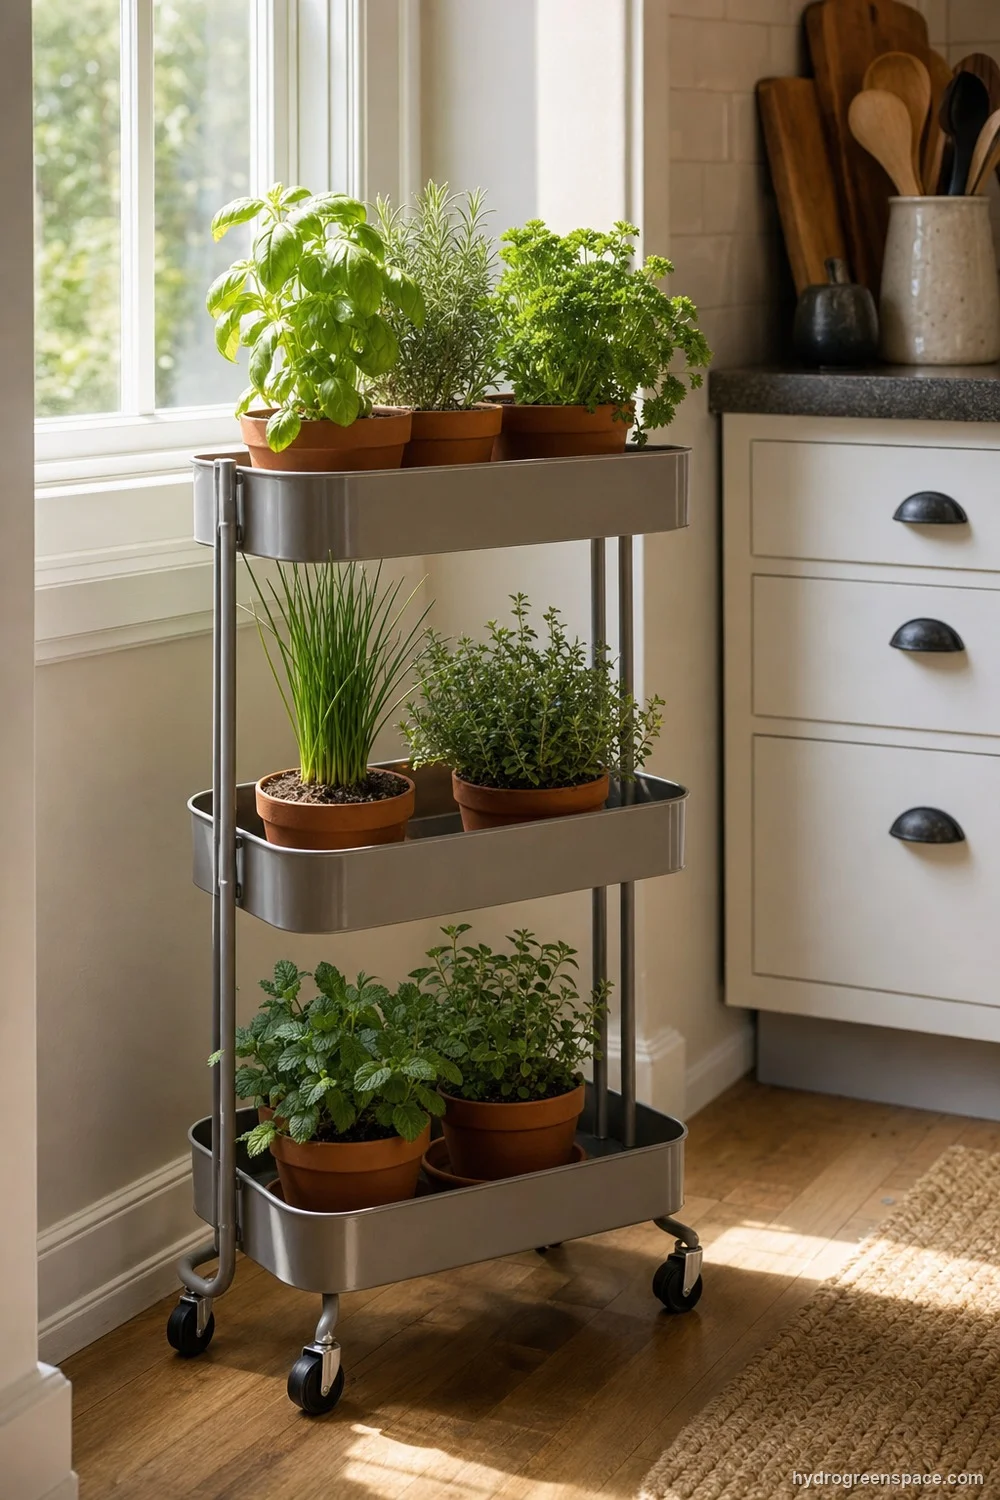
A three-tier utility cart is a herb garden on wheels. Park it in the sunniest window in the morning, roll it next to the stove when you cook. It suits apartments where the best light moves from room to room during the day.
What you need: a metal rolling cart, saucers or a tray on each tier, and six or so pots. The top tier gets the most light, so the sun lovers (basil, rosemary) go there.
What makes it work: using the wheels. An east window gets morning sun, a west window gets the afternoon, and a cart can have both. In winter, roll it back from the glass at night: a window can get much colder than the room after dark, and basil leaves deteriorate below 50°F (10°C), according to Penn State Extension.
8. Mason jar herbs, grown hydroponically
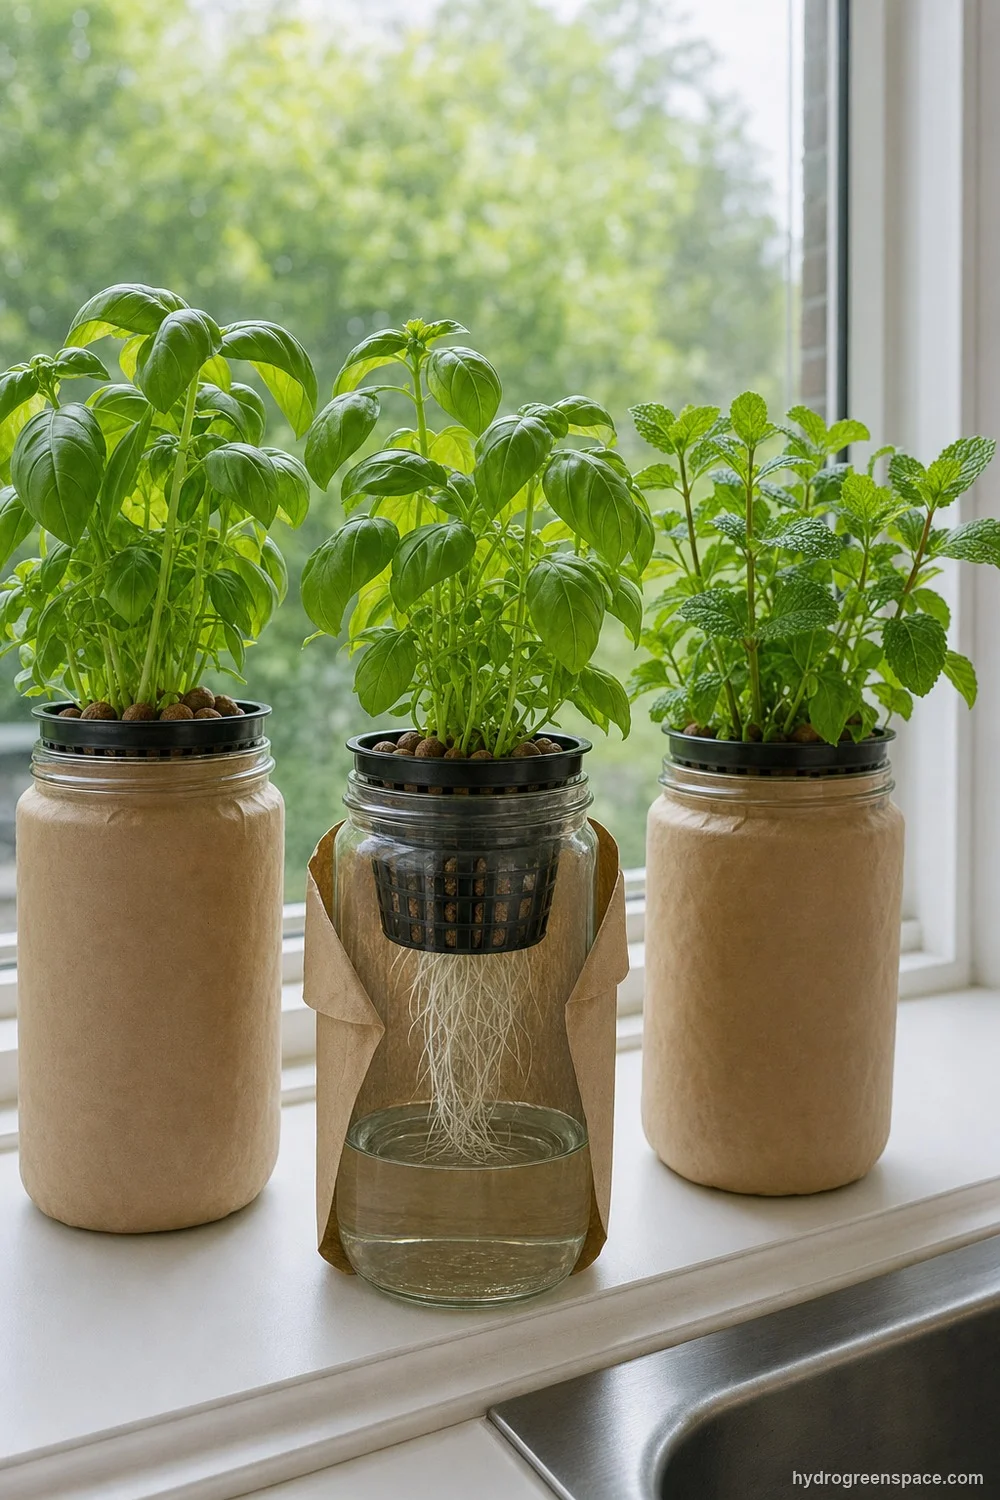
The mason jar herb garden is all over Pinterest, but many versions are jars of soil with no drainage hole, where water pools at the bottom and drowns the roots. The version that works is hydroponic: the herb sits in a net pot in the jar’s mouth, with nutrient water below and no soil at all. It suits anyone who likes a project and wants something prettier than plastic pots.
What you need: wide-mouth quart jars, net pots that fit the mouth, clay pebbles, hydroponic nutrients, and something to make each jar opaque (paint, a fabric sleeve or kraft paper), because light in the water feeds algae.
What makes it work: the air gap. In Dr. Kratky’s original trials, only the bottom of the net pot sits in the solution at first. As the plant drinks, the level drops and a pocket of moist air opens up, and the roots growing through it are how the plant breathes without a pump. Those trials used 4-liter (about 1-gallon) bottles; a quart jar holds about a quarter of that, so a big basil plant will need topping up. How to do that without drowning the air roots is in the mason jar hydroponics build.
9. A countertop pod garden
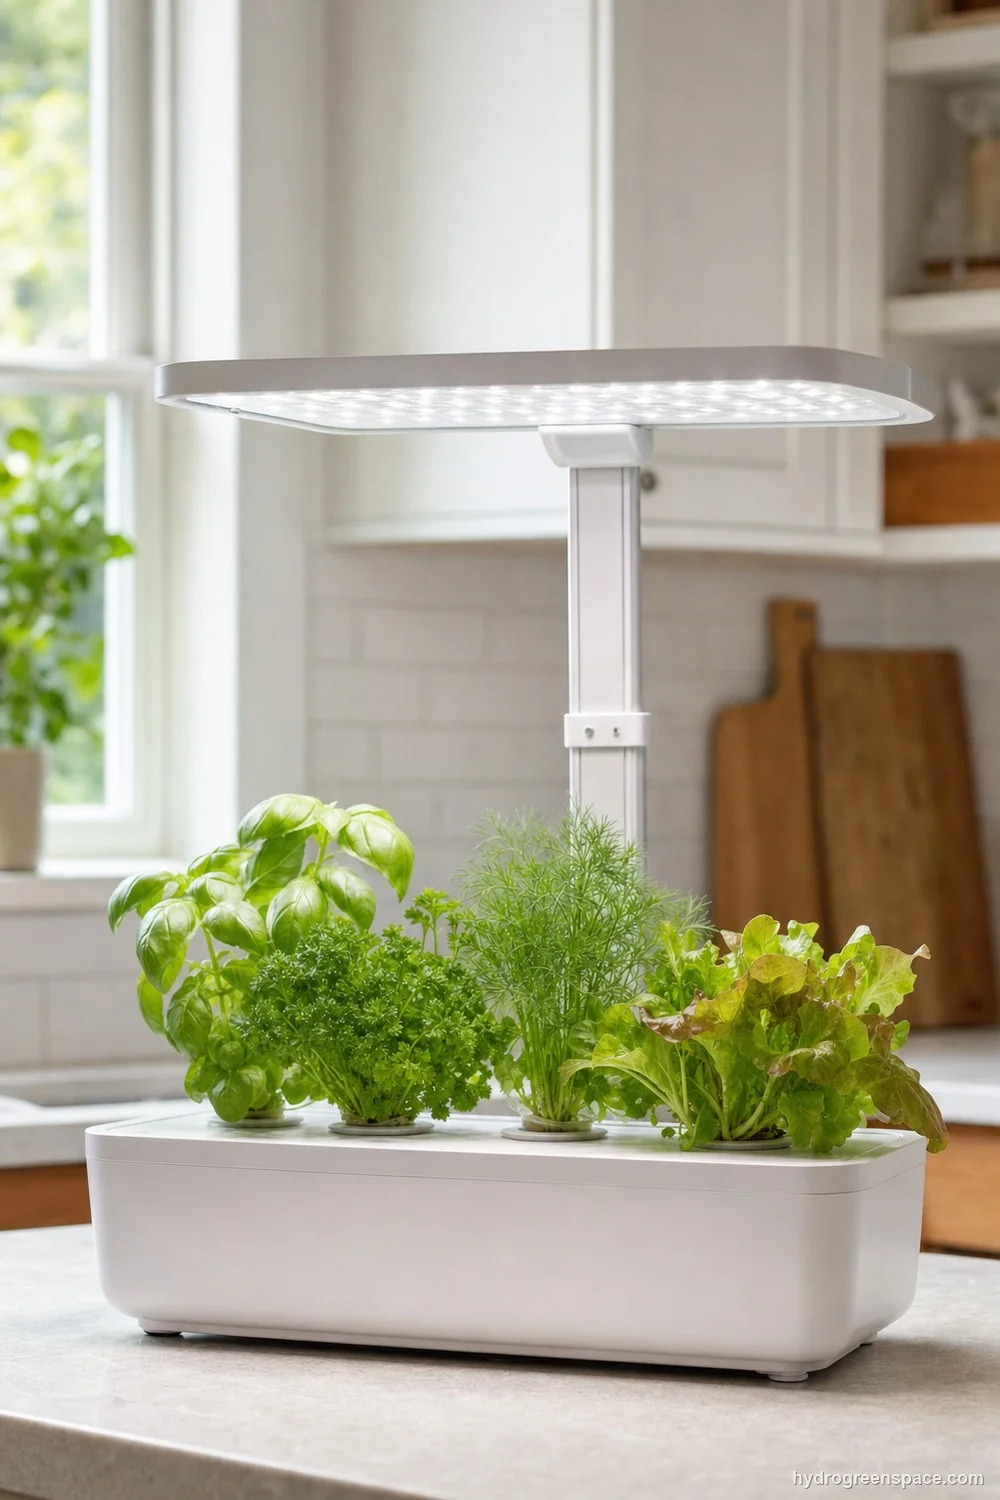
All-in-one countertop gardens combine a water tank, plant pods and a light on an arm in one unit. You add water and nutrients, plug it in and the timer runs the light. It suits beginners, people with no sunny window, and anyone who would rather not think about watering.
What you need: the unit, its seed pods or your own seeds in its grow sponges, and its nutrients. Follow the system’s own feeding instructions; these units are designed around their own dose.
What makes it work: keeping the light raised just above the plants and the tank topped up. The trade-off is size: a pod garden holds a handful of plants, and the light only covers its own footprint. How these compare with a DIY setup, and which herbs do best in them, is in the indoor herb garden hydroponic system breakdown.
10. A jar of cuttings on the sill
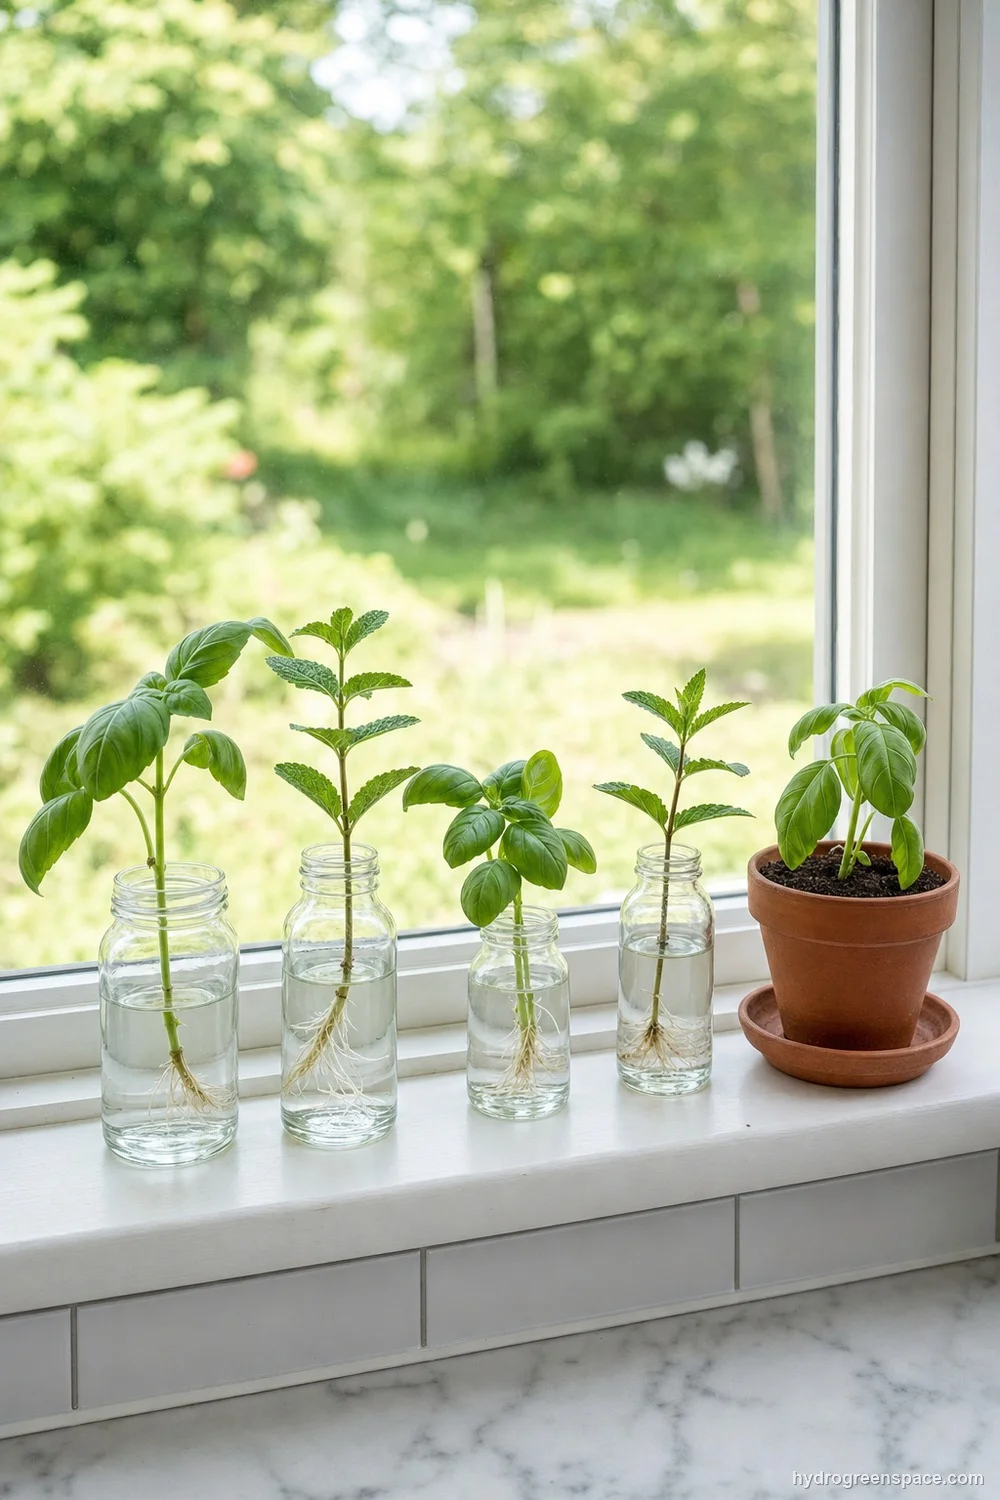
The cheapest idea here, and a great one for winter. Snip a few stems from a basil or mint plant, stand them in water on a bright sill, and they grow roots. It suits anyone who already has one herb plant and wants more for free.
What you need: clean jars or small bottles, a few healthy stem cuttings with the lower leaves pulled off, and a pot of potting mix for when they root. Basil, mint, sage and oregano can all be started from cuttings, according to the same Purdue article.
What makes it work: fresh water and potting them up on time. Basil “will root within a few days to a week” in a glass of water, an Ask Extension expert says. Keep the water fresh, keep leaves out of it so they don’t rot, and pot the cutting up once it has a good tuft of roots.
What wrecks an indoor herb garden?
Whichever idea you pick, the same few things go wrong:
- Leggy, pale stems leaning toward the window. Not enough light. Move the plant closer to the glass, add a grow light, or both.
- Yellow leaves and soil that never dries. Too much water or a pot that’s too big. Let the soil dry between waterings for most herbs. Rosemary is the exception: its soil should never dry out completely.
- Weak flavor. Two common causes. Herbs that flower lose flavor (Penn State says basil leaf flavor declines after bloom), so pinch off flower buds. And too much feed reduces aroma and taste.
- Plants that get thinner every harvest. Cut stems, not single leaves. Basil and parsley can be cut back hard, leaving 4 to 6 inches (10 to 15 cm) of stem; chives, mint, oregano and thyme should lose no more than the top third at a time.
How much to feed depends on the idea. On a winter windowsill, growth slows right down, and Iowa State suggests skipping feeding in winter altogether. Under a grow light for 12 to 16 hours, herbs keep growing, so a liquid feed every two weeks makes more sense. Use it at half or quarter the label strength: herbs need less fertilizer than most potted plants.
One surprise from the research: indoor-grown herbs tend to taste milder than garden ones, but basil is the exception and keeps its full flavor indoors. So if you only start one herb, start basil.
Your next step
Pick the idea that matches your light, not your Pinterest board. A south window means idea 1 or 2; no sunny window means idea 5 or 9. Then buy one basil plant this week, put it in the best light you have, and watch it for two weeks before adding more. For the bigger picture on growing food inside with lights and hydroponics, the indoor hydroponic growing hub shows how herbs fit alongside lettuce, tomatoes and everything else.