
Mason Jar Hydroponics: Grow Herbs With No Pump
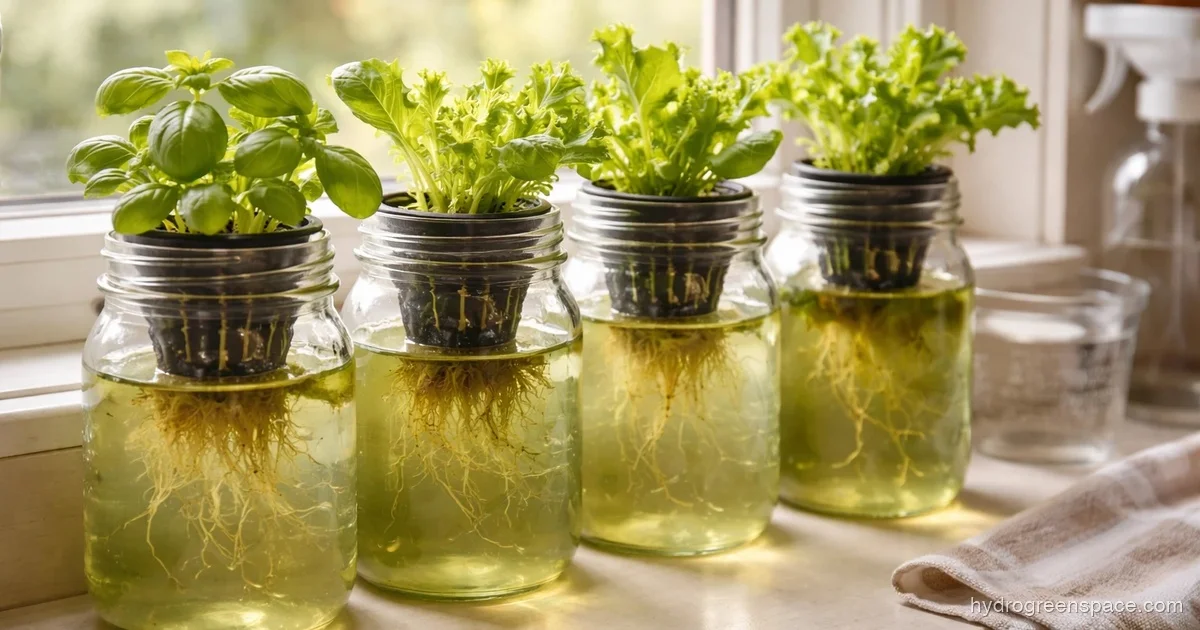
Mason jar hydroponics is one of the cheapest and most satisfying ways to start growing without soil. A single wide-mouth jar, a net pot, and a bottle of nutrients can have herbs or lettuce growing on your windowsill within a week. The setup is nearly foolproof, which is exactly why it’s the first system I’d recommend to anyone who wants to understand how hydroponics actually works before committing to something larger.
How the Kratky Method Turns a Jar Into a Growing System
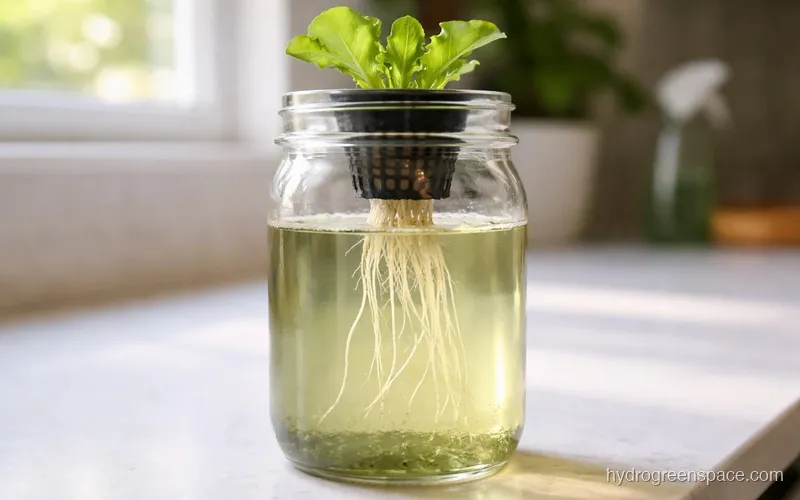
What makes a mason jar hydroponic setup work is the Kratky method, a passive, non-circulating approach to hydroponics that needs no pump and no electricity. You suspend the plant’s roots in a nutrient solution and leave a deliberate air gap between the water surface and the bottom of the net pot. As the plant drinks, the water level drops and that air gap grows, giving the roots above the waterline access to oxygen while the roots below keep drinking.
This air-zone mechanic is what separates a healthy Kratky plant from one that drowns. The roots that stay submerged absorb water and nutrients. The roots that hang in the air above the waterline become what growers call air roots, slightly thicker and lighter in color, and they’re responsible for pulling in oxygen. Without that gap, the plant suffocates at the root zone.
If you want a full walkthrough of the method itself, the Kratky method step-by-step covers it in more depth.
Choosing the Right Jar
Not all mason jars are created equal for hydroponics, and jar size has a real effect on what you can grow and how long the system runs between refills.
Wide-mouth jars are the only jars worth using. Standard-mouth jars have a smaller opening that forces you to use a smaller net pot, which means less growing medium, less root space, and a plant that runs out of room fast. A wide-mouth quart jar (32 oz) fits a 2-inch net cup snugly and works well for herbs like basil, mint, and cilantro. A wide-mouth half-gallon jar holds more nutrient solution and gives you a better shot at growing something like lettuce to full size.
Here’s a quick size guide based on what you want to grow:
| Jar Size | Best For | Refill Frequency |
|---|---|---|
| 1-pint (16 oz) | Small herbs, single lettuce starts | Every 1-2 weeks |
| 1-quart (32 oz) | Basil, cilantro, spinach | Every 2-3 weeks |
| Half-gallon (64 oz) | Lettuce, Swiss chard, green onions | Every 3-4 weeks |
Tomatoes and peppers are a different story. You can technically start them in a mason jar, but they’ll outgrow it within 4-6 weeks. The root mass gets too large and the nutrient demand exceeds what a small reservoir can support. If that’s your goal, a 5-gallon bucket hydroponic system is the right tool from the start.
What to Put in the Net Pot
The net pot sits in the jar mouth and holds your growing medium, which anchors the plant and wicks moisture up to the roots before they reach the water below.
Three mediums work well in a mason jar setup:
Clay pebbles (LECA) are reusable, drain well, and hold the plant firmly. They’re the most popular choice and for good reason. Rinse them thoroughly before use; unwashed clay pebbles will cloud your nutrient solution.
Perlite is cheap and works fine for herbs. It’s lighter than clay pebbles and can float into your reservoir if you’re not careful, so pack it firmly and use a coarser grade.
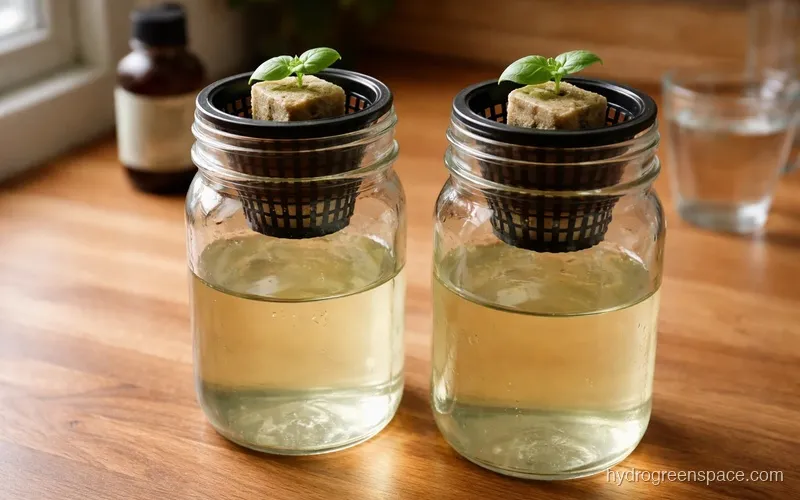
Rockwool cubes work best as a seed-starter medium. You germinate your seed in a rockwool cube, then nestle the whole cube into the net pot surrounded by clay pebbles for support. It gives seedlings a stable start before their roots hit the water. More on that process in using rockwool as a starter medium.
For a broader comparison of what goes in the net pot, choosing the right growing medium is worth a read.
Mixing Your Nutrient Solution
The nutrient solution is just water with a balanced hydroponic fertilizer dissolved in it. You’re not using soil fertilizer here. Use a formula designed for hydroponics that includes all macro and micronutrients.
A two-part or three-part hydroponic nutrient mix (like General Hydroponics Flora Series or MasterBlend) gives you control over what you’re feeding. For herbs and leafy greens in a Kratky jar, target an EC of 1.2-1.8 mS/cm and a pH of 5.5-6.5. pH is not optional. Nutrients become unavailable to the plant outside that range, and you’ll see deficiencies that look like problems with the plant when the real problem is pH.
Fill the jar so the bottom of the net pot sits just barely touching or 1/4 inch above the solution. The growing medium wicks moisture to the seedling’s roots until they grow down into the water. A full guide to mixing and dosing is covered in how to feed hydroponic plants.
Common mistake: Filling the jar too high and submerging the entire net pot. This drowns the roots and prevents the air gap from forming. Start lower than you think you need to.
Preventing Algae Before It Starts
Algae is the most common problem in mason jar hydroponics, and it’s entirely preventable. Algae needs two things to grow: light and nutrients. Your nutrient solution provides the nutrients, so the only variable you can control is light exposure.
Clear glass mason jars let light penetrate the reservoir, which is why they’re algae magnets. You have a few options:
Paint the outside of the jar. Two coats of flat black spray paint on the outside, then a coat of white or another color on top if you want it to look nice. The black layer blocks light completely.
Wrap the jar. Burlap, fabric, or purpose-made jar sleeves do the job and are easy to remove for inspection.
Use dark or amber glass. Specialty mason jars in dark green or amber glass let in far less light than clear jars. They cost more but save you the painting step.
Tape the sides. Black electrical tape or dark craft tape wrapped around the jar body works in a pinch.
Whichever method you choose, leave the lid area accessible so you can check the water level without removing the covering.
Tip: Even with an opaque jar, keep the setup out of direct sunlight. The heat alone can stress roots and encourage microbial growth. Bright indirect light or a grow light is better than a south-facing windowsill.
Water Level Management as Plants Mature
Water level management changes as the plant matures, and it’s the part of the setup that trips up most first-time growers.
In the early weeks, when the plant is small and roots are just reaching the solution, keep the water level close to the net pot. Once the roots are well-established (you’ll see them hanging 3-4 inches below the net cup), stop topping up to the original level. Let the reservoir drop naturally, which expands the air zone and keeps the upper roots oxygenated.
When the solution drops to about 1/3 of the jar’s capacity, it’s time to top up, but don’t fill it back to the original mark. Fill to about halfway. Maintaining a permanent air zone is the whole point.
How often you change water completely depends on what you’re growing. For herbs, replacing the full nutrient solution every 3-4 weeks is sufficient. Lettuce is faster-growing and benefits from a fresh mix every 2-3 weeks. Whenever you top up or replace, check pH first and adjust before adding it to the jar.
What Grows Well in a Mason Jar
Stick to fast-growing, compact plants that don’t demand a large root zone:
- Basil: thrives in Kratky jars, grows fast, and handles slightly higher nutrient concentrations
- Lettuce: leaf varieties like butterhead and looseleaf work better than head varieties in a small jar
- Cilantro: goes from seed to harvest in about 4-5 weeks
- Mint: almost too easy, will take over the jar if you let it
- Green onions: you can regrow them from grocery store cuttings placed in plain water, then transition to a nutrient solution
- Spinach: prefers cooler temps; works well on a windowsill in spring or fall
- Swiss chard: bigger leaves, use a half-gallon jar for enough root space
Herbs like basil and mint are the best starting point if this is your first time. They’re forgiving, grow fast, and give you visible progress within days of germination.
If you want to grow something that needs more space and a larger reservoir, a hydroponic tote setup is the natural next step up from a mason jar system.
Running More Than One Jar
Once you see how easy a single jar is, running a small herb garden of 4-6 jars becomes obvious. Each jar is its own independent system, so you can grow different plants with different nutrient concentrations side by side without any cross-contamination.
Label each jar with the plant name and the date you set it up. Keep a small notebook (or a phone note) with the pH and EC of each jar’s solution so you know when it’s time to check or refresh. It sounds like overkill for a windowsill herb garden, but you’ll thank yourself when one jar starts looking off and you can trace back when you last measured it.
For more cheap system ideas that scale up from a single jar, DIY hydroponic systems under $50 covers the full range of what’s possible without spending much.
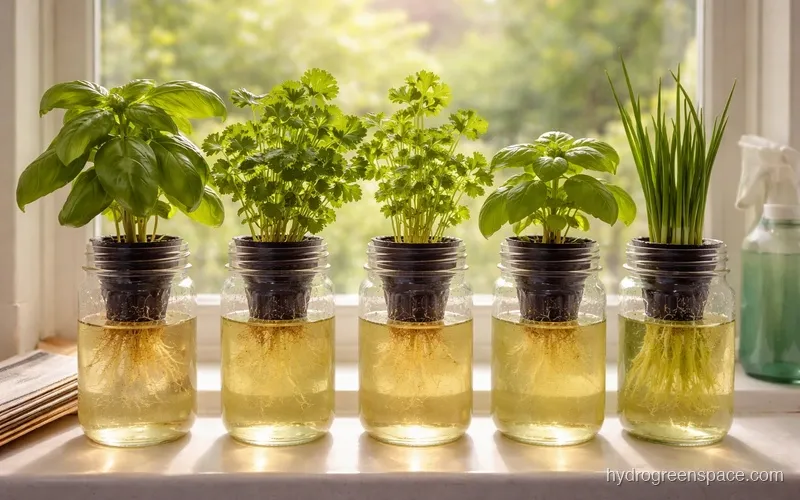
A mason jar hydroponic system is a permanent setup, not a gateway drug. Plenty of experienced growers keep a few jars running year-round for fresh herbs even after they’ve built out larger systems. Once you’ve got the water level management and algae prevention dialed in, there’s genuinely nothing simpler or more low-maintenance. Set one up this weekend, and by the time you’re ready to scale, you’ll already know exactly how hydroponics works. The complete guide to DIY hydroponic systems shows what comes next, from tote builds to multi-site DWC setups.