
Indoor Herb Garden Hydroponic System: Full Guide
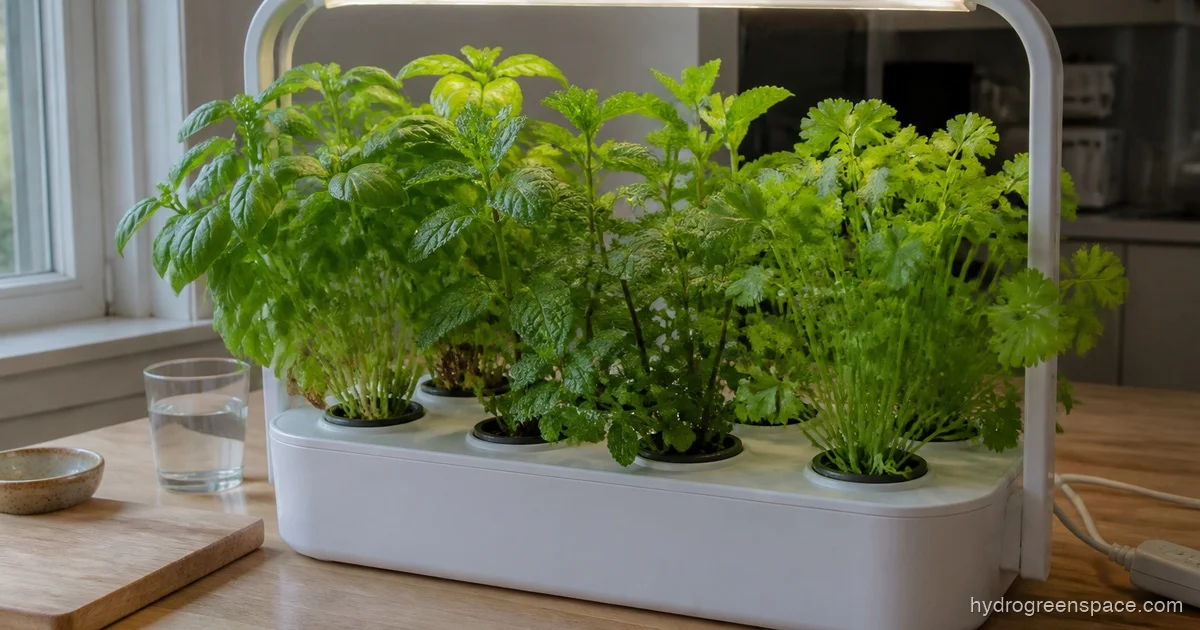
A basil plant that actually thrives on your kitchen counter, mint you can grab by the handful, and cilantro that doesn’t bolt before you can use it. An indoor herb garden hydroponic system makes all of that possible in a space smaller than a coffee maker. But the gap between “plug it in and wait” and “consistently harvest fresh herbs” is wider than the product listings suggest.
This guide is about closing that gap.
Picking the Right System for Your Kitchen (Before You Buy Anything)
Most people approach this backwards. They see an AeroGarden or Click & Grow online, pick the one that looks nice, and figure it out later. That works, but you end up adapting your habits to the system instead of the other way around. Spend five minutes thinking about your kitchen first.
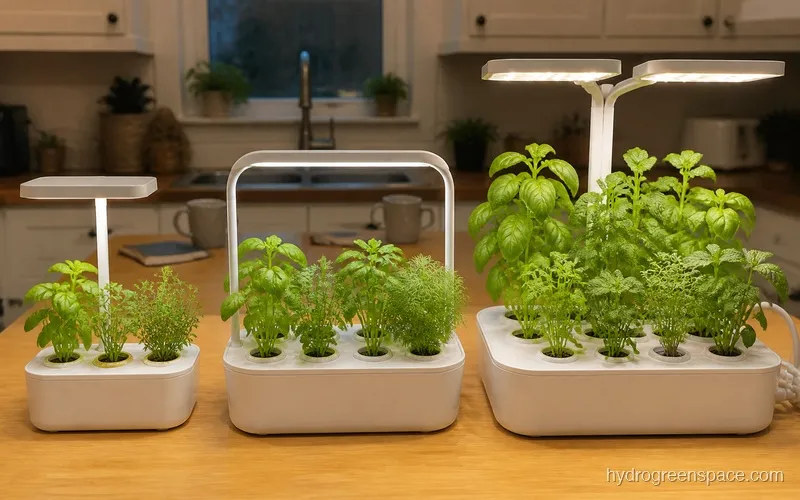
Counter space and footprint. A 6-pod unit takes up roughly the same space as a small appliance. A 9 or 12-pod system is closer to a toaster oven. If you’re working with a tight kitchen, a 3-pod unit or a single compact countertop hydroponic herb garden is genuinely better than a large one that ends up on the floor or in a corner with bad light.
Noise. The pump runs on a timer, usually cycling every 30 minutes or so. Most units are quiet enough that you stop noticing after a few days. A few are not. If you have an open kitchen that bleeds into a living room or bedroom, this matters more than most reviews let on.
Grow light output. Every kitchen herb garden system with grow lights will claim it works in any room. Practically speaking, if your unit is in a spot that gets 4+ hours of direct natural light, the built-in LED is supplemental and almost any system works. If your kitchen has no window or faces north, the LED is everything, and you want at least 20W for a 6-pod unit. Weak light is the main reason herbs look leggy and disappointing after a few weeks.
For a deeper look at light requirements, choosing your first hydroponic system covers this in detail alongside water and nutrient considerations.
The Best Herbs to Start With (and Why It Matters)
Not every herb performs equally in a hydroponic system. The big difference is how fast a plant responds to mistakes. Basil, for example, shows nutrient stress within days. Mint is almost indestructible. Cilantro bolts under stress. Starting with forgiving herbs builds your confidence and your feel for the system before you try the temperamental ones.
Start with these:
- Mint (grows aggressively, tolerates a range of nutrient concentrations, hard to kill)
- Chives (slow to start but steady; good for learning patience)
- Parsley (medium pace, very tolerant of light fluctuation)
- Basil (faster payoff, but more sensitive; add it once you’ve run one successful cycle)
Herbs to hold off on for now:
- Cilantro (bolts easily under heat or inconsistent light; better once you know your system)
- Rosemary and thyme (woody herbs grow slowly and don’t benefit much from the hydroponic speed advantage in a kitchen system)
For a full breakdown of what seeds perform best in small indoor setups, best seeds for indoor hydroponic gardens is worth reading before you order.
Setting Up Your System: The First Two Weeks
The setup itself is straightforward. Fill the reservoir to the max line, drop in the nutrient capsule or measure your liquid nutrients, insert the seed pods, and turn it on. What matters most is what you do in the first two weeks.
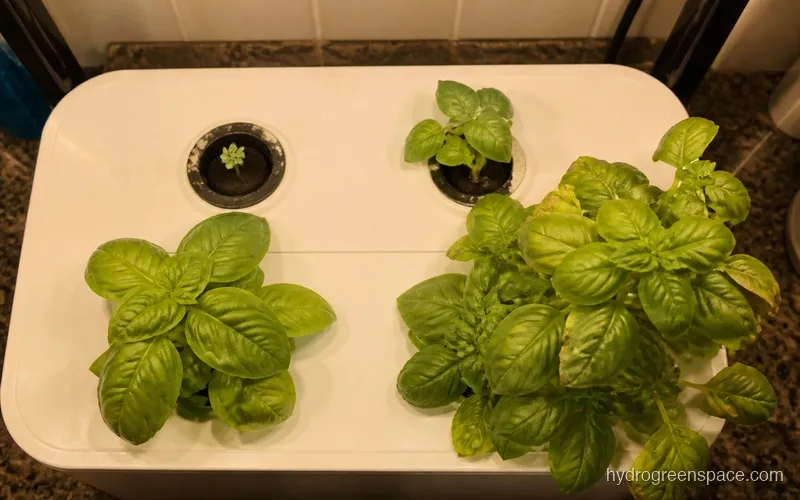
Week 1: Nothing appears to be happening. That’s normal. The seeds are germinating below the grow dome. Keep the domes on to hold humidity. Don’t peek obsessively.
Week 2: You’ll see tiny sprouts. Now is the time to start paying attention to water level. The reservoir drops faster than you expect once roots are forming.
On nutrients: Most all-in-one kits come with branded nutrient capsules. They work well and are genuinely convenient. If you want to skip the proprietary pods and use your own seeds, that’s completely doable. Pull out the grow sponge from an empty pod casing, press your own seed into it, and use a general-purpose hydroponic nutrient solution mixed to the manufacturer’s suggested dilution. The system doesn’t care where the nutrients came from.
What I’d do: Start your first round with the branded seed pods and nutrients so you have a known-good baseline. Once you’ve seen a healthy full cycle, then switch to bulk seeds and your own nutrients. Troubleshooting is much easier when you’ve seen what “right” looks like first.
Water and Nutrient Maintenance (The Part Everyone Gets Wrong)
This is where most beginners run into trouble, and it’s usually one of two things: either they’re changing the water too infrequently, or they’re topping off instead of changing and wondering why their plants look tired.
Topping off vs. full changes. As water evaporates and the plants drink, the nutrient concentration in the reservoir actually increases. If you only top off with plain water, you dilute it back down. If you only top off with nutrient solution, you concentrate it too high. The right rhythm is: top off with plain water every few days, then do a full reservoir change every 2-4 weeks.
A full change means emptying the reservoir completely, rinsing it with clean water, and refilling with fresh nutrient solution. This resets the mineral buildup and prevents the salt deposits that clog pump inlets over time.
Signs the nutrient solution needs attention:
- Yellow leaves on basil, especially lower leaves (usually nitrogen deficiency from a depleted solution)
- Slowed growth that was progressing well (often overdue reservoir change)
- White crusty residue on the reservoir walls (salt buildup; time for a full clean)
What to Do When Basil Keeps Dying
Basil dying in a kitchen hydroponic system after 2-3 weeks is the single most common complaint, and it almost always comes down to one of three things.
Light is too weak or too far away. Basil needs more light than parsley or chives. If the grow light arm is extended to full height to accommodate larger plants, the light intensity at canopy level drops significantly. Keep basil pods under the light at close range (within 2-4 inches of the LED panel) especially in the first month. Most systems let you adjust the arm height.
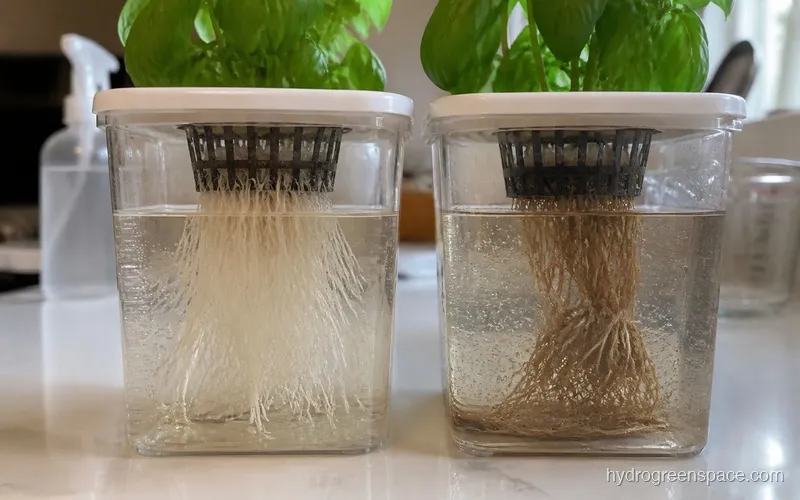
The reservoir hasn’t been changed. A 3-week-old nutrient solution in a warm kitchen can develop bacterial growth and nutrient imbalances. If your basil looked great for two weeks and then crashed, this is the likely cause.
Root rot from poor circulation. If the pump cycles are too infrequent or the roots are sitting in stagnant water, you’ll see brown, slimy roots and sudden leaf drop. The fix is usually a full reservoir change plus a rinse with a diluted hydrogen peroxide solution (3ml of 3% H2O2 per liter of water) before refilling.
If you’re seeing multiple problems at once across your system, common beginner mistakes in hydroponics runs through the full diagnostic list.
Harvest Timing: How Long Until You’re Actually Cutting Herbs
Days to harvest depends on the herb, the system, and your light situation. Realistic timelines in a well-maintained countertop system:
| Herb | First Harvest |
|---|---|
| Basil | 21-28 days |
| Mint | 25-30 days |
| Parsley | 35-45 days |
| Chives | 30-40 days |
| Cilantro | 25-35 days |
Harvest time is measured from transplant or germination, not from the day you order the system. You’ll wait longer if your light is weak or your kitchen runs warm (above 75°F / 24°C speeds growth but also stresses plants).
The right harvesting technique matters almost as much as the timing. For basil, always pinch from the top, just above a leaf node. This encourages branching and keeps the plant producing for months. Cutting from the bottom or stripping leaves weakens the plant fast.
AeroGarden vs. Click & Grow vs. DIY: An Honest Take
These three options represent three different philosophies more than three product categories.
AeroGarden runs a pump-based system with a decent LED and a digital timer. The pods are proprietary but third-party pods exist. It’s the most kitchen-appliance-like experience, with reminders and an app if you want them. The grow light arm is adjustable. Best for people who want a plug-and-play experience and don’t mind paying for convenience.
Click & Grow uses a soil-based growing medium (not true hydroponics, technically), which makes it more forgiving for complete beginners but slower-growing than a true nutrient solution setup. No pump means no noise. Pods are more expensive than AeroGarden’s. Best if noise is a dealbreaker or you want the lowest-maintenance possible option.
DIY setup (net pots, a reservoir, a small air pump or submersible pump, and a grow light) costs less in the long run and gives you full control over nutrients, seed selection, and scale. The tradeoff is that there’s no hand-holding during setup. If you’re already comfortable with building an indoor hydroponic garden from scratch, a DIY herb garden is a natural next step. If you’re brand new, start with a kit and build toward DIY.
For a full side-by-side on kits vs. DIY at different budget levels, best beginner hydroponic systems breaks it down.
Is It Worth It for a Beginner?
Yes, with one condition: match the system to your actual kitchen, not to the best-reviewed unit on Amazon. A 6-pod system on a bright windowsill counter will outperform a 12-pod system shoved in a dim corner every time.
The learning curve is shorter than most people expect. By the time you’re into your second or third crop, maintenance becomes a 10-minute weekly task. The ongoing cost of replacement pods is real, but it becomes easy to manage once you have a full cycle behind you and know what your system actually needs.
When you’re ready to go beyond kitchen herbs into a fuller indoor growing setup, the indoor hydroponic growing guide covers every indoor environment and system type so you can decide where to expand next. Your first indoor hydroponic garden is the natural next step for learning the full setup process, and how much it costs to start hydroponics lays out every expense clearly before you commit.
Your herbs are closer than you think.