
6 Bucket Hydroponic System: DWC vs RDWC Build Guide
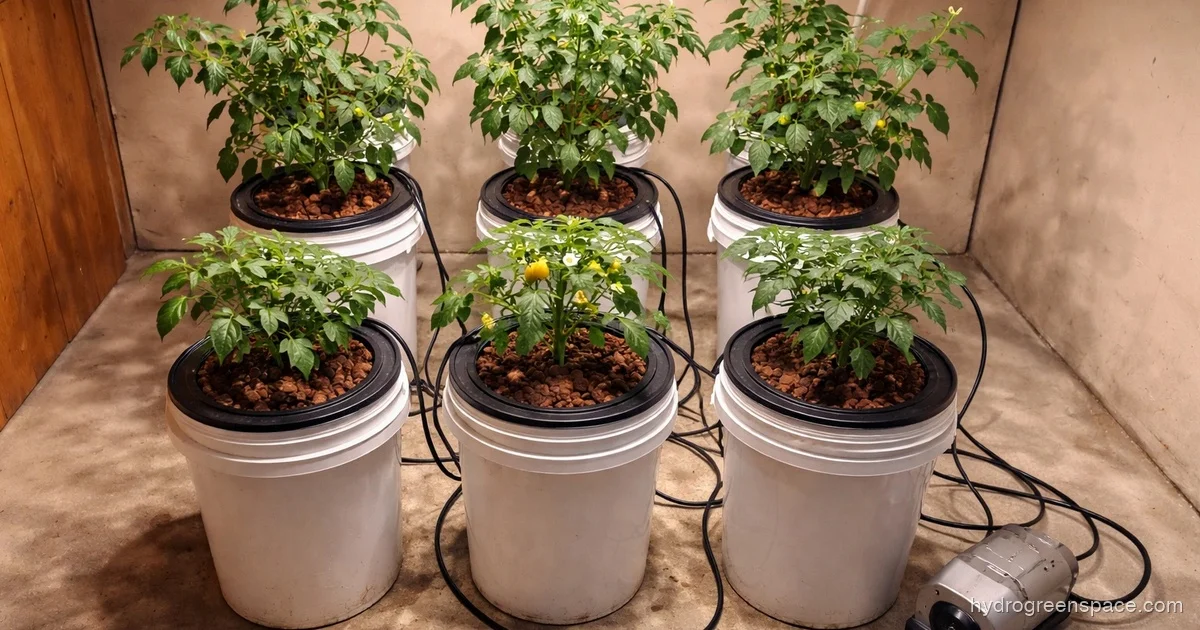
Six buckets is the point where hydroponics stops feeling experimental and starts feeling like a real growing operation. It’s also where the setup decisions you made on a single-bucket system or a two-plant system suddenly matter a lot more, because mistakes scale too.
Before you buy anything, you have a choice to make: standalone DWC or recirculating DWC (RDWC).
Standalone DWC vs RDWC: Which One Should You Build?
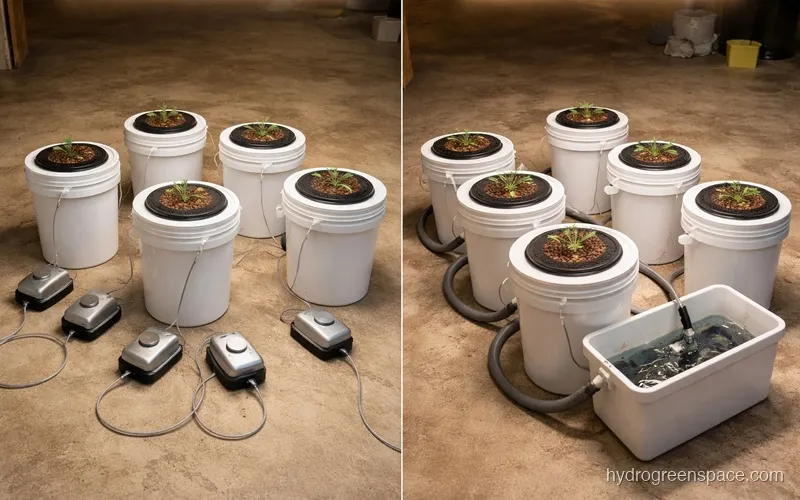
In a standalone 6 bucket DWC system, each bucket operates independently. Every bucket has its own air stone and air pump, and you manage pH and nutrients in each one separately. It’s more labor, but there’s a critical upside: if one bucket develops a problem (root rot, a pH crash, a contaminated nutrient solution), it stays in that bucket. The other five keep growing.
In a recirculating bucket hydroponic system (RDWC), all six buckets are connected by tubing to a central reservoir. Nutrient solution circulates through the whole system. You only need to adjust pH and nutrients once, in the reservoir. It’s far more efficient to manage at scale.
The trade-off is risk. One problem in the reservoir becomes a problem in all six buckets, fast.
Here’s how to choose:
- Go standalone DWC if this is your first multi-bucket grow, you’re growing different plant types that need different nutrient concentrations, or you want to minimize catastrophic failure risk
- Go RDWC if you’ve successfully run a smaller system before, you’re growing the same crop across all six sites, and you want to spend less time on daily maintenance
If you’re newer to this, the DWC system explained guide covers the fundamentals worth reading before you build either version.
What You Need to Build a 6 Bucket Hydroponic System
The core parts list is the same whether you go standalone or RDWC, with some additions for the recirculating version.
For standalone 6 site DWC:
- 6x 5-gallon buckets with lids (food-grade, opaque)
- 6x 3-inch or 6-inch net pots (or net lids)
- 6x air stones
- 1x 6-outlet air pump (or 2x 3-outlet pumps)
- 6+ feet of air line tubing
- Hydroton or clay pebbles (growing medium)
- pH meter, pH Up/pH Down
- EC/TDS meter
- Hydroponic nutrients (3-part or 2-part formula)
- Seedling starter plugs (rockwool or rapid rooter)
Additional parts for RDWC:
- 1x separate reservoir bucket (10-20 gallon)
- Bulkhead fittings (one per bucket)
- 3/4-inch or 1-inch PVC tubing or vinyl hose
- A water pump to circulate solution back to the reservoir
Check the hydroponic equipment checklist if you want a complete breakdown including brands and sizes before you order.
Tip: Buy opaque buckets, not translucent. Light penetration into the nutrient solution grows algae fast. Black or dark green buckets are standard for a reason.
How Much Does a 6 Bucket Hydroponic System Cost?
This is the question nobody answers directly. Here’s an honest breakdown.
DIY standalone build (budget):
| Item | Estimated Cost |
|---|---|
| 6x 5-gallon buckets + lids | $18-25 |
| Net lids (6-pack) | $10-15 |
| 6-outlet air pump | $20-30 |
| Air stones + tubing (6-pack) | $10-12 |
| pH meter | $15-25 |
| EC/TDS meter | $10-18 |
| Nutrients (starter bottle) | $20-35 |
| Growing medium (clay pebbles) | $12-18 |
| Miscellaneous (tubing, connectors) | $5-10 |
| Total | $120-$168 |
A quality pre-built 6 site hydroponic bucket system kit from a hydroponics retailer will run $250-$400 for the hardware alone. The DIY route is roughly half the cost if you source the parts yourself, and you’ll understand the system better when something goes wrong.
For a broader look at startup costs, the how much it costs to start hydroponics guide puts these numbers in context.
Step-by-Step: Building the System
Step 1: Drill the net pot holes
Mark the center of each bucket lid and drill to fit your net pots. A 3-inch hole saw works for 3-inch net pots; use a 6-inch saw for larger sites. Deburr the edge so the net pot sits flush without cracking.
Step 2: Set up the air system
Run air line tubing from the pump to each bucket. Keep runs as equal in length as possible so each air stone gets the same pressure. Connect one air stone per bucket, weighted or suction-cupped to the bottom.
The rule of thumb is 1 watt of air pump output per gallon of solution. Six 5-gallon buckets holding roughly 3-4 gallons each (accounting for root displacement) means you need at least an 18-24 watt pump. A 6-outlet pump in the 20-30 watt range covers it.
Step 3: Fill and balance your nutrient solution
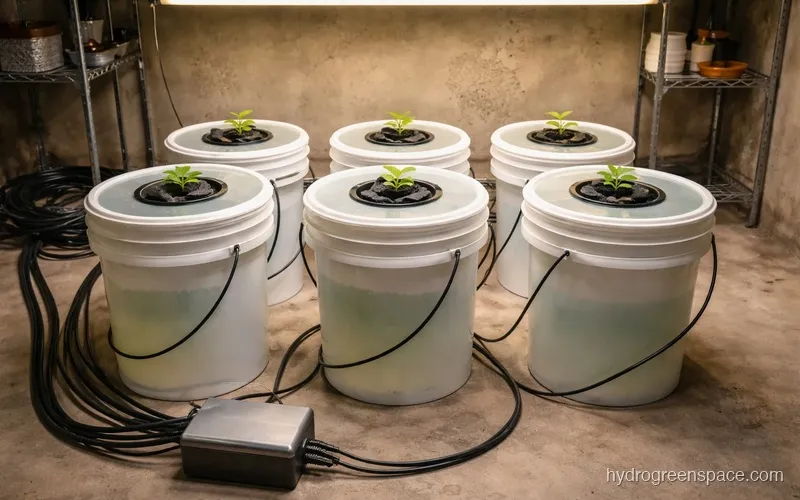
Fill each bucket to 1-2 inches below the net pot. Mix your nutrient solution according to the manufacturer’s feeding schedule. For most crops in early veg, you’re targeting EC 1.2-1.8 and pH 5.5-6.2.
Learning to feed your hydroponic plants correctly from the start prevents most of the common problems beginners hit at week 2 and 3.
Step 4: Level the buckets
Every bucket needs to sit at the same height. This sounds obvious until you’re on an uneven garage floor. Use a level and shims if needed. In RDWC especially, buckets that aren’t level cause water to pool in some and drain low in others, throwing off your root zone consistency.
Step 5: Plant your seedlings
Place rooted seedlings in starter plugs into the net pots and backfill with rinsed clay pebbles. The tap root should reach the nutrient solution, or be close enough that the bubbles splash the bottom of the net pot during germination.
What to Grow in a 6 Plant Bucket System
Six buckets gives you real flexibility, and yes, tomatoes and peppers absolutely work here. This is one of the most common questions and the answer is usually “it depends on your space and light.”
Best crops for a 6 site DWC setup:
- Tomatoes (indeterminate varieties): One plant per bucket, grow vertically. Expect to train aggressively. These will use 4-5+ gallons of water per week at peak fruiting.
- Peppers (sweet and hot): Lower water demand than tomatoes, dense yields per plant. Great for a 6-bucket grow.
- Cucumbers: Fast, aggressive growers. Needs a trellis. One plant fills a 5-gallon bucket fast.
- Lettuce or leafy greens: You can pack 2-4 plants per bucket, though larger net lids make this easier. Turnover is fast.
- Basil and herbs: Yields well in DWC, lower nutrient demand than fruiting crops.
Avoid mixing heavy feeders (tomatoes, peppers) with light feeders (lettuce, basil) in the same recirculating system. In standalone DWC, you can dial each bucket separately, which is why mixing crops is more manageable there.
Troubleshooting Multi-Bucket Problems
Running six buckets introduces problems you don’t see at single-bucket scale.
Uneven water levels across buckets
In standalone DWC, this is normal. Each plant drinks at its own rate, especially once roots are established. Check each bucket every 1-2 days and top off with plain pH-adjusted water (not nutrient solution) to maintain levels.
In RDWC, uneven levels usually point to a blocked fitting, a kinked hose, or a bucket that isn’t level. Check the fittings and verify all buckets are at equal height.
pH drift at scale
Six buckets means more root mass, more nutrient uptake, and more aggressive pH swings. In standalone, one bucket can drift while the others stay stable. Check each individually.
In RDWC, pH drift in the reservoir affects all six plants simultaneously. You’ll want to check the reservoir at least once daily during peak veg, twice during the stretch phase if you’re running tomatoes.
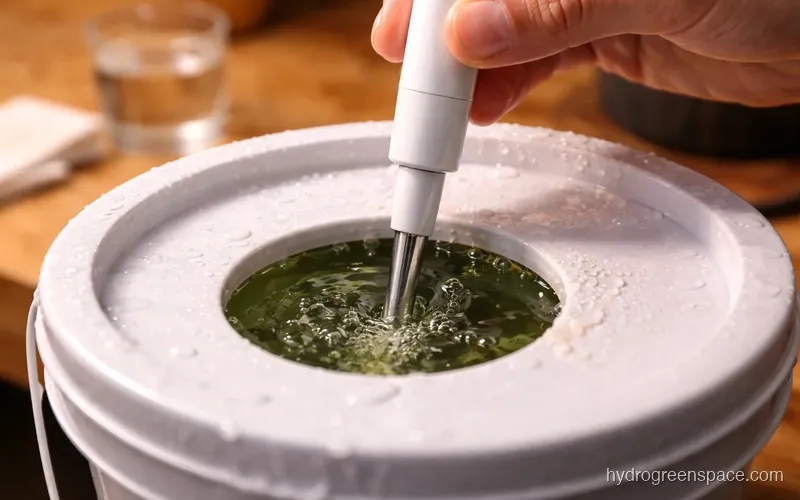
Warning: If your pH drops more than 0.5 in 24 hours, it usually signals a root issue or a nutrient imbalance, not a calibration problem. Don’t just chase it with pH Up, investigate the root zone first.
Root rot in one bucket
In standalone DWC, isolate and treat. In RDWC, you need to act fast. Pull the affected plant, drain the reservoir, flush the lines, and treat with beneficial bacteria before restarting. Preventing this from the start is far easier than treating it.
How Often to Change the Water
The general answer is every 7-14 days for a full reservoir change. The real answer depends on your crop, the ambient temperature, and how fast your plants are drinking.
In warm environments (above 72F / 22C), nutrient solutions can degrade faster and become a breeding ground for bacteria. Cooler growing spaces let you stretch to the 14-day mark reliably. When you do a full change, rinse the bucket walls with clean water and check the net pots for any slime buildup.
If you’re regularly topping off more than 20-30% of total volume between changes, your plants are drinking faster than you’re replenishing, and you may need to move to weekly changes.
For a deeper look at timing, the when to change your nutrients guide covers the signals to watch for.
Six buckets is a functioning production system. The build takes a few hours, the costs are manageable if you source the parts yourself, and once the roots hit their stride you’ll have more produce than you expected. Level every bucket, check your air lines before you plant, and keep an eye on your reservoir temperature in warm weather. Those three habits prevent most of the problems growers run into at this scale. For a broader look at how a six-bucket build compares to other approaches, the DIY hydroponic systems guide covers every format from single-bucket DWC to full RDWC.