
Single Bucket Hydroponic System: Setup & Plant Guide
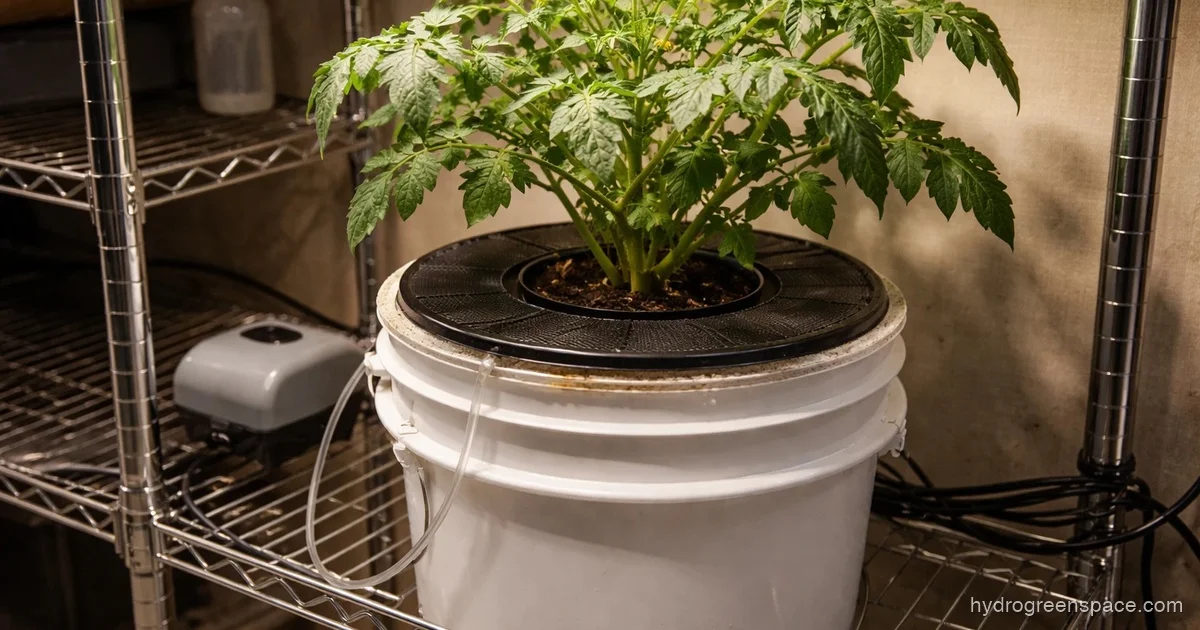
If you’ve been researching hydroponics for more than an hour, you’ve probably already seen the path the internet wants to push you down: start small, then “scale up” to a recirculating system with six buckets, a reservoir, and enough tubing to confuse a plumber. That path isn’t wrong, but it skips over something genuinely useful: a single bucket hydroponic system is a complete, proven grow setup on its own, not just a stepping stone.
One bucket. One plant. One air pump. That’s it. You can grow a full-size tomato plant, a heavy-yielding pepper, or a cucumber vine in a 5-gallon bucket and get results that will beat most outdoor container gardens. Here’s how to set one up, which plants are actually worth growing in it, and how to keep it running without problems.
What a Single Bucket Hydroponic System Actually Is
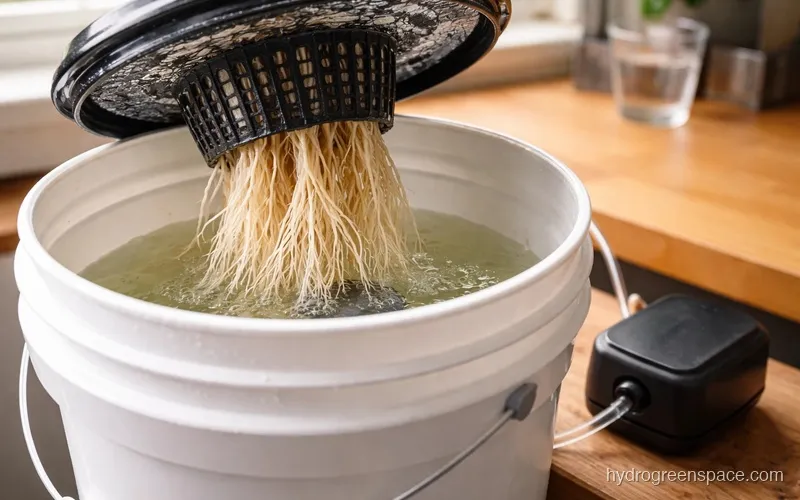
A single bucket DWC system (deep water culture) suspends a plant’s roots directly in an oxygenated nutrient solution. The plant sits in a net pot fitted into the bucket lid. An air pump pushes air through a tube to an air stone at the bottom of the bucket, which keeps the water oxygenated enough that the roots don’t drown.
That’s the whole system. There’s no separate reservoir, no pump moving water between containers, no recirculating loop. The bucket is the reservoir. Roots hang straight down into the solution, and the plant grows up through the net pot lid.
The reason it works so well is root zone oxygenation. In soil, roots search for oxygen pockets between particles. In a DWC bucket, the air stone delivers oxygen directly to the root zone constantly, which is why hydroponic plants can grow 30–50% faster than their soil equivalents.
Kratky vs. DWC Single Bucket: Which One Should You Build?
Before you buy anything, you need to know there are two flavors of single-bucket hydroponics. They look nearly identical but behave differently.
Kratky (passive): No air pump. No electricity beyond your grow light. You fill the bucket with nutrient solution, place the plant, and let it sit. As the plant drinks the water down, an air gap forms above the solution and the roots grow into it to access oxygen. Simple, silent, low-cost.
DWC (active): Uses an air pump and air stone running 24/7 to oxygenate the solution directly. The water level stays higher, roots stay submerged, and you get faster growth.
For fast-growing leafy greens or herbs, Kratky works fine. You can learn more about the Kratky approach in this guide to building a Kratky hydroponic system. But if you want to grow tomatoes, peppers, or cucumbers in a single bucket, go DWC. Those plants need aggressive nutrient uptake to support heavy flowering and fruiting, and a passive Kratky setup won’t keep up.
What You Need: Parts List
You can put a single bucket DWC system together for under $40 if you’re sourcing parts yourself. Before you start, check your hydroponic equipment checklist to make sure you’re not missing anything.
- 5-gallon bucket with a matching lid (black is best, as it blocks light to prevent algae)
- 2-inch or 3-inch net pot (sized to fit your lid hole)
- Air pump rated for at least 2W output
- Air stone (round disk style gives better bubble coverage than a cylindrical one)
- Flexible airline tubing to connect pump to stone
- Check valve (prevents water from siphoning back into your pump if power cuts out)
- pH meter or test strips
- pH Up and pH Down solution
- Hydroponic nutrient solution (two-part or three-part formula)
- Hydroton (clay pebbles) or another inert growing medium to support the seedling in the net pot
- A thermometer for the nutrient solution
Total startup cost varies, but this guide to how much it costs to start hydroponics breaks it down in detail if you’re budgeting carefully.
Tip: Buy a black bucket, not a white or translucent one. Light penetrating the sides will trigger algae growth in the nutrient solution, which competes with your plant and clogs up the air stone fast.
How to Set Up a Single Bucket DWC System
Step 1: Cut the net pot hole in the lid. Most lids need a 2- or 3-inch hole saw cut to seat the net pot. The net pot should sit snugly with the rim resting on the lid.
Step 2: Set up the air system. Run airline tubing from your pump through a small hole drilled in the side of the lid near the top, or under the lid rim. Attach the air stone at the end and place it flat on the bucket floor. Insert the check valve with the flow arrow pointing toward the air stone.
Step 3: Mix your nutrient solution. Follow your nutrient formula’s instructions for the vegetative stage. Fill the bucket to within 1 inch of the bottom of the net pot for established plants, or have the solution touching the bottom of the net pot when first starting seeds or seedlings.
Step 4: Adjust pH. Target pH 5.5–6.5 for most vegetables. Tomatoes and peppers prefer 5.8–6.2. Test before adding your plant. If you’re newer to how to feed hydroponic plants, spend some time there before this step.
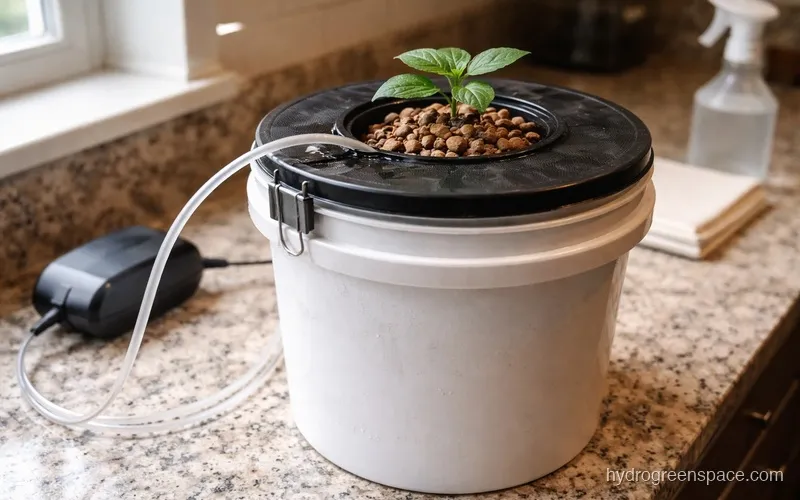
Step 5: Plant your seedling. Fill the net pot with dampened clay pebbles, nestle in your seedling (started in a rockwool cube or coco plug works best), and seat it in the lid hole.
Step 6: Turn on the pump. The air stone should produce a steady stream of small bubbles. Large, irregular bubbles mean the stone may be clogged or you need a stronger pump.
Best Plants for a Single Bucket System
Tomatoes (indeterminate varieties): This is the high-payoff pick for a single bucket. Varieties like Sweet 100 cherry tomatoes or Sungold will thrive in a 5-gallon DWC bucket with consistent light. Expect 6–10 months of production from one plant once it gets going.
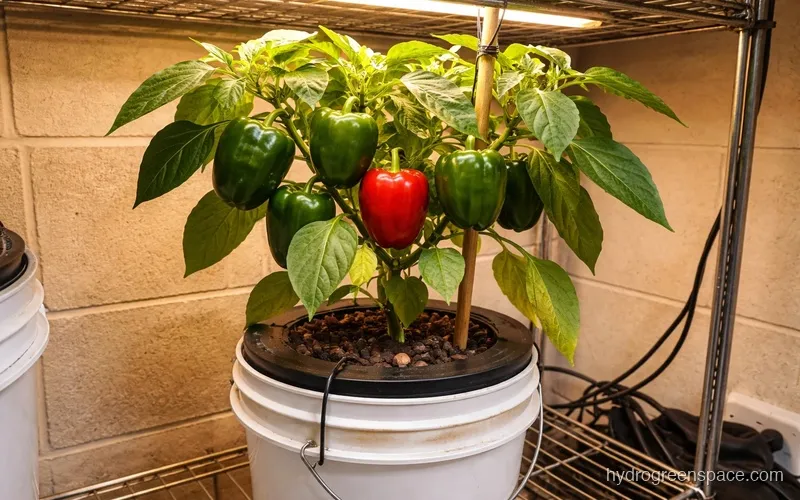
Peppers: Bell peppers and chili varieties do extremely well in a single site hydroponic system. They’re more compact than tomatoes, less demanding on the air pump, and once they hit their stride they produce continuously for a long season.
Cucumbers: Fast-growing and productive, but they need a trellis. If you can manage vertical space, a single DWC cucumber plant will produce more than you can eat from late spring through summer.
What to skip: Corn (needs too much space and cross-pollination), root vegetables (carrots and beets can’t work in DWC), and anything that spreads aggressively like zucchini (the canopy will overtake your space).
Lettuce and herbs technically work but are overkill for a full 5-gallon DWC bucket. Those plants do better in a lighter, cheaper build. If your goal is small herbs and greens, a simple pool noodle hydroponics setup costs almost nothing.
Maintenance: What You Actually Need to Do
Weekly: Top off the bucket with plain, pH-adjusted water between reservoir changes. Plants drink water faster than nutrients, so solution concentration creeps up over time. Topping off with plain water corrects this without a full change.
Every 1–2 weeks: Full reservoir change. Empty the bucket, rinse roots gently with plain water, mix a fresh nutrient solution, adjust pH, refill. This prevents salt buildup and keeps pathogens from establishing.
Daily (takes 30 seconds): Check that the air pump is running and the solution temperature is in range.
Warning: Keep nutrient solution temperature between 65–72°F (18–22°C). Above 75°F, dissolved oxygen in the water drops sharply. A DIY water chiller for your hydroponic system is worth exploring if summer heat is an issue.
Common Problems and How to Fix Them
Brown, slimy roots: This is root rot (pythium). It’s usually triggered by high water temperature or low dissolved oxygen. First response: lower water temp below 70°F, increase air pump output, and consider adding a small amount of beneficial bacteria (Hydroguard or similar). Catch it early and you can recover the plant.
pH drift: pH will naturally rise or fall between checks, especially during heavy nutrient uptake phases. If your pH is swinging more than 0.5 points per day, check for pH creep from your nutrients or a clogged air stone reducing oxygenation. A consistent maintenance schedule from your beginner mistakes guide will help you spot drift before it becomes a problem.
Algae in the bucket: Green slime on the bucket walls or roots means light is getting in. Switch to a completely opaque black bucket and cover any gaps around the net pot lid with reflective tape or a piece of black felt.
Slow growth: Check pH first, then check if the air stone is still producing fine bubbles. A failing air stone produces large, irregular bubbles that oxygenate poorly. Replace it every few months.
Single Bucket vs. Scaling Up
A single bucket hydroponic system isn’t a compromise or a beginner-only setup. Plenty of experienced growers keep one running year-round for a dedicated tomato or pepper plant, even while running larger systems. The fully self-contained design means no shared reservoir contamination risk, easier diagnostics when something goes wrong, and no pump failure taking out an entire multi-plant crop at once.
That said, if you want to grow more plants, you have clear paths: a 6-bucket system adds scale without much complexity, or you can explore the Dutch bucket method for larger fruiting plants. If you’re still deciding whether DWC is the right system type for you at all, the guide to different types of hydroponic systems covers every major method side by side.
Pick your plant first, get one bucket running well, and the next step will be obvious once you’re harvesting. The DIY hydroponic systems guide covers the full spectrum of what you can build once you’re ready to move beyond a single bucket.