
Hydroponic Equipment Checklist: What You Actually Need
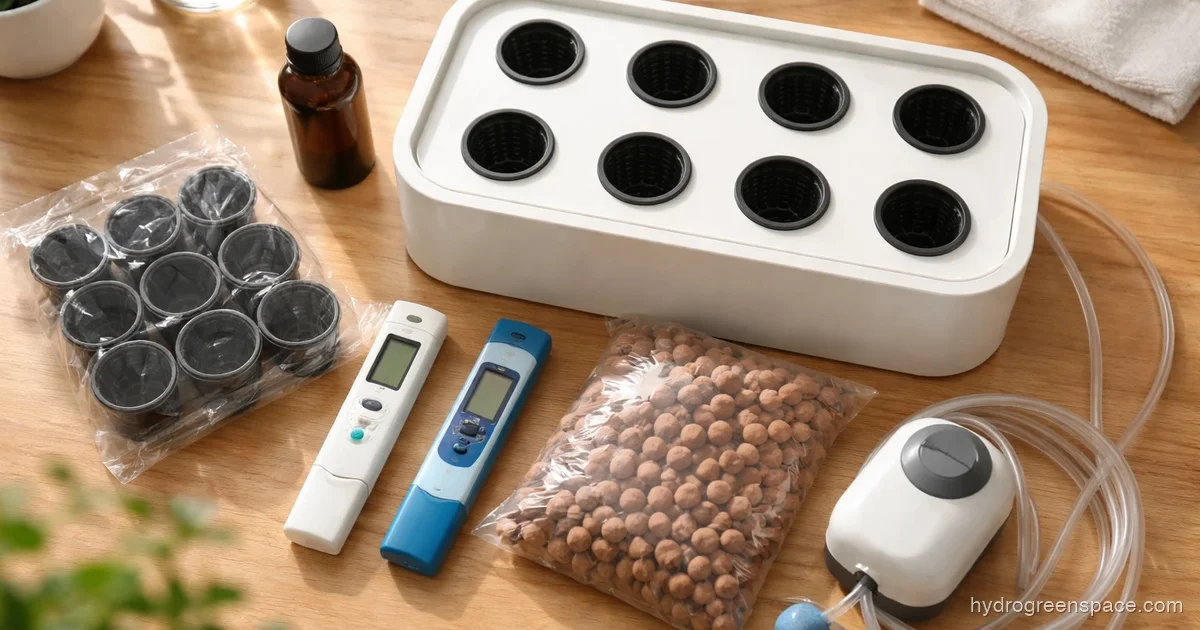
If you’ve ever stood in a hydroponics store or scrolled through an Amazon search for “hydroponic supplies” and felt completely overwhelmed, you’re not alone. The list of gear can look endless, and it’s not always obvious what you actually need versus what’s just nice to have. This guide cuts through that noise by organizing everything into three layers: what every system needs, what your specific system adds on top of that, and how to prioritize if you’re working with a tight budget.
The Universal Essentials Every Hydroponic Setup Needs
No matter which system you choose (DWC, NFT, Kratky, or drip), these items are non-negotiable. Skip any one of them and you’ll run into problems within the first two weeks.
Reservoir
Your reservoir holds the nutrient solution your plants feed from. For a beginner setup, a 5-gallon bucket or a 10–20 gallon opaque storage tote works well. Opaque is key: clear containers let light in, which triggers algae growth and will foul your water fast. Dark-colored totes from hardware stores are cheap and effective.
If you’re running a simple Kratky or single-plant DWC setup, a 5-gallon bucket hydroponic system is the easiest starting point most people don’t overthink enough.
Growing Medium
Soil is not used in hydroponics, so your plants need something to anchor their roots and allow airflow. The most common options are clay pebbles (hydroton), rockwool cubes, perlite, and coco coir. Clay pebbles are the most reusable and forgiving for beginners. They drain well and hold enough moisture between top-ups without suffocating roots.
If you want a more detailed breakdown of how different substrates perform in real growing conditions, the guide on rocks for hydroponics compares the main options side-by-side.
Hydroponic Nutrients
Plants in a hydroponic system get everything from the nutrient solution you mix into the water. A quality two-part or three-part liquid nutrient formula covers the macro and micronutrients your plants need at each growth stage. General Hydroponics Flora Series and MaxiGro/MaxiBloom are popular beginner options because they’re widely available and well-documented.
Never use soil fertilizers in a hydroponic system. They’re formulated differently and often contain slow-release coatings that clog systems and throw off nutrient balance.
pH Meter
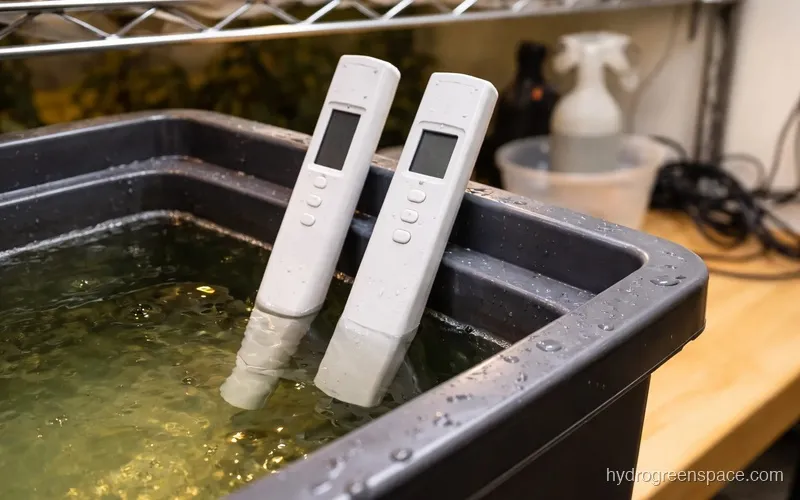
This is the one tool beginners consistently underestimate. Hydroponic plants absorb nutrients within a specific pH window (typically 5.5–6.5 for most crops). Outside that range, nutrients lock out even when they’re present in the water. A cheap pH meter from a pet store will work in a pinch, but a quality pen like a Bluelab or Apera is worth the investment early.
EC/TDS Meter
An EC meter (electrical conductivity) or TDS meter (total dissolved solids) tells you how concentrated your nutrient solution is. Too weak and plants starve; too strong and they get nutrient burn. These meters are usually inexpensive ($10–20) and pair directly with your nutrients label to let you mix accurately. If you want to stop guessing ratios, the hydroponic nutrient calculator takes the math out of it completely.
Net Pots
Net pots are the small mesh cups that hold your growing medium and suspend the plant above or into the nutrient solution. Sizes range from 2-inch for seedlings to 6-inch for larger plants. They’re inexpensive, reusable, and sold in multipacks.
Grow Light
Unless you have a south-facing window with 8+ hours of direct sun, you need a grow light. LED grow lights are the current standard: they run cooler, use less electricity, and cover a wider spectrum than older fluorescent or HID setups. For a 2x2 foot growing area, a 100–200W LED panel is usually enough.
System-Specific Equipment: What You Add Depending on Your Setup
Once you have the universal list covered, your system type determines what else goes on the shopping list. Here’s a quick reference:
| Equipment | DWC | NFT | Drip | Kratky |
|---|---|---|---|---|
| Air pump + air stone | Required | Optional | Optional | Not needed |
| Water pump | Not needed | Required | Required | Not needed |
| Timer | Optional | Required | Required | Not needed |
| Grow tray / channels | Not needed | Required | Required | Not needed |
| Drain/fill tubing | Optional | Required | Required | Not needed |
| Reservoir lid with holes | Required | Required | Optional | Required |
DWC (Deep Water Culture): Beyond the universal list, you need an air pump and air stone to oxygenate the reservoir. Without oxygen at the roots, plants drown. A simple aquarium air pump with airline tubing and an air stone handles this for under $15. This is the system covered in detail in how to build a cheap hydroponic system.
NFT (Nutrient Film Technique): NFT channels with a pump and timer are the core additions. The pump circulates a thin film of nutrient solution through sloped channels continuously (or on a timer). If the pump fails and no one catches it, plants can dry out and die within hours, so NFT requires more active attention than DWC or Kratky.
Drip systems: Add a water pump, drip emitters, tubing, and a timer. These are more complex to set up but scale well if you want to grow many plants.
Kratky: The passive method. No pump, no timer, no electricity for the water. You fill the reservoir once, let it drop as the plant drinks, and top up periodically. The tradeoff is less control and no active oxygenation, so it works better for leafy greens than fruiting plants.
For a complete breakdown of how each system works before committing to one, the different types of hydroponic systems guide walks through the mechanics and ideal use cases.
Must-Have vs Nice-to-Have: A Budget Priority Guide
This is the question beginners need answered before they start ordering. The list below reflects what you actually need to grow successfully on your first run versus what adds convenience or optimization.
Must-Have (Get These Before You Start)
- Reservoir (opaque bucket or tote)
- Growing medium (clay pebbles for most beginners)
- pH meter + pH up/down adjustment solution
- EC/TDS meter
- Two-part or three-part liquid nutrients
- Net pots (size matched to your plant type)
- Grow light (if no strong natural light)
- Air pump + air stone (DWC only)
- Water pump + timer (NFT or drip only)
What I’d do: Buy your pH meter first, before anything else. It’s the tool that will tell you immediately whether everything else is working. I’ve seen beginners spend $200 on equipment and then skip the pH meter to save $15, only to lose their first crop to lockout they couldn’t diagnose.
Nice-to-Have (Add Over Time)
- Thermometer/hygrometer: Monitors air temperature and humidity. Important for preventing mold and optimizing growth, but you can start without one and add it after your first grow.
- Water temperature probe: Root zone temperature (ideally 65–72°F) affects oxygen levels and nutrient uptake. A basic aquarium thermometer works.
- Clip fans: Air circulation strengthens stems and prevents hotspots under lights. A small clip fan costs under $15 and is worth adding on your second grow if not your first.
- pH/nutrient dosing syringes: Precise measurement makes nutrient mixing easier and more repeatable than eyeballing.
- Light timer: Even if your light has a built-in timer, a mechanical outlet timer is a cheap backup.
- Trellis netting or plant stakes: Needed once plants get tall, but not at the seed stage.
Sterilization Supplies (Often Overlooked)
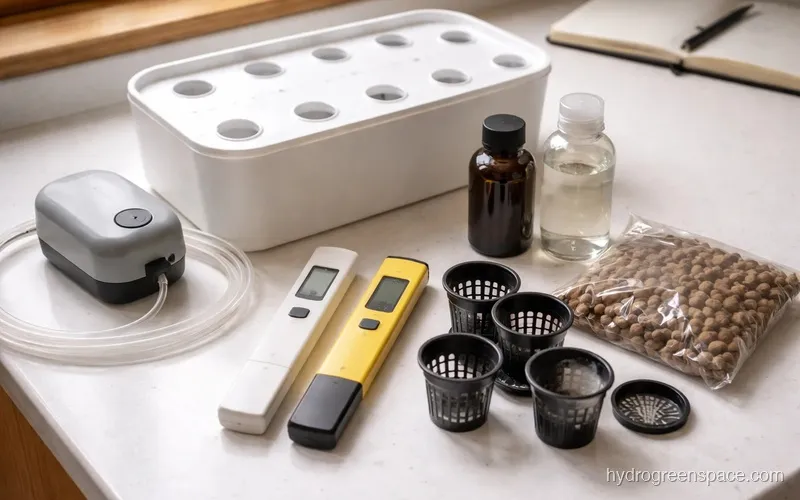
This category gets almost no attention for beginners, and it should. When you’re reusing equipment between grows, residue from old nutrient solution becomes a breeding ground for root pathogens like Pythium (root rot). Before each new grow, rinse everything with clean water, then clean with a diluted hydrogen peroxide solution (3% food-grade H2O2 at 1:10 with water). Let it sit for 15–20 minutes, then rinse thoroughly.
At minimum, keep a bottle of 3% H2O2 and a stiff brush for scrubbing reservoir walls. This takes 20 minutes between grows and can prevent the most common crop failure beginners face.
What Order Should You Buy Things In?
Most beginners get a list but not a sequence. Here’s the order that makes sense practically:
- Decide your system first. DWC is the easiest starting point for most people. How hydroponics works explains the core mechanics if you’re still deciding.
- Buy your meters before anything else. pH meter, EC meter, and pH up/down solution. These let you verify your water and nutrients before plants are even in the system.
- Set up and test your reservoir. Fill it, mix nutrients, measure pH and EC. Adjust until you’re hitting your target numbers consistently. Do this before you have live plants depending on it.
- Add the growing setup. Lights, net pots, growing medium, system-specific equipment.
- Germinate seeds or get seedlings. Only put plants in once you’ve confirmed your system is running correctly.
This sequence catches problems with your water quality and setup before they cost you a crop. The first 30 days of hydroponics guide maps out exactly what to do week by week once you’re up and running.
Warning: Tap water in many areas has a pH of 7.5–8.0 and may contain chlorine or chloramine that can inhibit plant growth. Test your tap water before you build anything around it. If it’s outside the 5.5–6.5 range or highly chlorinated, factor in a water filter or a dechlorinating agent.
A Note on Costs
A basic DWC setup for growing lettuce or herbs can be put together for $50–100 if you already have containers and are willing to start simple. A more complete setup with a proper grow tent, quality LED, and all meters typically runs $150–300. Detailed cost breakdowns with current pricing are covered in how much it costs to start hydroponics.
The goal isn’t to spend as little as possible. It’s to spend in the right order so your first grow actually works.
If you’re working on a very limited budget and want to build rather than buy, how to build an indoor hydroponic garden covers DIY options that get you growing without a big upfront investment.
If you’re still getting oriented and want the full picture before buying anything, the beginner guide to hydroponics covers system selection, costs, and setup all in one place. Once you have your equipment list sorted and your first system running, the next step is learning how to feed your plants correctly throughout each growth stage. The guide on how to feed hydroponic plants picks up right where this one leaves off.