
Indoor Hydroponic System With Lights: Complete Guide
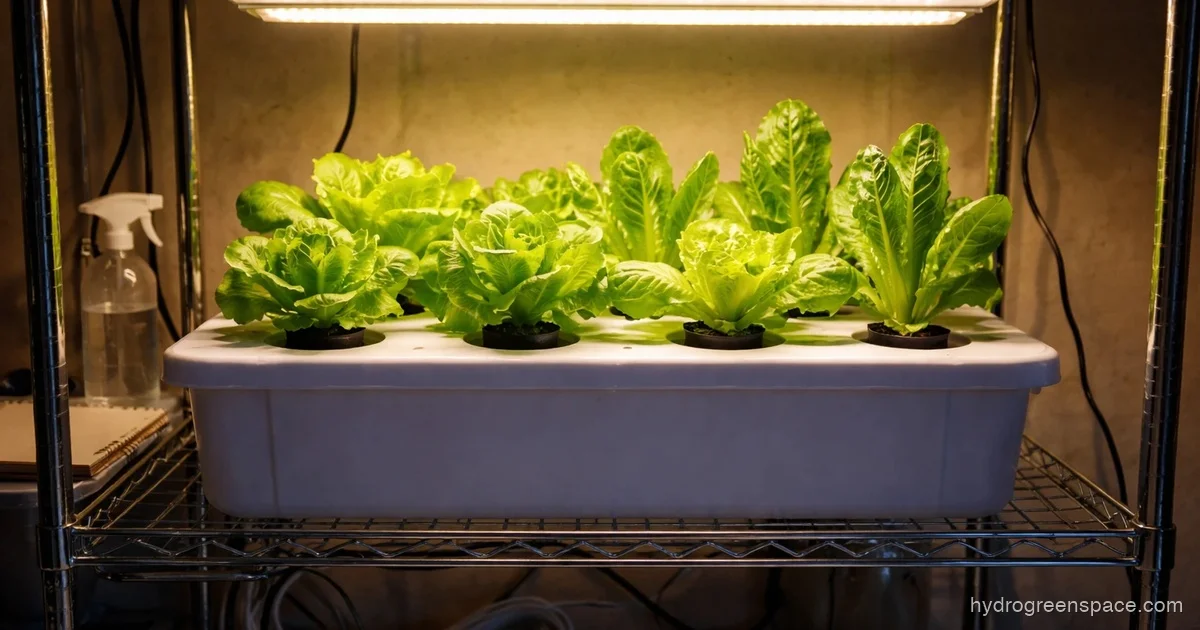
If your hydroponic setup is sitting next to a window and you’re wondering why growth is slow and leggy, this is the article you need. A south-facing window in most US climates delivers maybe 4-6 hours of usable light on a clear day, and almost none of it is the right intensity for rapid vegetative growth. An indoor hydroponic system with lights is not optional for most home setups, it’s the engine that makes hydroponics work faster than soil.
Here’s how to pair the right grow light with your system, dial in the schedule, and avoid the setup mistakes that stall growth.
Window Light Is Not Enough for Most Indoor Growers
The myth that “bright indirect light” is adequate for hydroponics comes from houseplant culture, not food production. Hydroponic plants are optimized for rapid growth, and rapid growth requires consistent, high-intensity light. A windowsill setup can grow herbs at a slow pace, but once you want faster turns, denser plants, or anything fruiting, you need artificial light.
The only exception: a dedicated greenhouse or a south-facing sunroom in a southern climate during summer. If that’s not your situation, assume you need grow lights and plan accordingly.
Which Type of Grow Light Actually Makes Sense for Home Hydroponics
There are three types of grow lights you’ll see recommended. Here’s where each one actually belongs:
LED Grow Lights (The Right Call for Almost Everyone)
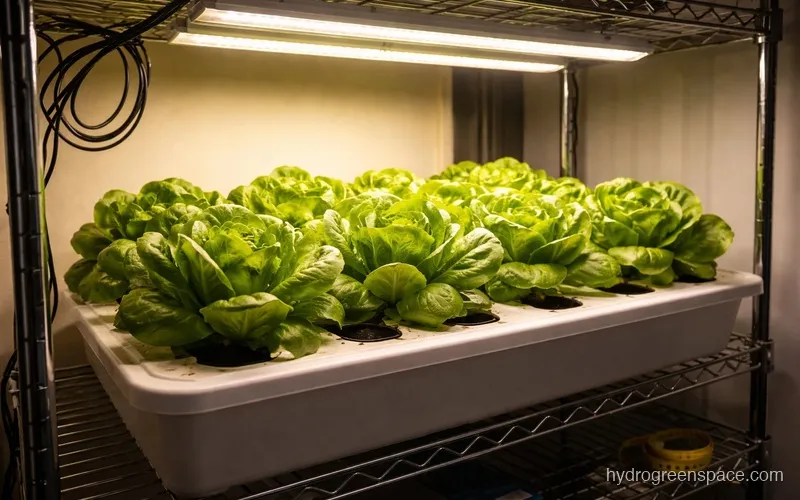
Modern full spectrum LED panels have changed home growing completely. They run cool, draw less power than older technologies, and last 50,000+ hours. A quality LED panel will give you the right mix of blue and red wavelengths without the heat management headaches of older lights.
The one thing to watch: cheap white LEDs or “blurple” panels that overstate their PPFD numbers. Stick with brands that publish real PAR data, or look at forums where growers post actual meter readings.
For sizing specifics by grow area, see the wattage table in the section below. The short version: even a small LED panel is enough for a countertop herb setup, while a 2x2 tent needs significantly more. A DIY deep water culture system in a 2x2 tent is a common starting point, and the table will give you the right number for that footprint.
T5 Fluorescent (Seed Starting Only)
T5s are excellent for starting seeds and rooting clones because they run cool and emit even light across a flat canopy. They’re not powerful enough for most vegetative or fruiting growth in a hydroponic setup. If you’re germinating seeds before moving plants to your main system, a T5 strip light is a cheap, effective tool. For the main system? Move on.
HID Lights (Skip These at Home)
High-intensity discharge lights (HPS, MH) produce excellent light but generate serious heat and run on 240V setups that need ballasts and cooling. They’re built for commercial grows, not a home setup in a spare room or closet. Unless you’re growing in a large dedicated space with proper HVAC, don’t go down this road.
Understanding Light Spectrum Without the Jargon
Full spectrum grow lights cover the wavelengths plants actually use, from around 400nm (violet-blue) to 700nm (far red). Here’s what matters in practice:
- Blue wavelengths (450-500nm): Drive compact, dense vegetative growth. Good for leafy greens, herbs, and keeping plants from stretching.
- Red wavelengths (620-680nm): Drive flowering and fruiting. Plants in the fruiting stage need more red to trigger reproductive growth.
- Full spectrum: Covers both, which is why a full spectrum LED hydroponic system is the default recommendation for home growers growing more than one crop type.
If you’re growing herbs and lettuce exclusively, you can lean into more blue-heavy light. If you’re running tomatoes or peppers, you want a light with solid red output too. Most reputable LED panels cover the full range well enough that you don’t need to overthink this for a home setup.
How to Size Your Grow Light
The technically correct answer involves PPFD (photosynthetic photon flux density) measured in micromoles per square meter per second. The practical answer most home growers need: roughly 30-50 true watts per square foot for leafy greens and herbs, and 40-60 true watts per square foot for fruiting plants.
“True watts” means actual power draw from the wall, not the marketing wattage number. A panel advertised as 1000W often draws 100-150W actual. Check the specs sheet.
Here’s a quick sizing table for common home setups:
| Setup Size | Target Crop | Actual Wattage Needed |
|---|---|---|
| Countertop (1-2 sq ft) | Herbs, lettuce | 30-60W |
| 2x2 grow tent | Herbs, greens, peppers | 100-150W |
| 2x4 grow tent | Mixed crops | 200-250W |
| 4x4 grow tent | Fruiting plants | 400-500W |
These numbers assume you’re not relying on reflective walls to bounce light. If you’re growing in a white-walled tent, you’ll be on the lower end of each range. An open shelf in a dark room needs more.
Light Schedule: How Many Hours Per Day
The schedule matters as much as the light itself. Hydroponic plants don’t photosynthesize through darkness, and more isn’t always better.
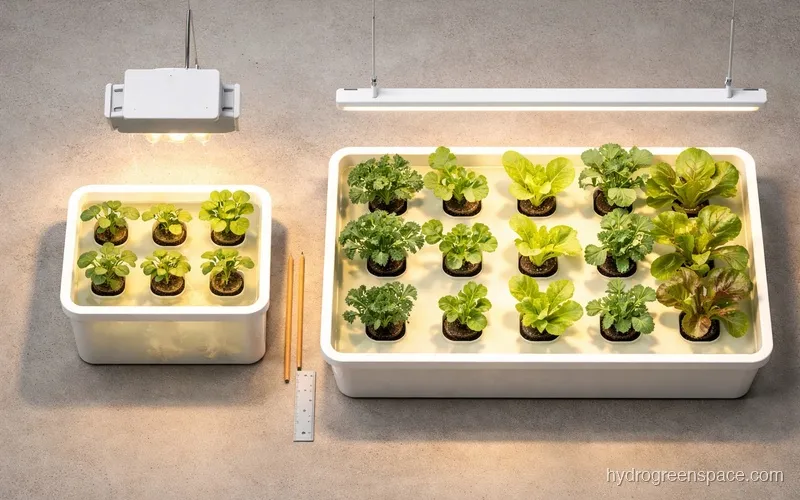
Herbs and leafy greens (lettuce, basil, kale, spinach): 14-16 hours on, 8-10 hours off. These are non-photoperiod plants and won’t bolt just from long days in a controlled environment.
Fruiting plants (tomatoes, peppers, cucumbers): 12-16 hours on. Fruiting plants need a dark period to regulate their metabolism and flowering hormones. Start at 16 hours during vegetative growth, drop to 12-14 once flowers appear.
Seedlings and new transplants: 16-18 hours on. Young plants establishing roots benefit from longer light exposure as long as the light isn’t too intense.
Run your light on a timer. This is not optional. Manual switching leads to inconsistent schedules, which leads to inconsistent growth. A basic mechanical outlet timer costs a few dollars and will improve your results immediately.
Tip: Set your lights to run during the hours you’re usually home. Grow lights generate some heat, and plants prefer stable temperatures. Running lights at night in an air-conditioned room can drop temps below the optimal range for many crops.
How Far Should the Light Be From Your Plants
Distance affects both intensity and heat at the canopy. These are starting ranges, not fixed rules. Always watch how your plants respond and adjust.
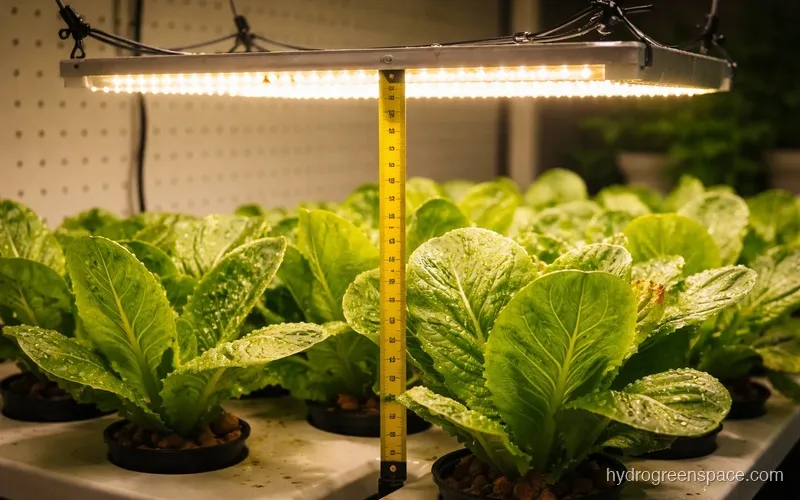
- Seedlings and clones: 18-24 inches for most LED panels. Young plants are sensitive and can bleach or stall if the light is too close.
- Vegetative herbs and leafy greens: 12-18 inches. Closer increases intensity but also heat.
- Fruiting plants in flower: 12-18 inches, sometimes 18-24 depending on the panel’s intensity.
The easiest way to check if your light is at the right distance: put your hand at canopy level. If it feels warm after 30 seconds, the light is too close. If you can hold your hand there indefinitely with no warmth, it’s probably too far.
For a more precise approach, most LED manufacturers publish a PPFD chart at different distances. If yours does, aim for 400-600 µmol/m²/s for leafy greens and 600-900 µmol/m²/s for fruiting plants.
All-In-One Systems vs. Building Your Own Pairing
All-in-one countertop systems like the AeroGarden or IKEA Hydroponic Kit come with built-in lights sized for their pod count. They’re convenient and dialed in out of the box, but you’re locked into their footprint and light intensity. The built-in lights are typically enough for herbs, but not powerful enough for fruiting plants.
Building your own pairing (a separate reservoir or grow tent with a standalone LED panel) gives you control over both system size and light intensity. This is how I’d approach anything beyond a small herb garden. If you’re setting up hydroponics in a basement, a separate light is almost always the better long-term choice.
The practical trade-off: all-in-one systems cost less to start and require zero setup knowledge about lighting. DIY pairings require more upfront planning but scale better and can be upgraded piece by piece.
Setup Checklist Before You Flip the Switch
Before you power on a new light setup, run through this:
- Light is hung at the correct starting distance for your crop stage
- Timer is set and tested (verify it cycles before plants go in)
- Reflective surfaces are in place if growing in an open space
- Heat at canopy level is within range (ideally 70-80°F at canopy)
- No hotspots from the light source (move the panel or diffuse if needed)
- Reservoir and nutrient solution are ready before lights go on
If you’re running a Kratky method setup, note that Kratky jars benefit from darker reservoirs in addition to grow lights above. Algae will grow in any light-exposed water, so wrap your reservoir if needed.
For a full walkthrough on getting the rest of your system dialed in, how to build an indoor hydroponic garden covers the complete setup from reservoir to roots. If you want to see how every indoor growing environment uses lighting differently, the indoor hydroponic growing guide covers each setup side by side. And once your light is running, the next thing to nail is your nutrient solution. Feeding your hydroponic plants correctly under consistent light is what separates slow, pale plants from fast, productive ones.
Once you have a decent LED panel on a timer and your system running, the growth difference compared to a window setup is visible within a week. That’s the part that keeps most growers expanding.