
Transplanting Seedlings to Hydroponics: Step-by-Step
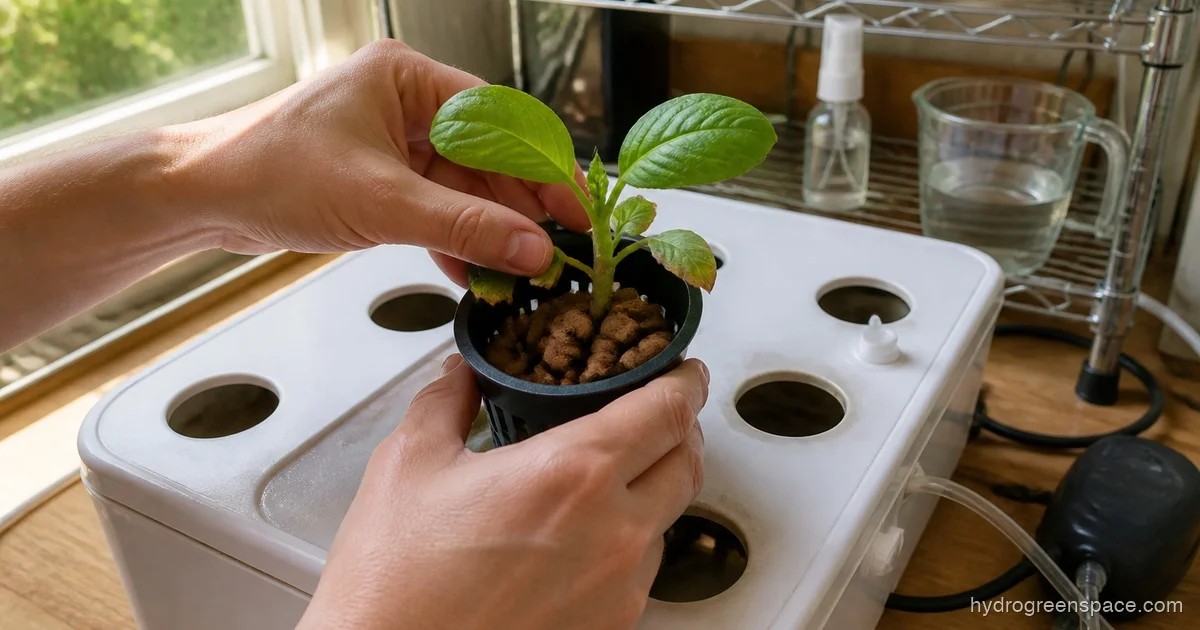
The moment of transplanting is where a lot of promising seedlings meet an early end. Not because hydroponics is unforgiving, but because the details that actually matter get skipped: what to do with a seedling you germinated on a paper towel, how to handle roots that have started tangling, and what nutrient strength to use during that first critical 48 hours. Below are system-specific steps for DWC, Kratky, and NFT so you’re not guessing when you’re standing there with a seedling in your hand.
When to Transplant Seedlings Into a Hydroponic System
Timing is the single biggest variable growers get wrong, and it almost always errs toward transplanting too early.
The rule: wait for true leaves, not just the seedling’s first sprout. The initial leaf pair that emerges (called cotyledons) are seed leaves, not true leaves. True leaves come second and look like a miniature version of the plant’s mature foliage. For lettuce, that’s ruffled or lobed; for basil, it’s rounded and slightly textured.
Why does this matter? Because a seedling still running on cotyledon energy hasn’t built a root mass capable of anchoring in a net cup or pulling nutrients from a reservoir. Transplant too early and you’ll spend the next two weeks nursing a plant that’s barely holding on instead of growing.
The minimum I’d work with: two to four true leaves and roots long enough to dangle below the net cup into the nutrient solution. For a standard 2-inch net cup, that’s roughly 1-2 inches of root growth visible below the growing medium. If you’re using a Rapid Rooter plug or rockwool cube, the roots should be visibly emerging from the sides or bottom of the plug.
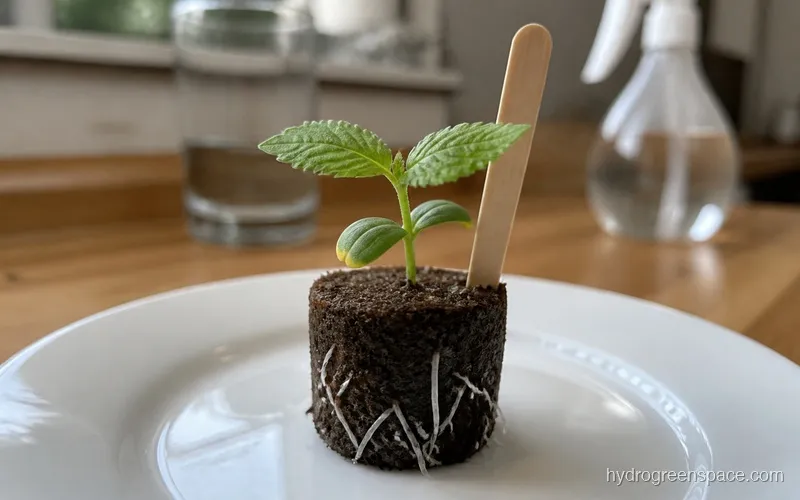
For timing from germination to transplant, the ballpark is 7-14 days depending on species and germination method. Faster germinators like lettuce and basil can be ready in a week. Slower crops like peppers often need closer to two.
Transplanting From Different Germination Methods
If you started seeds on a paper towel or directly in coco coir or peat pellets, the process looks a little different than starting in rockwool or a Rapid Rooter. You can find a full comparison of these methods in germinating seeds for hydroponics without rockwool.
From Rapid Rooter or Rockwool Cube
This is the cleanest transfer. The plug or cube goes directly into the net cup. Fill around it with rinsed clay pebbles or LECA to hold it upright, making sure the sides of the plug are snug but not compressed. Don’t pack the pebbles so tight you crush the roots coming out the bottom.
For a side-by-side comparison of which starter medium works better in different setups, Rapid Rooter vs rockwool goes into the specifics.
From Coco Coir or Peat Pellet
If you started in a peat pellet or a small coco block, the transfer is nearly the same: the whole unit goes into the net cup. The difference is that coco and peat can hold more moisture than rockwool, which means your seedling may take a few extra days to push roots toward the water below.
One thing to watch: peat pellets often come with a mesh sleeve. Leave it on. It holds the pellet together as roots grow through it, and removing it at this stage almost always damages the root ball more than it helps.
From Paper Towel Germination (No Medium)
This one takes more care. If you germinated seeds on a moist paper towel and the taproot has emerged, you need to get that seedling into a medium before the root dries out. The fastest way is to press the germinated seed gently into a Rapid Rooter plug or dampened coco coir, let it establish for 3-5 days under a humidity dome, then transplant once it has anchored.
Transferring a paper towel sprout directly into a net cup surrounded only by clay pebbles is risky. The taproot has no anchor, the pebbles won’t hold moisture, and the seedling will likely wilt within hours. Use an intermediate medium.
How to Put Seedlings in Net Cups (Step by Step)
This works for DWC, Kratky, and most recirculating systems. NFT has one extra consideration covered below.
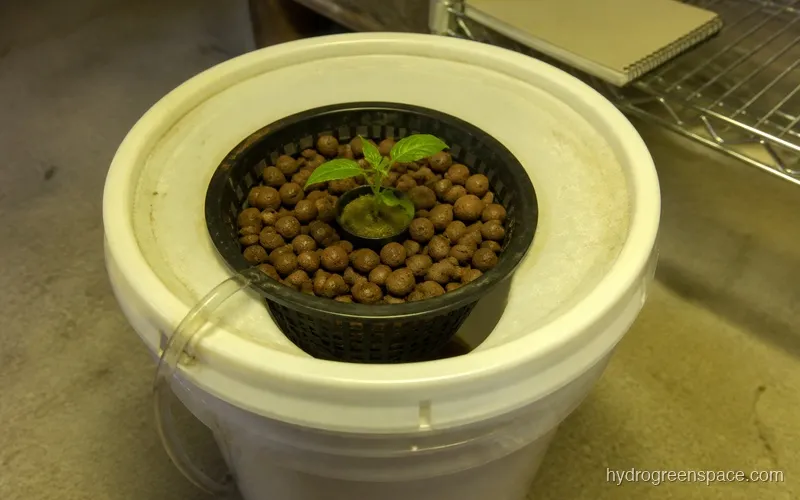
Step 1: Rinse your clay pebbles. Pre-rinse pebbles in water until the runoff runs clear. Dust and debris from clay pebbles can cloud your reservoir and clog pumps. If they’ve been sitting dry, also soak them for a few hours to raise their pH closer to neutral before use.
Step 2: Add a base layer of pebbles to the net cup. About a quarter of the way full. This gives the plug something to sit on at the right height.
Step 3: Place the seedling plug in the cup. The bottom of the plug should be near the bottom of the net cup so roots have a short distance to travel to reach the solution. Roots pointing downward is ideal.
Step 4: Fill around the plug with pebbles. Pack lightly. You want support, not compression. Leave the top of the plug slightly exposed so it can dry out between feedings. A constantly wet top surface is an invitation for algae and mold.
Step 5: Lower the net cup into the system. In a DWC or Kratky setup, the water level at transplant should touch the very bottom of the net cup. As roots develop and reach the solution, you lower the water level to create an air gap (usually 1-2 inches) that allows roots to access oxygen. Check out how DWC hydroponic systems work if you want the full picture on reservoir management.
NFT-Specific Consideration
In an NFT system, there is no reservoir for roots to dangle into. The nutrient film flows along the bottom of the channel, and your young seedling needs roots that can reach it. Make sure your seedling has 1-2 inches of root showing below the plug before placing it in an NFT channel. A seedling with only a stub of root will sit dry on top of the channel and never make contact with the solution. Learn more about managing flow rates and timing in NFT hydroponic systems.
Preventing Transplant Shock in Hydroponics
Transplant shock is real, but it’s mostly preventable. It happens when a plant is stressed by physical root damage, environmental change, or a sudden jump in nutrient concentration.
Keep roots moist, never wet or dry. During the actual transplant, don’t let exposed roots dry out in open air. Work quickly. If you’re transplanting a batch, cover the plugs with a damp cloth between transfers.
Match the environment. If your seedling was under low-light conditions in a propagation tray, don’t immediately put it under an intense grow light at full power. Dial your grow light down to 60-70% for the first few days, then ramp up. Seedlings are also used to high humidity in a dome. Once transplanted, gradually reduce humidity rather than going from 90% to ambient overnight.
Watch your light schedule. Post-transplant, I keep lights at 16 hours on / 8 hours off for most vegetables. Some growers drop it to 14 on / 10 off for the first week to reduce stress on the canopy while roots establish. Either works. Just don’t jump to 18+ hour days immediately.
What Nutrient Strength to Use After Transplanting
This is one of the most common questions. For the first 24-48 hours after transplanting, plain pH-balanced water (no nutrients) is a valid option, especially if your seedling is fresh from a propagation plug that already has some nutrients baked in. The goal is to let the roots orient to the new environment without the added stress of processing a full nutrient load.
After that first day or two:
- Seedlings and very young transplants: EC 0.8-1.2 (roughly 400-600 PPM), pH 5.8-6.2
- Established transplants with good root development: EC 1.2-1.8, depending on crop
Don’t go straight to the mature feeding rates on the back of your nutrient bottle. Those are for established plants with full root systems. A seedling hit with EC 2.5 right after transplanting will show nutrient burn or tip damage within a week.
Use a hydroponic nutrient calculator to dial in your ratios before you mix your reservoir, especially if you’re running a multi-part nutrient line.
Warning: If your transplanted seedling starts showing yellowing leaves within 3-5 days, don’t assume it’s a deficiency and add more nutrients. Check your EC first. Nutrient burn and deficiency look similar early on, and adding more nutrients to an already stressed plant makes it worse.
What to Do When Roots Have Tangled
If you let seedlings sit in propagation trays too long, roots from neighboring plants will start threading together. If roots are lightly tangled, you can usually separate them by holding the plugs under a gentle stream of water and slowly pulling them apart. Work slowly. Snapping roots isn’t ideal, but losing a few root tips won’t kill the plant.
If they’re badly matted and pulling them apart would destroy both root balls, separate the plugs with a clean pair of scissors and cut any roots that won’t come free without force. A plant can recover from having some roots trimmed. It cannot recover from the kind of physical stress caused by forcible separation without cutting.
Moving a Seedling From Soil to Hydroponics
This is its own challenge. Soil roots are different from hydroponic roots. They’re often brown, thicker, and designed to work in microbial-rich growing media. When moved to a nutrient solution, they can rot.
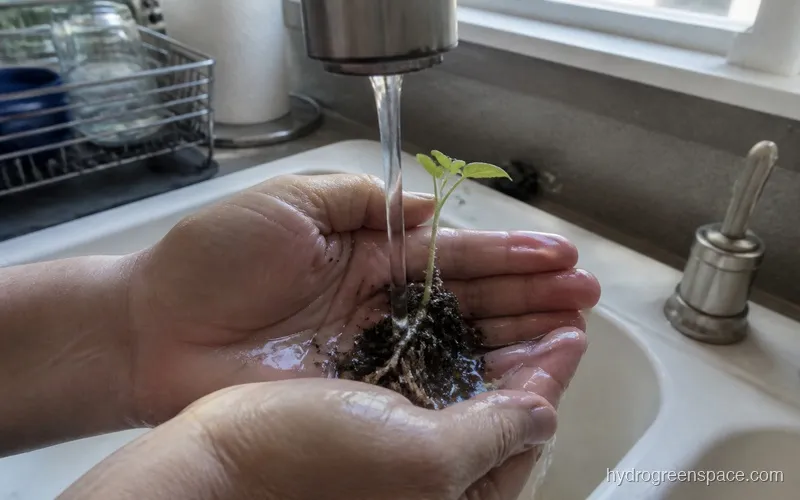
The fix: rinse off as much soil as possible under tepid water. Be thorough but gentle. Remaining soil in a hydroponic reservoir will cloud the water and create a bacterial mess. After rinsing, let the root ball air-dry for 10-15 minutes (not longer) so any damaged root tips form a callous. Then transplant as normal, watching closely for signs of root rot in hydroponics in the first two weeks.
Some crops make this transition better than others. Lettuce, basil, and spinach tend to adapt well. Tomatoes and peppers can be more stubborn. If you have the choice, it’s always better to start seeds directly in a hydroponic-compatible medium like coco coir for hydroponics rather than converting a soil-grown seedling.
Get your seedlings started the right way from the beginning and you’ll have almost nothing to think about when transplant day arrives. The transition from propagation to your system is just a step in the process, not a crisis to manage. For everything that comes before this moment, from picking your starter medium to caring for seedlings through their first true leaves, the seed starting for hydroponics guide covers the full process.