
Vertical PVC Hydroponic System: Build It Right
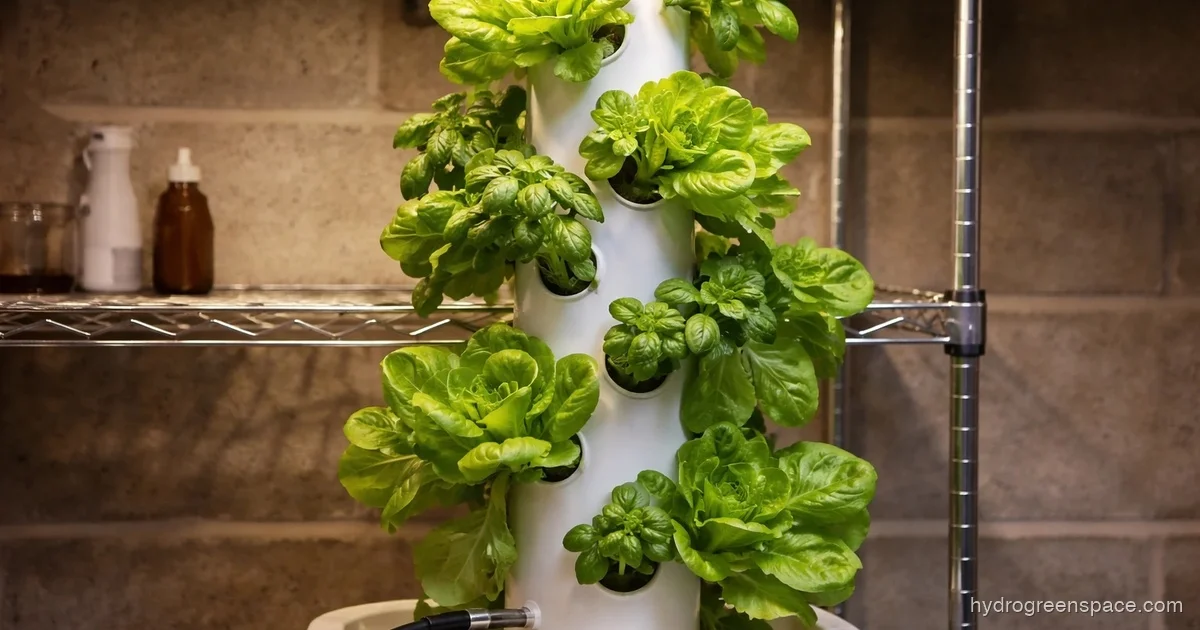
A vertical PVC hydroponic system is one of the most space-efficient ways to grow food at home. You can stack 20 or more plants in the footprint of a single bucket, which is why it shows up in every “small space growing” conversation. But the gap between a system that works and one that slowly kills your plants comes down to decisions you make before you cut a single pipe.
Most growers who struggle with vertical PVC setups hit the same wall: water hits the top few plants generously and barely reaches the bottom ones. Or they buy regular PVC from the hardware store without thinking twice and later wonder whether it’s actually safe for food. These aren’t build errors. They’re planning errors. This article is about getting those decisions right.
How a Vertical PVC System Actually Works
The mechanics are simpler than they look. A submersible pump in a reservoir pushes nutrient solution up through a central feed line to the top of the tower. From there, gravity pulls the solution down through or past each plant site, and it drains back into the reservoir to be recirculated. That’s the whole loop.
What varies between designs is how that solution travels past your plants. In a true drip tower, the feed line delivers solution to the top of a vertical pipe with net cup cutouts, and the solution trickles down the inside of the pipe touching each root zone. In an NFT-style setup (nutrient film technique), a thin film of nutrient solution flows continuously along the bottom of a horizontal or angled pipe, with roots dangling into it. Both use PVC as the growing channel, but the flow dynamics are different.
Understanding this matters because it determines where problems appear. A vertical drip tower is more forgiving of pump interruptions since each plant gets wet on every cycle. An NFT pipe is more efficient with water but punishes any clog or flow imbalance immediately, and the different types of hydroponic systems each carry their own failure modes.
The Three Main Design Configurations
Before you pick up a pipe, decide which configuration actually fits your space and goals. These three cover the vast majority of home builds.
Single Vertical Tower
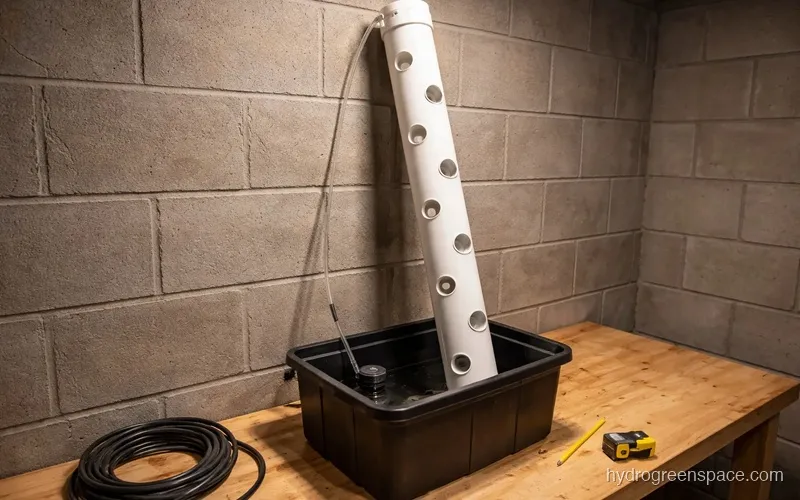
This is what most people picture: a 4-inch or 6-inch PVC pipe standing upright, with net cup holes drilled every 6 to 8 inches around the circumference. A pump feeds solution to the top, it flows down the inside, and exits at the bottom back to the reservoir below.
Single towers work well for herbs and leafy greens. They’re compact, easy to move, and straightforward to build. The downside is that a single 5-foot tower holds roughly 12 to 16 plants, so if you want serious yield, you’re adding more towers and a larger reservoir to feed them all.
A-Frame NFT Ladder
Instead of vertical pipes, an A-frame uses horizontal PVC pipes (usually 2-inch or 3-inch) mounted at a slight angle on a triangular frame. Nutrient solution enters at the higher end of each pipe, flows along the bottom in a thin film, and drains out the lower end back to the reservoir.
This design gives you more plants per square foot of floor space than a single tower and tends to solve the top-to-bottom distribution problem because each pipe has its own dedicated feed point. It’s also easier to access individual plants for inspection or harvest. If you’re thinking about wall-mounted hydroponic gardens later, this horizontal pipe logic is the starting point for those systems too.
The trade-off is that an A-frame takes up more horizontal space and the angled pipes mean you need to dial in the slope carefully. Aim for about a 1 to 2 percent grade (roughly half an inch of drop per 4 feet of pipe). Too flat and solution pools. Too steep and it rushes through before roots can absorb anything.
Wall-Mounted Horizontal Pipes
Same horizontal pipe logic as the A-frame, but mounted directly to a wall or fence. This is the best option for patios and indoor grow rooms where floor space is precious but wall space is available. You stack three or four rows of pipes vertically on the wall, each angled slightly for drain-back, with one pump feeding all rows through a manifold.
Wall-mounted setups are harder to build cleanly but look impressive and can turn an otherwise unused surface into a productive growing area. If vertical growing in tight spaces is your main goal, the dedicated post on vertical hydroponics for small spaces goes deeper on wall-mounted configurations specifically.
Pipe Sizing: 4-Inch vs. 6-Inch
This question comes up constantly and the answer is straightforward once you understand what each size is actually doing.
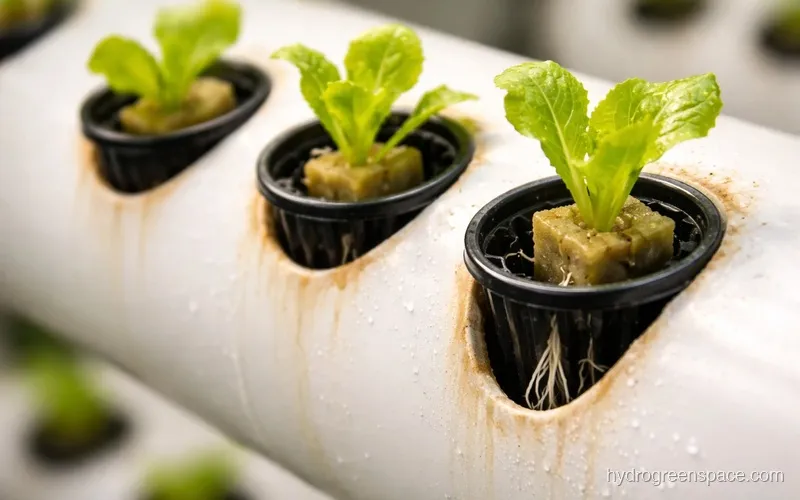
4-inch pipe is the minimum workable diameter for most crops. Net cups up to 2 inches fit comfortably, which covers herbs, lettuce, strawberries, and smaller greens. A 4-inch tower holds around 12 to 16 cups in a 5-foot section and is light enough to move easily, even when wet.
6-inch pipe opens up the root zone significantly. You can fit 3-inch net cups, which works for larger leafy crops and even compact fruiting plants like peppers in shorter towers. More importantly, the interior volume means less root crowding as plants mature, and solution flows around roots more freely.
The practical rule: if you’re growing mostly herbs and cut lettuce, 4-inch pipe is fine and keeps costs down. If you want a mix that includes basil, chard, or anything with a larger root mass, start with 6-inch. Going back to upsize a finished tower is annoying enough that it’s worth planning ahead.
What I’d do: Start with one 6-inch tower rather than two 4-inch towers. You get similar plant count, better root space, and less plumbing complexity. Cheaper over time, too.
Food-Grade PVC: Why It Matters and Where to Get It
This is where a lot of growers either overthink it or don’t think about it at all.
Standard PVC pipe (the white or gray stuff at every hardware store) contains additives, stabilizers, and in some cases plasticizers that aren’t rated for food contact. For a drip tower where nutrient solution flows directly through the pipe interior and past plant roots, this is a real consideration, not an internet rumor.
Food-grade PVC (also labeled NSF-61 certified) is formulated without those additives and is cleared for contact with potable water and food. It looks identical to standard PVC but carries an NSF-61 stamp on the pipe or packaging.
The honest reality: Home Depot and Lowe’s stock standard PVC. To find NSF-61 certified pipe, you’re usually looking at plumbing supply houses (not big-box stores), online suppliers like US Plastics or Eplastics, or food processing equipment suppliers. It costs a bit more but not dramatically more for home-scale quantities.
The alternative that many experienced growers use: CPVC (chlorinated PVC) or HDPE pipe in place of PVC entirely. HDPE is food-safe, flexible, and widely available in irrigation supply stores in smaller diameters. For vertical towers, HDPE is worth considering if food-grade PVC sourcing is a headache in your area.
Plant Density and Crop Selection
A vertical PVC tower will tempt you to pack in as many plants as possible. Resist it.
Spacing holes 6 inches apart is the minimum. Eight inches is better for most crops and lets you avoid the shadow and airflow problems that come with dense plantings. A 5-foot section of 6-inch pipe with holes every 8 inches gives you about 8 to 10 plants, which is a reasonable density without overcrowding.
For crop selection, stick to shallow-rooted fast-growing plants. Lettuce varieties (butterhead, romaine, loose-leaf), herbs (basil, cilantro, parsley, mint), spinach, kale, and strawberries all perform well. Fruiting crops like tomatoes and cucumbers are generally too heavy and root-intensive for vertical tower designs, though compact cherry tomato varieties can work in a 6-inch pipe with careful management.
Mixing crops on the same tower is possible but creates friction. Different plants want slightly different nutrient concentrations and pH levels, and harvesting one crop without disturbing others is awkward when everything is packed vertically. A better approach is to dedicate each tower or each pipe run to one crop family, then adjust nutrients accordingly. For a full breakdown of what thrives in vertical setups, vegetables that thrive in vertical systems gives you the specifics by crop.
Pump and Flow Requirements
Yes, you need a pump. A passive gravity-fed tower with no circulation will stagnate within days. The question is how much pump.
For a single tower with a 5- to 10-gallon reservoir, a small submersible pump rated for 100 to 200 gallons per hour (GPH) is more than enough. For a multi-tower system feeding 4 to 6 pipes from one reservoir, you’re looking at 400 to 600 GPH, sized up to account for the head height (how high the pump needs to push water vertically).
Warning: Undersizing your pump is the second most common failure mode after uneven flow distribution. If your pump is struggling to reach the top of the tower, the top plants get a trickle and the bottom plants get nothing. Always check the pump’s head height rating against your actual tower height before buying.
Timers are optional for some designs but strongly recommended. Running the pump continuously 24/7 works but consumes more electricity and can over-saturate root zones over time. Most growers run cycles of 15 minutes on, 45 minutes off during lights-on hours, and longer off periods at night. Dial this in based on how quickly your medium dries between cycles.
The pump setup also connects to how you’re feeding your plants. Getting the nutrient solution right is as important as getting water to all your plants, and feeding your plants the right nutrient solution covers the concentration and pH targets you need.
Indoor vs. Outdoor Setup Considerations
A vertical PVC system works in both environments, but the decision changes what you need to plan for.
Outdoors, you get free sunlight and natural airflow. The trade-offs are temperature swings (root zone temperature matters), rain diluting your nutrient solution, pests, and the reality that most outdoor vertical setups are seasonal unless you’re in a warm climate year-round. UV exposure also degrades standard PVC over time, so paint your towers or use UV-resistant pipe if they’ll be in direct sun.
Indoors, you control the environment, which means you can grow year-round and dial in conditions precisely. The considerations shift to bringing your vertical system indoors properly: grow lights (LED panels work well above vertical towers), ventilation to prevent humidity buildup, and drip trays to catch any overflow without flooding your floor.
Indoor vertical towers are also where the footprint advantage really pays off. A 2x2 foot area can support two to three towers under a single LED fixture, producing more greens per week than most families can eat.
Solving Uneven Water Distribution
This deserves its own section because it kills more vertical tower grows than any other problem.
The physics: gravity pulls nutrient solution fastest through the path of least resistance. If your feed line delivers solution to the top of the tower and the holes aren’t perfectly spaced or the solution flow is too fast, the top plants get drenched and the bottom plants get whatever’s left. Over time you’ll see the bottom third of your tower showing nutrient deficiencies while the top looks lush.
Fixes that actually work:
- Reduce pump flow rate. A slower, steadier trickle distributes more evenly than a fast pour. Use a flow valve or choose a pump with an adjustable dial.
- Use a drip emitter at the top rather than an open tube end. This meters the flow precisely and prevents channeling.
- Check your tower is level (vertical). Even a slight lean creates a fast side and a slow side.
- Consider a manifold system for multi-tower setups, where each tower gets its own feed line from a shared manifold rather than sharing a single line. This equalizes flow to each tower independently.
If you want to see how to build a PVC hydroponic tower step by step once you’ve got your design locked in, that’s where the actual construction details live. Get the planning right first.
Comparing Costs: DIY PVC vs. Commercial Towers
A commercial vertical tower like a Tower Garden or Lettuce Grow Farmstand runs $500 to $800 for the starter unit. A DIY vertical PVC system built with food-grade pipe and a decent pump costs $60 to $150 for equivalent plant capacity, depending on how many towers you build.
The real cost difference isn’t just money. Commercial systems ship with a tested design, uniform parts, and documented flow rates. A DIY PVC system requires you to solve the flow distribution and pump sizing problems yourself, which has a learning curve. The first build rarely runs perfectly. Factor that in.
That said, the DIY version is more flexible. You can scale it, modify it, repair it with hardware-store parts, and iterate quickly. If you’re the kind of grower who wants to understand what’s happening rather than just following a setup guide, building your own system is worth the extra effort. And if budget is the driving factor, building a hydroponic system on a budget gives you the full cost breakdown across multiple system types.
Once you understand how your vertical PVC system is supposed to work and what can go wrong, you’re in a much better position to build something that actually produces. The planning work done here, before a single hole is drilled, is what separates a tower that feeds your family from one that sits in the garage after a frustrating first season. A PVC tower is one of the most space-efficient builds in the DIY hydroponic systems toolkit. When you’re ready to look at the broader landscape of vertical hydroponic systems, you’ll find the PVC approach sits at the center of most serious home builds for exactly the reasons covered here.