
Grow Tent Setup for Hydroponics: Step-by-Step Guide
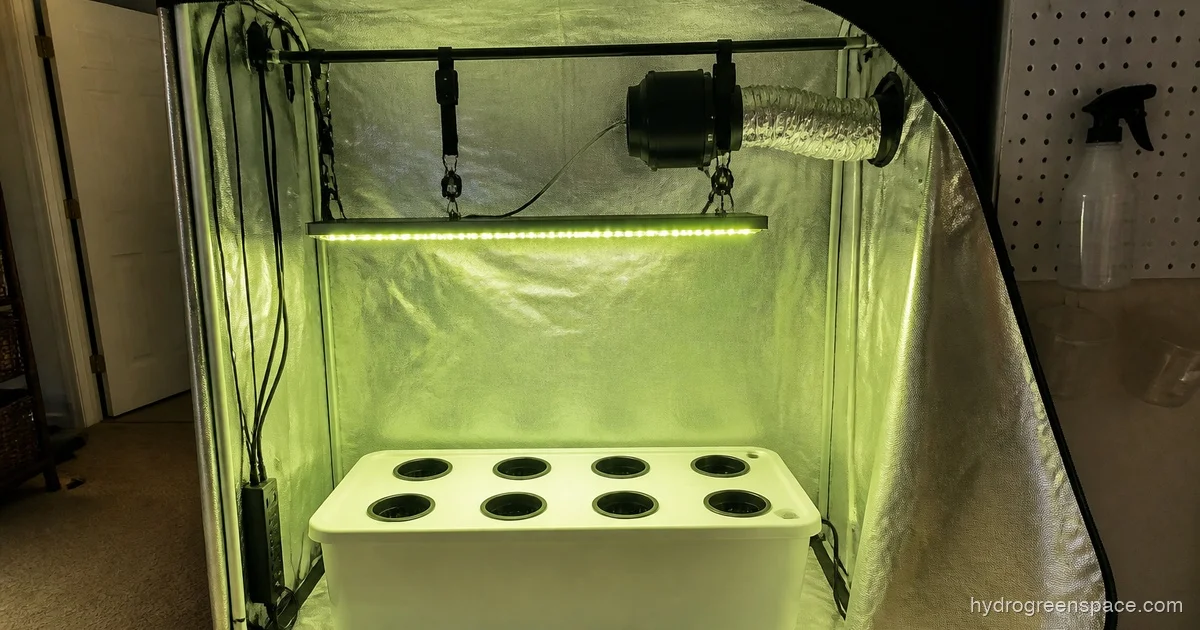
Getting a grow tent up and running sounds simple until you’re standing inside one at 2am, trying to hang a grow light over a reservoir you already filled with 15 gallons of water. The setup order matters more than most guides let on, and getting it wrong doesn’t just cost you time, it can mean bent poles, spilled nutrients, and a light hung too low to adjust later.
This is the exact sequence I use for a hydroponic grow tent setup, along with the sizing and environment decisions that actually matter once everything is running.
Get the Sequence Right Before You Touch Anything Else
The single biggest mistake beginners make is working in the wrong order. Here’s the sequence that prevents most of the headaches:
- Assemble the tent frame (poles and connectors only, no fabric yet if you can manage it)
- Mount the light fixture and hang it at the top (chain or rope ratchets, loosely)
- Run the ventilation rough-in (inline fan, ducting, and carbon filter positioned but not fully secured)
- Set the hydroponic system in place (empty, no water)
- Fill the reservoir and test the system (check for leaks, prime the pump if applicable)
- Finalize the light height once you know where the canopy will sit
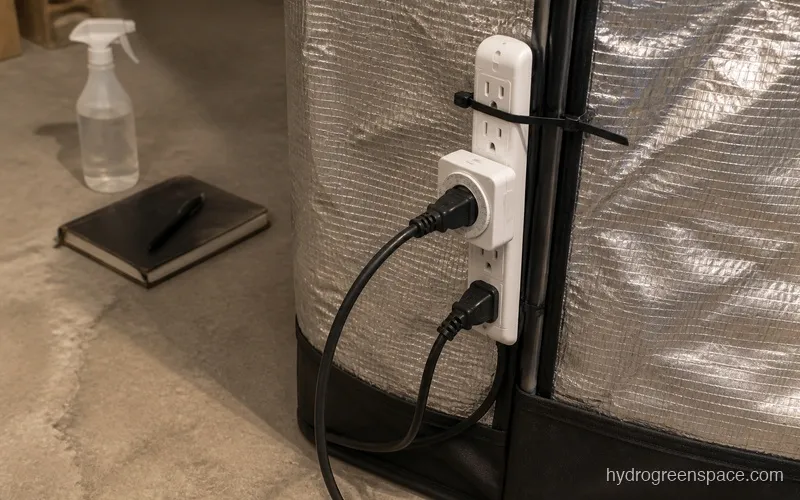
- Set timers, dial in temp and humidity sensors, close the tent
The reason you do lights before the reservoir is simple: once that reservoir is full, you’re not easily moving it, and you can’t position the light properly without knowing where the canopy sits. The reason you rough-in ventilation before filling is that tucking ducting around a full system in a 2x4 tent is miserable work.
Choosing the Right Tent Size for Your Hydroponic System
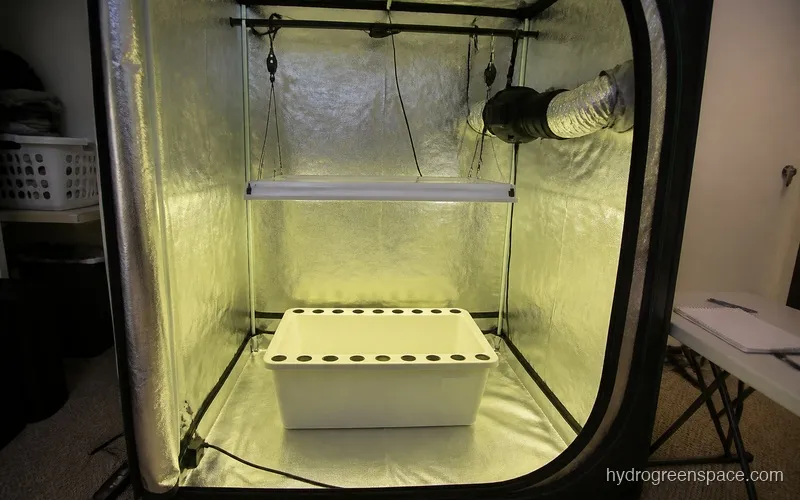
Tent size and hydroponic system type are decisions you need to make together, not separately. The floor footprint of your system eats into your usable space fast.
Small Tents (2x2 to 2x4 ft)
A 2x2 is tight but workable for a single Kratky or DWC bucket growing one to four plants. A 2x4 opens things up considerably and is probably the most popular size for home growers doing a DWC system or a small NFT channel. You can fit four to eight plants depending on what you’re growing.
Herb-focused setups work extremely well in a 2x4. Basil, mint, cilantro, and lettuce don’t need much vertical clearance and keep root mass manageable in smaller reservoirs.
Tip: For a 2x2 tent, skip the flood-and-drain system. The tray and reservoir footprint leaves almost no room to actually work. Kratky or a single DWC bucket keeps things proportional.
Medium Tents (3x3 to 4x4 ft)
A 4x4 is where tent hydroponics gets genuinely versatile. You can run a multi-bucket DWC system, a recirculating deep water culture setup, or even a small NFT channel with a separate external reservoir. Tomatoes, peppers, and cucumbers become realistic if you have the vertical height (at least 6 ft).
The main thing to plan for in a medium tent is reservoir access. A 4x4 tent means leaning over the edge to reach a center reservoir. If you’re running a top-feed or recirculating system, position the reservoir at the front edge so you can pull it without removing plants.
Large Tents (4x8 and up)
At this size, you’re likely running a dedicated system with an external reservoir and pump. Most 4x8 setups use a separate tent or space for the reservoir entirely. This keeps humidity from open water out of the grow space and makes water changes dramatically easier.
If you’re interested in how basement spaces handle these larger setups, growing hydroponics in a basement covers the airflow and humidity dynamics specific to that environment.
Ventilation: The Part That Actually Controls Your Environment
Poor ventilation is the reason most first grow tents fail. It’s not the lights or the nutrients. It’s a tent running at 90°F with 85% humidity because the grower bought a fan too small for the space.
Sizing the Inline Fan
The general rule is to exchange all the air in your tent every 1 to 3 minutes. For a 4x4x6.5 ft tent, that’s roughly 104 cubic feet of air. A 4-inch inline fan rated at 200 CFM handles that easily and leaves headroom for the resistance from a carbon filter and ducting.
For a 2x4 tent, a 4-inch fan is typically enough. For a 4x4 or larger, go 6-inch. Don’t size down to save money on the fan. You will spend more money replacing dead plants.
Carbon Filter for Hydroponics
Carbon filters are more optional in hydroponics than in soil growing, since you’re not dealing with heavy organic material. That said, nutrient solutions at warmer temperatures can develop a noticeable smell, and some crops (basil, particularly) have strong aromatics.
If you’re in an apartment or a shared space, run the carbon filter. If you’re in a detached garage or basement and smell isn’t a concern, you can skip it and just exhaust hot air out through ducting.
Passive Intake vs. Active Intake
For most home-scale tents, passive intake (using the lower mesh vents with no dedicated intake fan) works fine as long as your exhaust fan is sized correctly. The negative pressure created by the exhaust fan pulls fresh air through the intake vents naturally.
If your tent is in a very warm room or a space with limited air movement, a small clip fan aimed at the lower vents can help, but a dedicated intake fan usually isn’t necessary until you’re running a 4x8 or larger.
Lighting Setup Inside a Grow Tent
Grow tents have one major advantage over open shelving or a room grow: the reflective Mylar lining bounces light back onto the canopy from all sides. A mid-range LED in a tent often outperforms a higher-wattage light in an open space because you’re capturing light that would otherwise be wasted.
How Far Should Lights Be from Plants?
The answer depends on the light and the growth stage. Most modern LED grow lights from reputable manufacturers include a chart or app that gives exact heights. As a starting point:
- Seedling/clone stage: 24 to 36 inches
- Vegetative growth: 18 to 24 inches
- Flowering/fruiting: 12 to 18 inches (check manufacturer specs)
Dimming capability matters more in a tent than in an open setup because you have no room to back the light away during seedling stage without losing the reflective benefit of the tent ceiling. Look for lights with dimmer control.
For a more detailed walkthrough of how to match light output to your growing space, setting up lights for your indoor system goes deeper into PPFD and coverage footprints.
Light Cycles
For photoperiod crops, the standard cycles are 18/6 for vegetative and 12/12 for flowering. Lettuce and most herbs are day-neutral and do well on 16 to 18 hours of light. Set this on a mechanical or digital timer on day one, because hand-switching lights is a reliable way to accidentally stress your plants into early flowering.
Temperature and Humidity: The Numbers That Actually Matter
The sweet spot for most hydroponic crops is 70 to 80°F with 50 to 70% relative humidity during vegetative growth, dropping to 40 to 50% RH during flowering or fruiting to reduce the risk of mold.
VPD, or vapor pressure deficit, is a more precise way to dial in the relationship between temperature and humidity than using either number alone. At 75°F and 60% RH, your VPD is roughly 0.9 kPa, which sits in the ideal zone for leafy greens and herbs. Most growers who get into VPD tracking use a simple chart rather than calculating it manually.
Humidity Spikes from Open Reservoirs
In a small tent, an open reservoir surface actively evaporates moisture into the air. In a 2x4 with a 5-gallon reservoir, this isn’t catastrophic. In a 4x4 with a 20-gallon reservoir, you can see humidity jump 15 to 20 points above ambient in a few hours.
The fix is simple: cover the reservoir as much as possible. Net pot holes should be snug around stems. Any open port (pump cord entry, air line) should be plugged or covered with a light-blocking foam. This also prevents light from reaching the reservoir, which is the main driver of algae growth in hydroponic systems.
Which Hydroponic System Actually Works Best in a Tent?
DWC and Kratky are the most forgiving systems for tent growing because they’re self-contained, have minimal plumbing, and don’t require external reservoirs or elaborate pump runs. DWC adds an air pump and air stone for oxygenation; Kratky does without any active components entirely.
NFT (Nutrient Film Technique) works well in a tent, but the channels need to be sized carefully for the floor footprint. Ebb and flow (flood and drain) is workable in a medium to large tent but requires a separate reservoir and a timer-controlled pump, which adds complexity for beginners.
For a side-by-side look at how these systems compare in terms of setup and maintenance, different types of hydroponic systems breaks down which setup fits which growing situation.
What I’d do: For a first tent grow, I’d set up a 4-plant DWC in a 2x4 tent with a 4-inch inline fan, a mid-range LED, and a simple digital timer. It’s the fastest path from setup to harvest with the fewest moving parts to troubleshoot.
Once you’ve got the tent dialed in, the next layer is nutrients and feeding schedules. How to feed your hydroponic plants walks through what a proper feeding schedule looks like from seedling to harvest, including how to catch signs of nutrient burn before they set back your crop. For a broader look at all indoor growing environments and how a grow tent fits into the bigger picture, the indoor hydroponic growing guide covers every setup option in one place.