
Hydroponic Tote System: Build One in 6 Steps
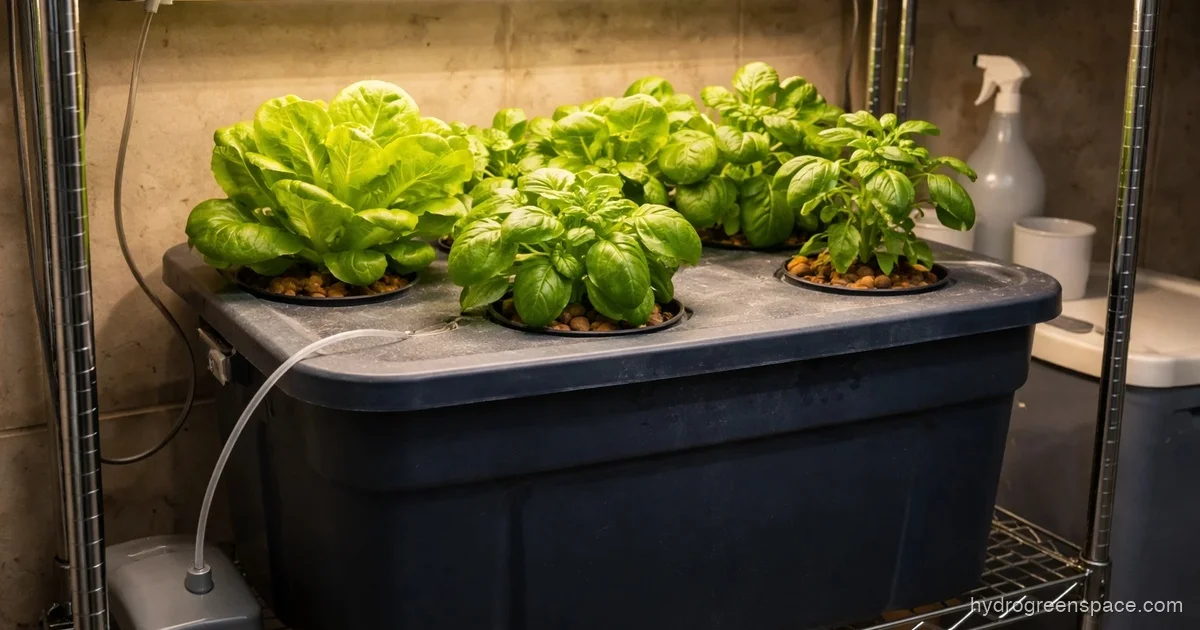
If you’ve built a single bucket DWC system and liked it, a hydroponic tote is the natural next move. Same principle, much more water volume, and you can run four, six, or even eight plants off a single reservoir without babysitting nutrient levels every day.
The tradeoff is real: a tote system is less flexible than individual buckets but far easier to manage once it’s running. Both sides of that are worth understanding before you build.
Bucket vs. Tote: Which One Should You Actually Build?
A single 5-gallon bucket holds, at best, 3-4 gallons of nutrient solution. That’s fine for one large plant or two smaller ones. Scale up to four or six plants and you’re either running individual buckets with a shared reservoir (a 6-bucket system adds real plumbing complexity) or you need a bigger container.
A storage tote solves the volume problem cleanly. A 17-gallon tote gives you roughly 12-13 gallons of usable solution. A 27-gallon tote gets you to 20+ gallons. More water volume means slower pH drift, more stable nutrient concentration, and less frequent top-offs. For a busy grower, that matters.
Where individual buckets win: plant isolation. If one plant gets root rot, it stays in that bucket. In a shared tote, one infected root system contaminates the whole reservoir. That’s the risk you’re taking on, and it’s worth knowing upfront.
What I’d do: For four or fewer plants of the same variety grown at the same time, a tote is simpler and I’d choose it every time. For mixed varieties with different nutrient needs, or if I was paranoid about disease spread, I’d run individual buckets instead.
What Size Tote for Hydroponics?
The answer depends on how many plants you want to grow and how large they’ll get.
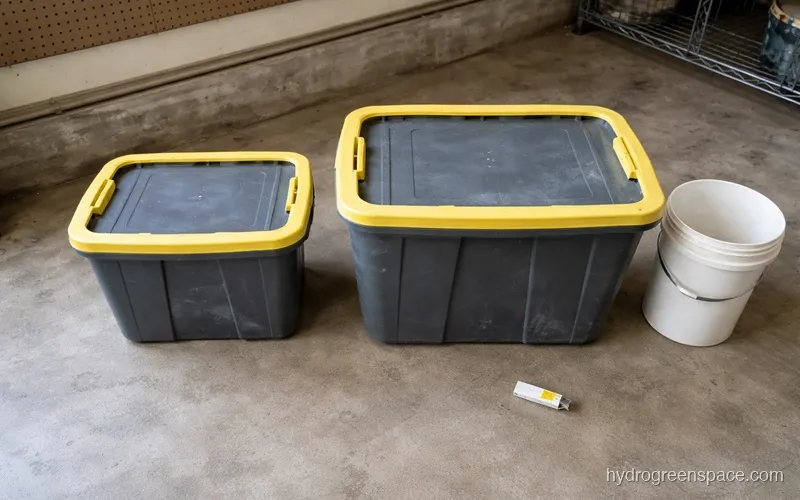
17-gallon tote (roughly 24” x 16”): Fits 4 net pot sites comfortably. Good for lettuce, herbs, spinach, kale, and other smaller leafy greens. This is the most common beginner choice because 17-gallon totes are cheap, widely available (Sterilite, HDX, and similar brands), and easy to handle when full.
27-gallon tote (roughly 30” x 20”): Fits 6 net pot sites, sometimes 8 depending on spacing. Better for larger plants like basil, peppers, or compact tomato varieties. The extra water volume also gives you more buffer if you miss a top-off day.
Smaller totes (5-10 gallon): Technically workable for 2-3 plants, but the volume is too small to stay stable. pH can swing a full point overnight when the reservoir is that shallow. I’d skip anything under 12 gallons.
A general rule: plan for at least 2.5-3 gallons of nutrient solution per plant site. If you’re growing anything larger than herbs, bump that to 4 gallons per plant. Factor in that the tote won’t be filled to the brim (you want 1-2 inches of air gap above the waterline for the roots to breathe).
If you’re still deciding how many plants to run, the 3-plant hydroponic system and 2-plant hydroponic system guides cover smaller-scale options worth comparing.
Parts List
Here’s everything you need to build a basic hydroponic tote DWC system:
| Item | Specification | Notes |
|---|---|---|
| Storage tote | 17-27 gallon, opaque | Sterilite, HDX, or any dark-colored brand |
| Net pots / net cups | 3-inch or 2-inch | 3-inch for larger plants, 2-inch for herbs |
| Air pump | 4-8 watt, adjustable | See sizing section below |
| Air stone(s) | 4-6 inch cylindrical or disc | 1 per 10-15 gallons of solution |
| Air tubing | Flexible vinyl, 5-10 ft | Standard aquarium tubing fits most pumps |
| Check valve | 1-way | Prevents back-siphon if pump fails |
| Hole saw or drill bit | Sized to your net pots | 3-inch pots need a 3-inch hole saw |
| pH meter + calibration solution | Digital, ±0.1 accuracy | Test strips aren’t precise enough |
| Hydroponic nutrient solution | 3-part or 2-part formula | Follow manufacturer’s schedule |
| Black spray paint or duct tape | For light-proofing if needed | See below |
Total cost typically runs $40-80 depending on what you already own and whether you shop at a local store or order online. The hydroponic equipment checklist has links and a full breakdown if you’re starting from zero.
How to Build a Hydroponic Tote System: Step-by-Step
Step 1: Choose and Prepare Your Tote
Grab an opaque tote (dark green, black, gray, or blue). Avoid clear or white. A clear tote will grow algae faster than almost anything else you can do wrong, because it lets light reach the nutrient solution directly.
Warning: A clear tote for hydroponics is a bad idea even if you plan to paint it. Plastic paint scratches and cracks over time, eventually letting light in. Start with an opaque tote and save yourself the headache. If you’re curious why light causes so many problems, algae growth in hydroponics explains exactly what’s happening at the water level.
Wash the tote with mild soap and rinse thoroughly. Any soap residue in the nutrient solution will cause foaming and can stress plants.
Step 2: Drill the Net Pot Holes in the Lid
Measure and mark hole positions on the lid. Keep net pots at least 6 inches apart center-to-center for herbs and leafy greens. For larger plants (basil, peppers), go 8-10 inches apart.
Use a hole saw attached to a drill. Match the diameter to your net pots: 3-inch pots need a 3-inch hole, 2-inch pots need a 2-inch hole. Drill slowly and hold the lid flat against a piece of scrap wood to prevent cracking.
Sand or file any rough edges after drilling. Sharp plastic edges can cut roots as they grow down through the pot.
Step 3: Set Up the Air System
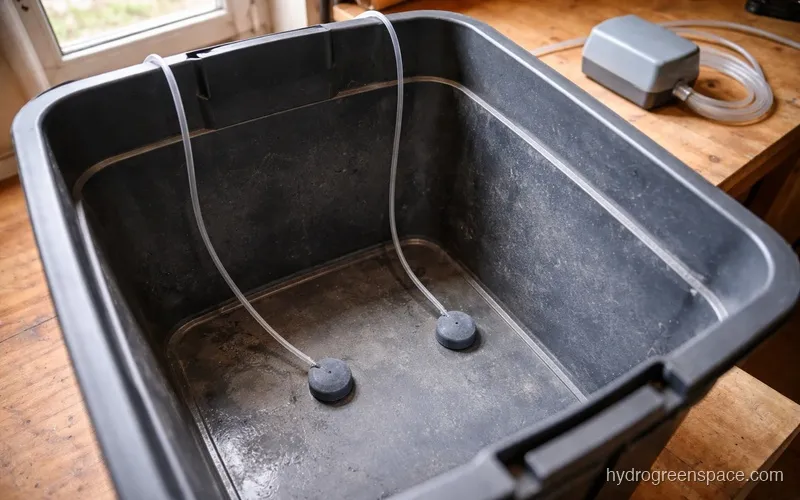
Drill a small hole near the top edge of the tote for the air tubing (just big enough for the tube to pass through). Thread the tubing through, connect one end to the air stone inside the tote, and connect the other end to the check valve, then to the air pump outside.
Place the air stone(s) on the bottom of the tote. If you’re running a 27-gallon tote with six plant sites, use two air stones positioned toward opposite ends of the reservoir rather than one in the center.
Air pump sizing by plant count:
- 2-4 plants in a 17-gallon tote: a 4-watt pump with 1.5-2 L/min output is enough
- 6-8 plants in a 27-gallon tote: use a 6-8 watt pump with 3-4 L/min output
When in doubt, go slightly larger. An oversized air pump in a DWC system is almost never a problem. An undersized one leads to poor oxygenation and root rot developing faster than you’d expect.
Step 4: Light-Proof the Tote
Even an opaque tote can let light in around the lid seam, through the tubing hole, or at thin spots in the plastic. Algae only needs a little.
Run a strip of black duct tape around the lid perimeter where it meets the tote body. Cover the tubing hole with a small piece of tape around the tube. Hold the assembled tote up to a bright light and look for any glow-through spots, then tape those too.
This takes five minutes and prevents weeks of algae scrubbing later.
Step 5: Mix and Fill Your Nutrient Solution
Fill the tote with water and let it sit for 24 hours if you’re on municipal tap water (chlorine off-gasses naturally) or use a small amount of sodium thiosulfate to dechlorinate instantly.
Add your nutrient solution according to the manufacturer’s dilution rate. For a first fill with seedlings, use half the recommended concentration. Young roots are sensitive, and full-strength nutrients can cause tip burn on seedlings within a few days.
Check and adjust pH to 5.5-6.5. The sweet spot for most vegetables and herbs in a DWC system is 5.8-6.2. Check with a calibrated digital pH meter, not test strips.
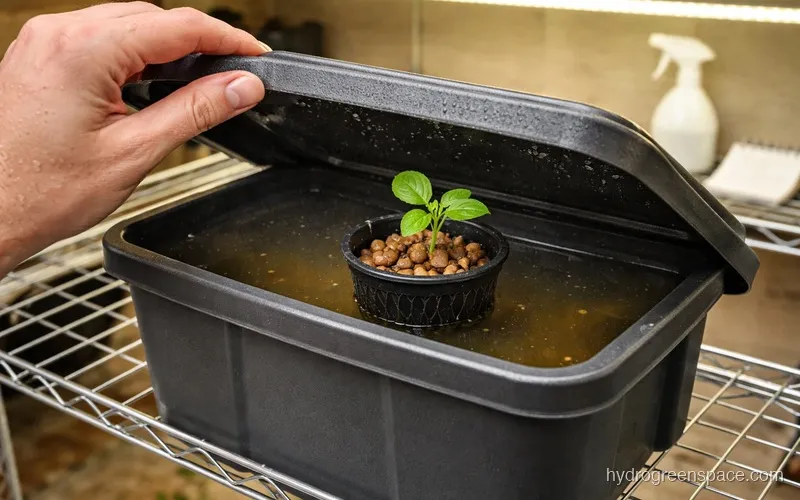
Fill to a level where the bottom of the net pots will sit about 1 inch above the waterline. The air stones will create enough splash and mist to keep the roots in the net pots moist even without direct water contact. As roots grow longer and dip into the solution, this gap becomes less critical, but starting with that air gap protects seedlings from damping off.
Step 6: Add Plants
Transfer seedlings or rooted clones into the net pots. Pack the net pots loosely with clay pebbles (hydroton), coco coir, or rockwool, whichever medium you’re using to support the roots.
The plant stem should sit above the net pot rim. Roots should hang freely into the tote below. Don’t bury the crown of the plant in the growing medium.
Turn on the air pump. You should see a steady stream of bubbles rising from the air stone. If the bubbling looks weak, check for a kinked tube or a pump that’s undersized for the tote volume.
Tip: Label each plant site on the lid with a piece of tape and a marker. When you’re troubleshooting a yellowing plant two weeks in, knowing exactly which site it’s at makes checking the roots quick and simple.
First Two Weeks: What to Watch
Check the nutrient solution level every 2-3 days for the first two weeks. Plants will drink more than you expect, especially in warm weather. Top off with plain, pH-adjusted water (not fresh nutrient solution) when the level drops. The nutrient concentration actually rises as water evaporates, so you’re correcting volume, not adding more nutrients.
Check pH every 2-3 days as well. A fresh reservoir often stabilizes after the first week, but until the roots are established you’ll see more drift. Keep it in the 5.8-6.2 range.
Water temperature matters more in a tote than a bucket, because all your plants share the same reservoir. Aim for 65-72°F. Below 60°F and nutrient uptake slows. Above 75°F and oxygen levels in the solution drop sharply, which is when root rot starts. If your growing space runs warm, look into a small aquarium chiller or pack frozen water bottles into the reservoir during the hottest part of the day.
For more on what can go wrong early, the guide on common beginner mistakes in hydroponics covers the nutrient and pH issues that catch most new growers off guard.
Scaling Up From Here
A hydroponic tote is a genuinely good system. It’s low-cost to build, straightforward to maintain, and scales reasonably well within the limits of one container. For four to six plants of the same variety, it’s probably the simplest DWC setup you can run.
The next step up from a tote is either a true multi-bucket setup (with a shared reservoir and individual buckets per plant) or a larger recirculating system. If you’re curious about that jump, the 6-bucket hydroponic system is worth reading once you’ve got a grow or two on a tote under your belt.
Once your system is running and you’re comfortable with nutrients and pH, you’ll probably start noticing things you want to dial in further (air pump sizing, net cup selection, and more). A tote system sits at the practical center of the DIY hydroponic systems range, giving you more capacity than a single bucket without the complexity of a full multi-bucket recirculating build. The best air pump for hydroponics and hydroponic net cups size guide cover both in detail when you’re ready to go deeper.