
Seed Starting in Coco Coir: The Buffering Step That Matters
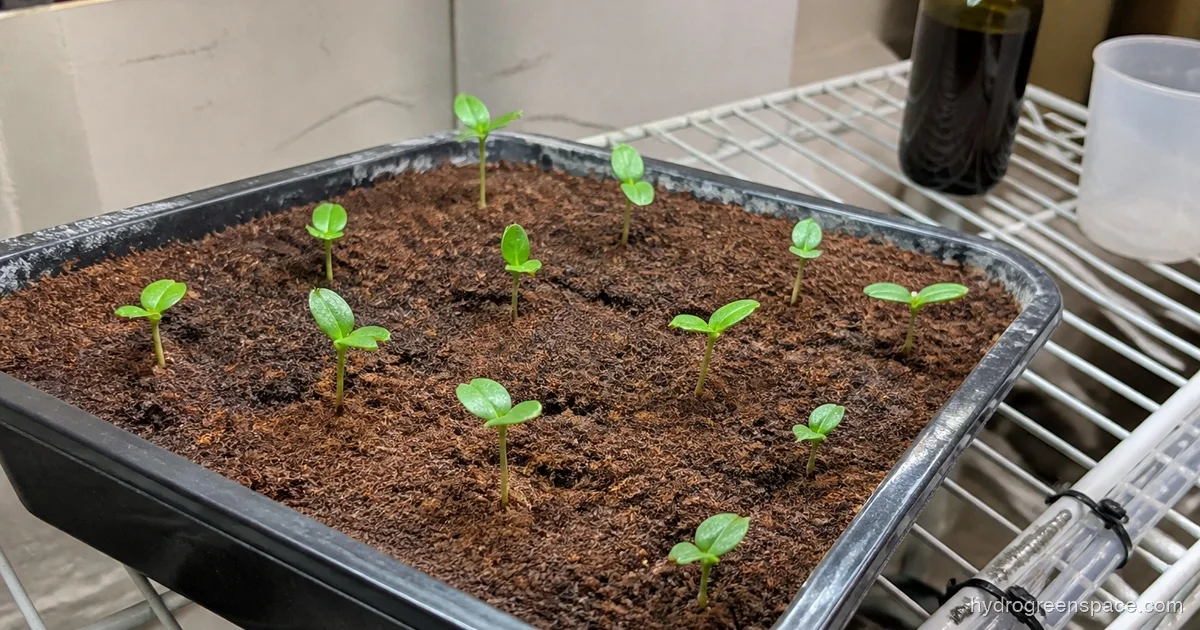
Coco coir has a calcium problem that nobody in the general gardening world seems to want to talk about. For soil growers, it barely matters. For hydroponic growers, it can wipe out an entire tray of seedlings before they ever develop true leaves. This guide covers seed starting in coco coir from a hydroponic perspective, including the prep step that determines whether your seedlings thrive or stall.
Why Coco Coir Works So Well for Hydroponic Seedlings
If you’ve ever tried starting seeds in rockwool or peat pellets and felt like you were constantly fighting moisture levels, coco coir will feel like a relief. It holds roughly 70% air by volume even when fully saturated, which means your germinating seeds get the oxygen they need without you having to perfectly time your waterings.
It’s also naturally antifungal. Coco coir contains a compound called lignin that resists the fungal pathogens responsible for damping off, the condition where seedlings suddenly collapse at the soil line. Peat moss doesn’t have this. Rockwool doesn’t either. For growers who’ve lost seedling trays to damping off, switching to coco is often the fix.
The other reason it’s a natural fit for hydroponics: coco coir is inert. It doesn’t hold nutrients the way soil does, which gives you full control over your feed. That same inertness is also the reason you have to prep it correctly before you use it.
Buffering Coco Coir Before You Plant
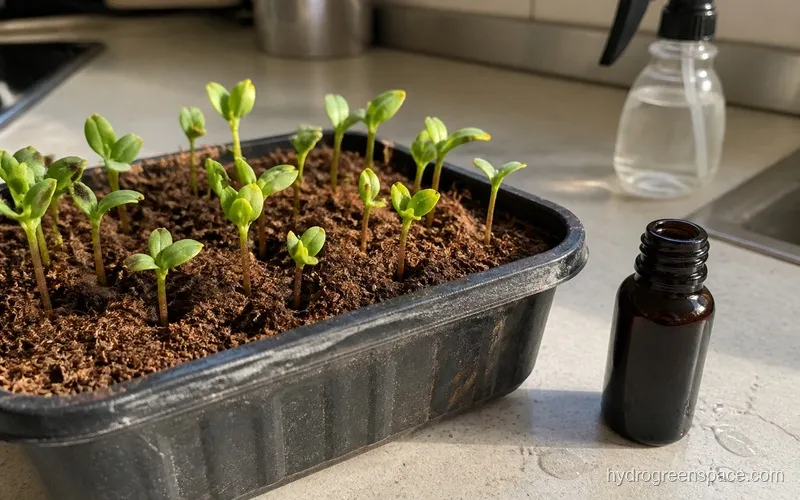
Here’s what makes coco coir different from every other seed-starting medium: it has a naturally high cation exchange capacity, which means it aggressively holds onto calcium and magnesium ions from any solution it contacts. If you plant seeds into unbuffered coco and water with a standard seedling nutrient solution, the coco will grab your calcium and magnesium before your plants ever see it.
The result looks like a calcium or magnesium deficiency even when you’re feeding correctly. Leaves curl, new growth comes in pale or distorted, and seedlings stall. If you’ve grown in coco coir as a hydroponic growing medium before, you’ve probably run into this.
Buffering solves it. The process is simple:
- Rinse the coco with plain water first to remove salt residue from processing
- Soak it in a calcium-magnesium solution (CalMag at about 400-500 ppm, or roughly 5 ml/gallon) for at least an hour, ideally overnight
- Drain fully and let it reach field capacity before planting
After buffering, the coco’s binding sites are already occupied with calcium and magnesium. When you water your seedlings, the nutrients go to the plant instead of disappearing into the medium.
What I’d do: I buffer a full bag of coco at once and store the damp, buffered coco in a sealed container. That way it’s ready whenever I want to start a new tray without having to wait overnight.
Does Coco Coir Need Nutrients for Germination?
This is one of the most common questions about coco coir seed germination, and the answer depends on where your seedling is in its development.
During germination, the seed is running on its own stored energy. It doesn’t need nutrients from the medium. You can germinate in plain buffered coco moistened with plain pH-adjusted water (5.8-6.2) and the seed will sprout fine.
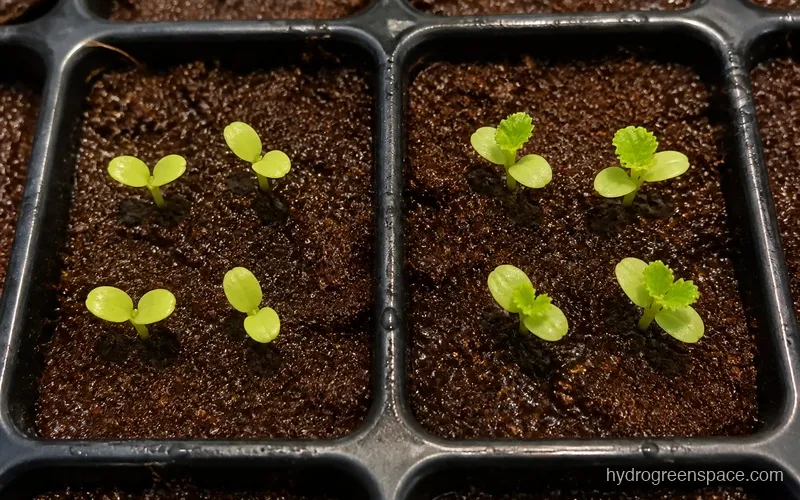
The rule changes when the first true leaves appear. That’s your signal to start introducing a very diluted nutrient solution, around 200-400 ppm, with a full hydroponic nutrient profile (not just CalMag). Hold off until you see true leaves, not just the cotyledons (the first rounded “seed leaves” that emerge from the seed). The cotyledons look like leaves but they’re part of the seed, not true growth.
Coco Pith vs Coco Fiber: Which One You Actually Want
Most coco coir products are a blend, but they’re not all the same blend, and the ratio matters for seedlings.
Coco pith is the fine, brown, spongy material. It holds water well and creates a dense structure. In large amounts, it can stay too wet and restrict oxygen to roots.
Coco fiber is the coarser, stringy material. It drains faster and creates air pockets. It improves structure but doesn’t hold moisture as consistently.
For seed starting, you want a blend that leans toward pith with some fiber mixed in, typically 70/30 or similar. Pure pith retains too much water for small seedlings. Pure fiber drains so fast that maintaining consistent moisture for germination becomes difficult.
Most retail coco coir products are already blended at a reasonable ratio. If you’re buying compressed bricks, know that most are predominantly pith, so mixing in 20-30% perlite will improve drainage and prevent compaction. You can read more about that decision in this comparison of perlite vs vermiculite for hydroponics.
How Wet Should Coco Coir Be for Germination?
The target is “wrung-out sponge” moisture, not soaking wet. If you squeeze a handful of coco and water streams out freely, it’s too wet. If it crumbles apart, it’s too dry. You want it to hold its shape when squeezed and release only a few drops.
One mistake beginners make is over-watering after planting because they see the surface dry out and panic. The surface will dry faster than the interior. Check the weight of your tray instead. A tray that feels significantly lighter than when you first watered it is ready for another light watering.
For propagation trays with humidity domes, you’ll water less frequently. The dome traps moisture and slows evaporation. Lift the dome for 10-15 minutes twice a day to prevent mold and give seedlings fresh air. A good propagation tray setup makes this easier to manage consistently.
Starting Seeds Directly in Coco Coir vs a Seed-Starting Mix
You can start seeds directly in coco coir without blending it with a seed-starting mix, provided you’ve buffered it properly and added perlite for drainage. The main advantage over a premade mix is that you’re already working in the same medium your seedling will grow in (for most coco-based hydroponic systems), so there’s no texture transition when you transplant.
Compared to peat-based mixes, buffered coco coir has a more stable pH, doesn’t compact as badly over time, and resists damping off better. The tradeoff is that peat mixes often have starter nutrients built in, which means you can water with plain water longer before needing to feed. With coco, you’re in charge of nutrients from the start.
If you’re coming from a soil background and used to seed-starting mixes with fertilizer already blended in, coco will feel more hands-on. That’s a good thing for hydroponics, where nutrient control is the whole point. It’s worth comparing your options across the full range of rockwool alternatives for hydroponics if you want to see how coco stacks up against other seed-starting methods.
Transitioning Seedlings from Coco to Your Hydroponic System
When your seedlings have developed a solid root system and 2-3 sets of true leaves, they’re ready to move into your main system.
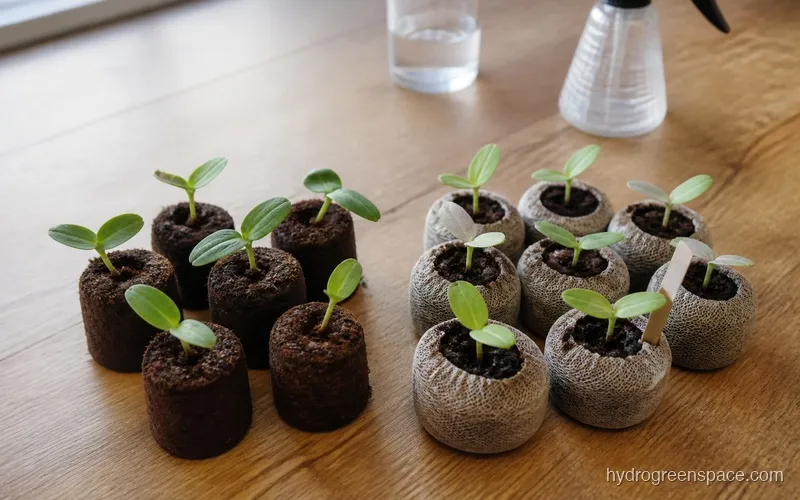
Because coco coir is used as a standalone growing medium in many hydroponic setups (drip systems, top-fed DWC, dutch buckets), you often don’t need to remove any medium from the roots at all. You can transplant the entire coco plug or block directly into a net pot or growing site and it integrates cleanly.
If you’re moving into a system with a different medium, like clay pebbles or a water-only setup, gently rinse the roots under pH-adjusted water and transfer carefully. Avoid exposing roots to light any longer than necessary. For more on what comes next after your plants are in the system, this guide on feeding hydroponic plants after transplant covers exactly how to ramp up nutrients without shocking your seedlings.
One more thing: if you germinated in coco without rockwool or a dedicated plug, this process is actually easier than working with rockwool cubes, where the cube and roots can fuse in ways that make transplanting harder. If you want to see that comparison directly, germinating seeds without rockwool walks through your options side by side.
Once your seedlings are established in the main system, the seed-starting work is done. If anything went sideways during germination, chances are it was one of the things in the common beginner mistakes in hydroponics guide, which is worth reading before your next round. For the full map of every seed-starting decision from media choice to transplant, the seed starting for hydroponics guide connects all the pieces.