
One Plant Hydroponic System: Kratky, DWC, or Wick
Growing one plant hydroponically is probably the most underrated way to start. No big investment, no complicated manifold, no reservoir the size of a cooler. Just one plant, one container, and a nutrient solution that does most of the work.
You can build a functioning one plant hydroponic system in an afternoon with parts from a hardware store, and this guide will show you exactly how.
Three Systems Worth Considering (And Which One to Build)
There are dozens of hydroponic methods, but for a single plant, three actually make sense: Kratky, deep water culture (DWC), and wick. Each has a different trade-off between cost, equipment, and the type of plant it handles well.
Kratky: The No-Pump Option
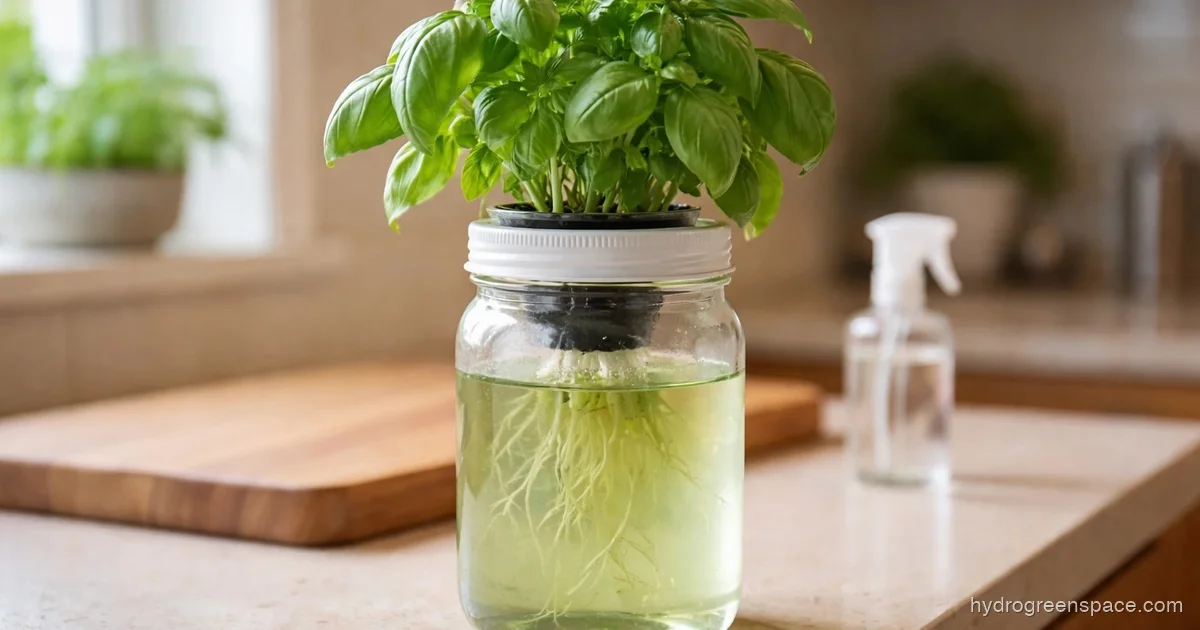
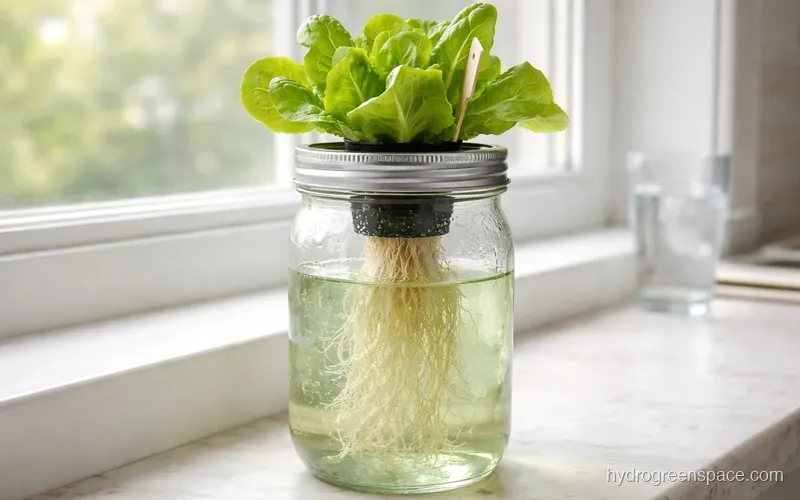
The Kratky method is passive. You fill a container with nutrient solution, drop a net pot in the lid, and let the plant’s roots hang into the water. As the plant drinks, an air gap forms naturally above the water line, which provides the oxygen roots need. No air pump, no electricity, no moving parts.
For leafy greens and herbs, this is the right call. Lettuce, basil, spinach, and cilantro thrive in a Kratky setup. A single mason jar or 1-gallon container works fine for one plant, and you can get from seed to harvest in under a month without touching the setup more than once a week.
If you want the full build walkthrough, the Kratky method for beginners covers it step by step.
What I’d do: For a first-ever hydroponic plant, go Kratky with butter lettuce. Total cost is under $15, it takes 20 minutes to build, and you’ll have something harvestable in 3 weeks. That fast feedback loop is worth more than any fancy system.
DWC Bucket: The Right Call for Big Plants
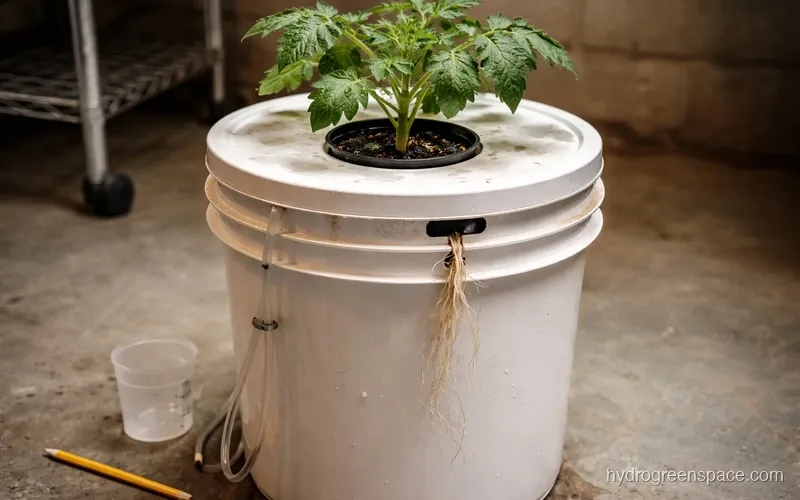
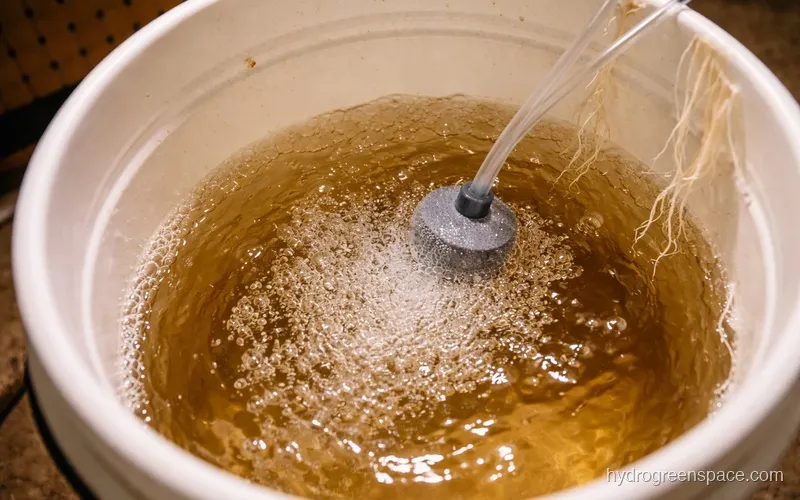
Deep water culture (DWC) uses an air pump and air stone to keep nutrient solution oxygenated while roots sit submerged 24/7. Unlike Kratky, the roots don’t need an air gap because the pump supplies oxygen directly.
For tomatoes, peppers, cucumbers, and cannabis, a single-bucket DWC setup is the better choice. These plants have bigger root masses and heavier nutrient demands that a static Kratky solution can’t keep up with past the first few weeks. A standard 5-gallon bucket gives you the reservoir volume to keep levels stable between changes.
The 5-gallon bucket hydroponic system guide goes deep on sizing, air pump placement, and nutrient management specifically for that format.
Wick System: The Simplest Possible Setup
A wick system uses an absorbent rope or cloth to draw nutrient solution up from a reservoir into the growing medium by capillary action. No pump, no electricity, no net pot required.
The trade-off is slow uptake. Wick systems work for small, slow-growing plants like herbs and certain flowers. They won’t keep up with anything that needs a lot of water fast. I’d only recommend a wick setup if you genuinely cannot get an air pump and need the absolute minimum configuration. For a slightly more creative approach to support and structure, creative low-cost support methods are worth browsing.
What You Actually Need (Parts List With Costs)
Here’s what a minimal single plant hydroponic system requires. I’ve split it by system type so you can see the real cost difference.
Kratky (leafy greens and herbs):
| Item | Cost |
|---|---|
| 1-gallon container or mason jar | $2–5 |
| Net pot (2-inch) | $1 |
| Clay pebbles or rockwool cube | $3–6 |
| Hydroponic nutrient solution | $10–15 (lasts months) |
| pH test drops or meter | $5–15 |
| Total | $21–42 |
DWC bucket (tomatoes, peppers, large plants):
| Item | Cost |
|---|---|
| 5-gallon bucket with lid | $5–8 |
| Net pot (3-inch or 6-inch) | $1–2 |
| Air pump | $8–12 |
| Air stone + tubing | $3–5 |
| Clay pebbles | $5–8 |
| Hydroponic nutrients | $10–15 |
| pH meter | $10–20 |
| Total | $42–70 |
For a complete breakdown of what everything costs across different setups, how much it costs to start has solid numbers with no fluff.
What Size Container Do You Actually Need?
The short answer: smaller than you think.
For leafy greens and herbs, a 1-gallon container or even a half-gallon mason jar is enough. Lettuce has a shallow, compact root system and doesn’t need much reservoir volume to stay fed.
For fruiting plants like tomatoes or peppers, go with a 5-gallon bucket minimum. These plants develop extensive root networks, and a small reservoir will require daily top-offs in warm weather. Five gallons gives you a buffer so the nutrient solution stays stable for 5–7 days between water changes.
One thing that catches beginners off guard: the container needs to block all light. Clear containers let light hit the nutrient solution, which causes algae growth that will compete with your plant’s roots. If you’re using a mason jar, wrap it in aluminum foil or tape. If you’re using a bucket, any standard opaque 5-gallon bucket works fine.
Do You Need an Air Pump?
For Kratky and wick systems: no. The whole point of these passive methods is eliminating that dependency.
For DWC: yes. Without an air pump and air stone, the roots sitting in still water will suffocate within a day or two. The oxygen-depleted water also becomes a breeding ground for root rot. A small aquarium pump in the $8–12 range is completely adequate for a single bucket.
If you want to go pump-free but still grow something larger than herbs, passive systems with no pump are worth reading before you commit to a setup.
How to Change the Water
For Kratky systems, “water changes” aren’t a thing in the traditional sense. You top off the reservoir with fresh nutrient solution as the level drops, maintaining a small air gap between the waterline and the bottom of the net pot. After a full growth cycle, flush the container before starting a new plant.
For DWC buckets, do a full reservoir change every 7–14 days. The process is simple:
- Mix fresh nutrient solution in a separate container, checking pH (target 5.5–6.5 for most plants).
- Lift the net pot lid and set it aside, keeping the plant’s roots suspended.
- Pour out the old solution, rinse the bucket if there’s any sediment or root debris.
- Add fresh solution and replace the lid.
The whole thing takes about 10 minutes. You’ll notice if your roots are looking brown or slimy during this process, which is an early sign of root rot.
Choosing the right growing medium for your setup also matters here: clay pebbles rinse clean easily, while rockwool can hold pathogens if it’s not handled right. More on starting seeds in rockwool if you’re going that route.
What Can You Grow in a Single Plant Setup?
Virtually anything, but the system type has to match the plant.
Best in Kratky (no pump): lettuce, basil, spinach, cilantro, mint, Swiss chard, arugula
Best in DWC bucket (with pump): tomatoes, peppers, cucumbers, zucchini, cannabis, large herbs like rosemary
Not worth attempting in a single-plant setup: anything that requires trellising a large canopy (like vining squash) or plants that need extremely precise root zone management. Those benefit from dedicated multi-plant systems.
If you’re not sure what to grow first, lettuce is the answer. It’s forgiving about pH swings, grows fast enough to give you real feedback, and tells you immediately when something’s wrong through leaf color. Before you buy anything, run through the hydroponic equipment checklist to make sure you have the basics covered.
Once you’ve run one plant through a full cycle, the jump to two or three plants is smaller than you’d expect. The same container logic applies, and the nutrient management is nearly identical. When you’re ready for that step, scaling up to two plants walks through exactly how to expand without rebuilding from scratch. If you want to go further before that, the single bucket hydroponic setup digs into what a single-bucket system can actually support at its ceiling. For the full picture of what you can build at any scale, the DIY hydroponic systems guide covers every system from a single Kratky jar to a full six-bucket RDWC.