
Pool Noodle Hydroponics: What Works and What to Skip
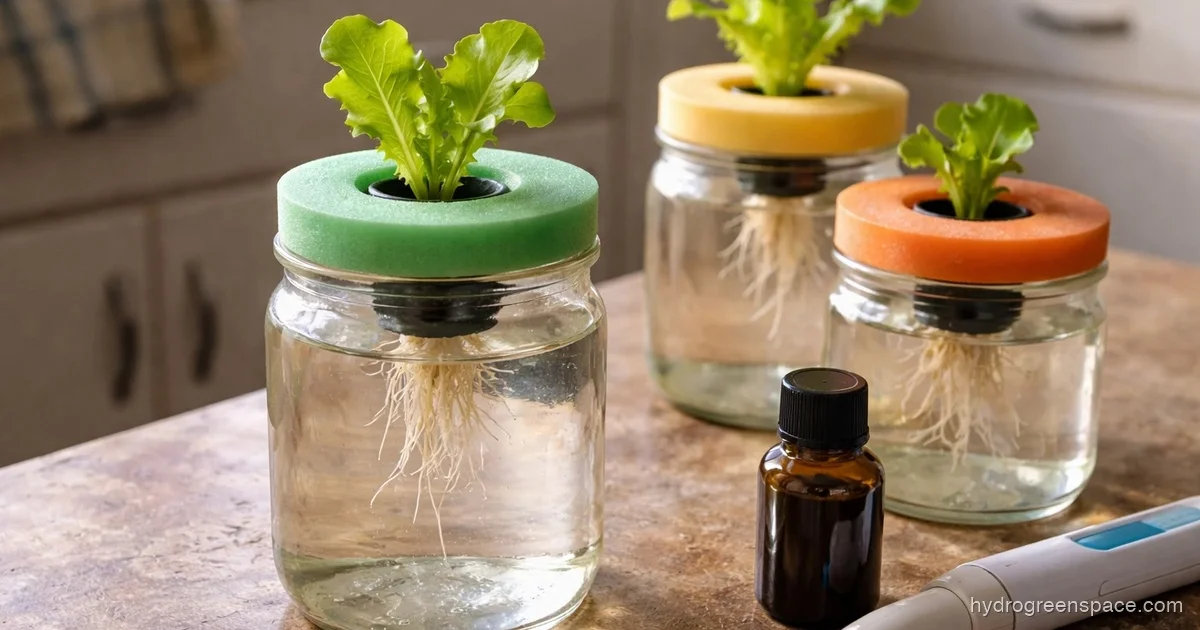
Pool noodles sitting in a dollar-store bin are easy to overlook as a hydroponic supply. But cut one into rings and you have a lightweight, soft, root-friendly growing medium that costs almost nothing and works surprisingly well in a passive Kratky setup. The catch is that not every pool noodle is safe to put near your food plants, and that one detail is worth understanding before you drop anything in a reservoir.
The good news: once you know what to look for on the label, choosing a safe foam is a two-second check. The rest is just cutting and growing.
Are Pool Noodles Safe for Hydroponics?
This is the question that dominates every forum thread on the topic, and the answer is: it depends on what the noodle is made of.
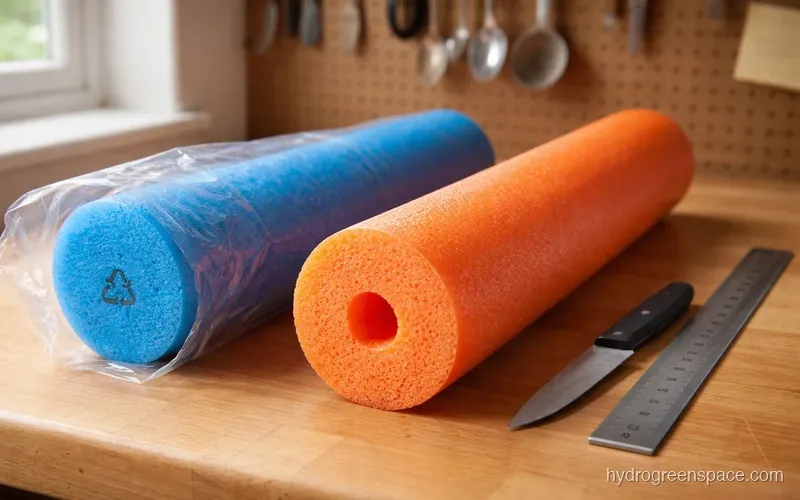
Most pool noodles sold in the U.S. are made from polyethylene foam (PE). Polyethylene is the same food-safe plastic used in cutting boards, food storage containers, and water pipes. It does not leach chemicals into water at normal temperatures, it is resistant to moisture, and it does not break down quickly. For hydroponics, polyethylene foam is a solid choice.
The problem is that some cheaper noodles are made from PVC (polyvinyl chloride) or polystyrene, and those are materials you want to keep out of your nutrient solution. PVC can leach plasticizers (the compounds that make it flexible) into water over time, especially when submerged. Polystyrene is brittle, breaks apart into small particles, and is not considered food-safe for direct contact applications.
How to Tell Which Material You Have
Flip the noodle over or check the packaging. Polyethylene foam is labeled “PE foam” or shows the resin identification code #4 (LDPE) or #2 (HDPE). PVC will show #3, and polystyrene will show #6.
If there is no label and no code anywhere on the packaging, that is your cue to skip it. Cheap unbranded noodles with no material info are often PVC. Brand-name pool noodles from major retailers are almost always PE, but it still takes 10 seconds to check.
Tip: Dollar Tree and similar discount stores often carry unlabeled noodles with no resin code. Spend the extra dollar at a hardware or sporting goods store where labeled PE foam noodles are standard.
How Pool Noodles Work as a Net Pot Substitute
Standard net pots hold your plant and growing medium while allowing roots to grow down into the nutrient solution below. A pool noodle ring does the same job. You cut a ring roughly 1 to 1.5 inches thick, press it into a hole cut in a lid or foam board, and the plant sits snugly in the center with its roots hanging through.
The foam grips the stem without crushing it, and the soft material is gentle on fragile root systems in a way that rigid plastic never quite is. It also works as a seed starter: push a seed into the foam’s center hole (or create a small slit), keep the foam moist, and the seed germinates directly in the medium before you ever move it to the reservoir.
This is especially useful in a Kratky passive system, where there is no pump and no aerator. The plant does all the work, and the pool noodle ring holds it steady over the reservoir while roots reach down for water and nutrients.
Building a Pool Noodle Kratky System
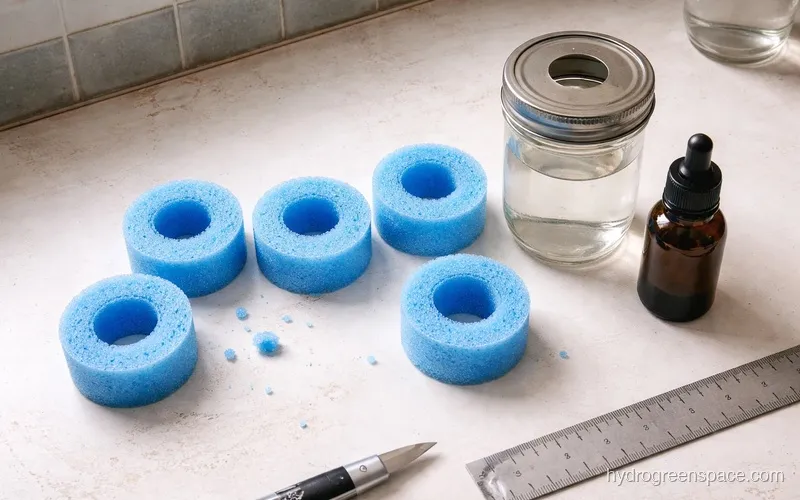
You do not need much. A container (a mason jar, a storage tote, a 5-gallon bucket), a pool noodle, a hole saw or sharp knife, and mixed nutrient solution.
What You Need
- Food-safe PE foam pool noodle
- Container with a lid (mason jar for single plants, storage tote for multiple)
- Hole saw or sharp knife
- Mixed hydroponic nutrients
- Seeds or seedlings
Step-by-Step
1. Cut your foam rings. Slice the pool noodle into rings about 1 to 1.5 inches thick. A serrated bread knife works cleanly. Each ring becomes one plant slot.
2. Cut holes in your lid. The hole should be slightly smaller than the outer diameter of your noodle ring so the ring sits snug without falling through. A 1.75-inch hole saw works for most standard pool noodles, but test-fit before you commit.
3. Mix and fill your nutrient solution. Fill the container so the bottom of the foam ring just touches the surface of the solution. In Kratky, you leave an air gap above the waterline as the plant grows. Starting with the foam barely touching the solution is correct. For guidance on mixing nutrients properly, the ratios matter more than most beginners expect.
4. Start your seeds. Push seeds directly into the foam center or germinate them in a paper towel first and transfer. The foam holds moisture well enough to get seeds through germination without any additional media.
5. Set the lid and let it grow. Cover the container to block light from the reservoir (algae prevention), place it somewhere with adequate light, and check weekly. Top up the nutrient solution when it drops, keeping that air gap intact as roots develop.
Which Plants Work Best
Pool noodle hydroponics is well-matched to light, fast-growing crops. Lettuce, spinach, arugula, herbs like basil and cilantro, and green onions all do well. These are also the plants that thrive in Kratky systems in general, so the pairing makes sense.
If you want a broader look at what grows well without soil, the full list of hydroponic vegetables will show you what fits your setup and season. Understanding how the different system types compare will help you match the right method to each plant.
When Pool Noodles Are Not the Right Call
Pool noodles work well in controlled indoor environments. They struggle in a few specific situations you should know about before you commit to building outdoors or at scale.
Outdoor rain exposure. Rain dilutes your nutrient solution without you knowing it. You lose EC control, and your plants start showing deficiencies that look like pests or disease. If you grow outside, cover the reservoir or stick to indoor setups. If you want to explore growing without a pump outdoors, there are designs better suited to that environment.
Heavy or tall plants. A foam ring in a mason jar lid is not going to hold a 4-foot tomato plant in a windstorm or even under its own weight. Once plants exceed 12 to 18 inches and start producing heavy fruit, you need a proper net pot with a structured support frame.
Long-term durability. PE foam is durable, but pool noodles are not built for repeated submersion cycles. After two or three grows, you may notice the foam becoming softer or starting to compress. They are cheap enough to replace, but if you want a permanent setup, net cups made from food-grade plastic are the better long-term investment.
Cleaning and Reusing Pool Noodle Rings
Between grows, pull the foam rings and rinse them with clean water. A diluted hydrogen peroxide soak (3% solution, 10 minutes) kills most surface bacteria and algae without damaging the foam. Rinse thoroughly and let them air dry completely before storing.
Do not use bleach. It degrades polyethylene foam over time and is hard to rinse out fully. You also want to avoid dish soap if you can, since residue in a porous foam medium can create surfactant problems in your next nutrient batch.
Common mistake: Reusing foam rings that still have roots embedded in them. Old root material harbors pathogens that will attack your next seedlings. Pull all root matter out before cleaning, or just cut a fresh ring. At a few cents per ring, fresh foam is worth it.
If you are trying to keep your grow as clean and natural as possible, organic-approved hydroponic practices do exist and translate well to passive systems like this one.
A Note on DIY System Design
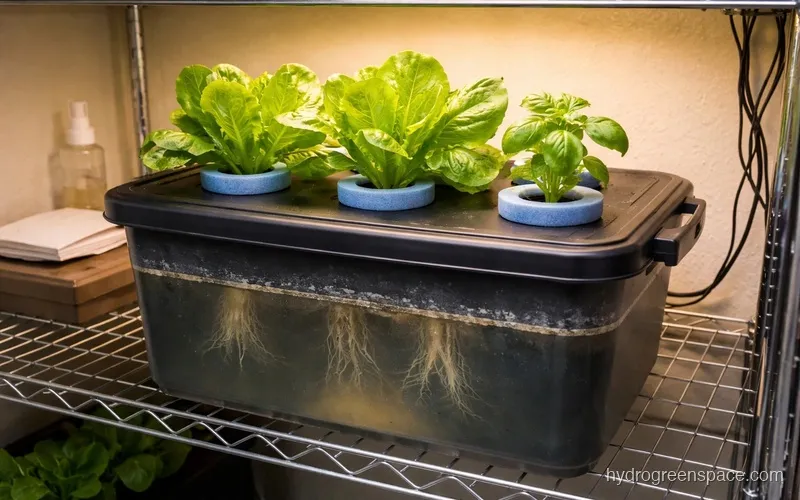
Pool noodle rings fit neatly into foam board lids too, not just rigid plastic containers. A sheet of 1-inch foam board cut to fit a storage tote gives you a flat surface to punch multiple holes into, creating a small multi-plant system from a single tote. This approach pairs well with a floating raft design, which you can read more about in the complete guide to DIY hydroponic systems.
For those comparing this to other low-cost alternatives like foam board setups or mason jar systems, the pool noodle approach offers one advantage those do not: the foam itself does the sealing and plant-holding in one piece, which simplifies the build considerably.
If you are curious how hydroponics works at a basic level before you build anything, that foundation will make every design decision here make more sense.
The fact that a $1 pool noodle can substitute for a $0.50 net cup may not sound revolutionary, but when you are setting up your first Kratky jars or scaling a DIY raft system on a tight budget, every unnecessary expense you cut makes it easier to actually start growing. Grab a labeled PE foam noodle, cut a few rings, and put some basil seeds in this week. You will have roots by the weekend.